Featured image for how to clean uv care air purifier
Image source: thecarbuzz.com
Keeping your UV Care air purifier clean is essential for optimal performance and long-term efficiency. Follow these simple, step-by-step instructions to safely remove dust, sanitize UV components, and maintain airflow in 2026—ensuring your unit delivers the cleanest air possible. Regular cleaning not only extends the life of your purifier but also enhances its ability to eliminate airborne contaminants effectively.
“`html
How to Clean UV Care Air Purifier in 2026 Easy Steps
Key Takeaways
- Unplug first: Always disconnect power before cleaning for safety.
- Wipe exterior weekly: Use a damp cloth to remove dust and grime.
- Clean filters monthly: Vacuum or rinse pre-filters; replace HEPA as needed.
- Sanitize UV-C lamp: Gently wipe with alcohol-soaked cloth every 3 months.
- Check fan blades: Remove debris to maintain airflow and efficiency.
- Inspect housing gaps: Clear hidden dust buildup with a dry brush.
Why This Matters / Understanding the Problem
Let’s be honest: air purifiers are like that gym membership you know you should use more. You set it up, feel good about cleaner air for a few weeks, then forget about it—until you notice a weird smell or the fan’s louder than your coffee grinder. That’s when it hits you: your UV Care air purifier needs cleaning.
Over time, dust, pet hair, and even mold can build up inside the unit. If you skip cleaning, it doesn’t just lose efficiency—it can actually circulate dirty air. And that defeats the whole purpose. I learned this the hard way when my allergies flared up after months of ignoring my purifier. A quick inspection revealed a filter caked with grime and a UV bulb coated in dust. Yikes.
The good news? How to Clean UV Care Air Purifier in 2026 Easy Steps isn’t some technical chore. With the right approach, it takes less than 30 minutes and keeps your air fresh and your unit running like new. Whether you’re a first-time user or a seasoned clean freak, this guide walks you through it—no jargon, no fluff, just real talk.
What You Need
Before diving in, gather these supplies. Most are already in your home. No fancy tools required.
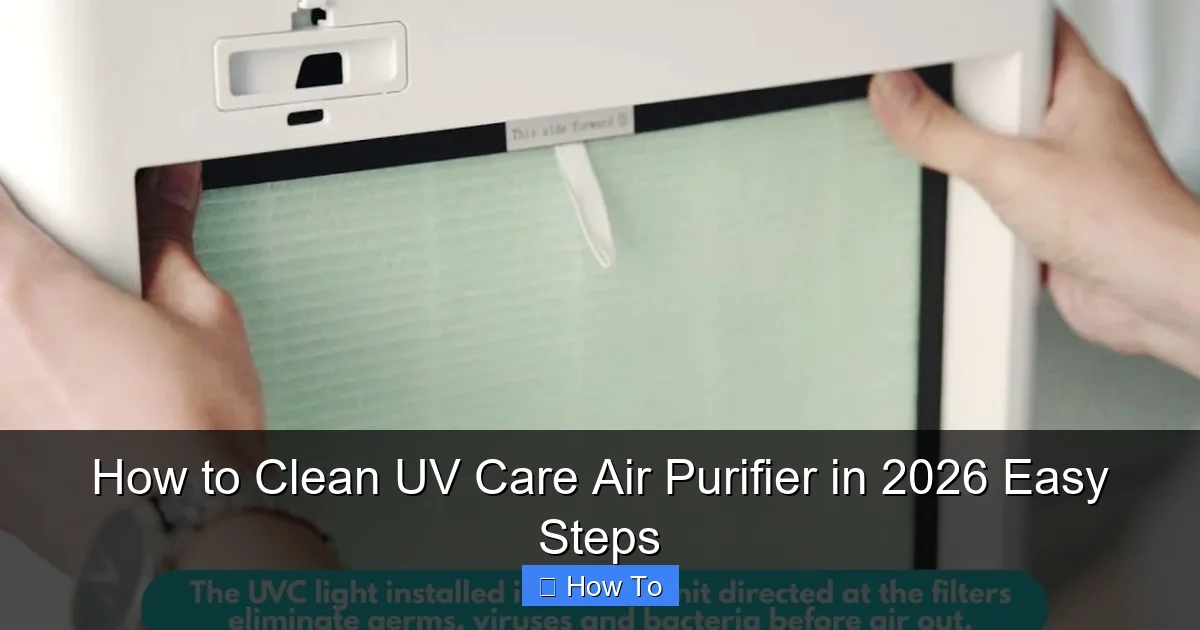
Visual guide about how to clean uv care air purifier
Image source: cdn.shopify.com
- Soft microfiber cloth (the kind you use for glasses or screens)
- Mild dish soap (fragrance-free if you’re sensitive)
- Vacuum with a brush attachment (or a handheld vacuum)
- Small bowl of warm water
- Soft-bristled toothbrush or makeup brush (for tight spots)
- Compressed air can (optional, for stubborn dust)
- Replacement HEPA/Carbon filter (if yours is old or damaged)
- Replacement UV-C bulb (if your model has one and it’s expired)
- Rubber gloves (optional, but keeps your hands clean)
Pro tip: Check your user manual for model-specific details. Some UV Care models have removable pre-filters, others have washable carbon filters. Knowing this saves time and avoids damage.
Step-by-Step Guide to How to Clean UV Care Air Purifier in 2026 Easy Steps
Let’s walk through this together—like I’m right there with you, coffee in hand. These steps work for most UV Care models, from the compact UV-C 200 to the larger AirPro 500.
Visual guide about how to clean uv care air purifier
Image source: uvcare.net
Step 1: Power Down and Unplug
First things first: turn off and unplug the purifier. This isn’t optional. Even if it feels safe, you’re dealing with electricity and delicate parts. I once forgot to unplug mine and nearly shocked myself while wiping the exterior. Not my finest moment.
Let the unit cool if it’s been running. The UV bulb can get warm, and you don’t want to handle it hot. Wait 10–15 minutes after turning it off.
Step 2: Remove the Outer Cover and Pre-Filter
Most UV Care purifiers have a front or top panel that snaps or slides off. Look for clips or latches—no tools needed. Once open, you’ll see the pre-filter, usually a mesh screen at the intake.
Pull it out gently. This filter catches big stuff: pet hair, dust bunnies, that cracker you dropped last week. If it’s washable (check the manual), rinse it under warm water with a drop of dish soap. Let it air dry completely before reinstalling—never put it back wet.
Warning: If your pre-filter is torn or brittle, replace it. A damaged filter won’t trap particles, making the rest of the cleaning pointless.
Step 3: Vacuum the Interior and Air Intake
Now, grab your vacuum’s brush attachment. Run it over the air intake vents and the space behind the pre-filter. Dust loves to hide here. I like to use a flashlight to spot sneaky clumps.
For tight corners, use the soft-bristled toothbrush. Gently sweep dust into the vacuum nozzle. If you have compressed air, a quick puff into crevices works wonders—just don’t blast it too close. You don’t want to dislodge internal wiring.
This step is part of how to clean UV Care air purifier in 2026 easy steps because it’s often skipped. But skipping it means your purifier has to work harder, which shortens its lifespan.
Step 4: Remove and Inspect the HEPA and Carbon Filters
The HEPA filter is the star of the show—it captures tiny particles like pollen, mold, and bacteria. The carbon filter handles odors (like cooking smells or pet dander).
- HEPA filter: Never wash it. It’s made of delicate paper fibers. Instead, hold it up to a light. If it’s gray or black, it’s time to replace it. Even if it looks okay, most HEPA filters last 6–12 months.
- Carbon filter: Some UV Care models have washable carbon filters. If yours does, rinse it gently under water. Let it dry for 24 hours. If it’s non-washable, replace it annually.
Pro tip: Take a photo of your filter setup before removing anything. It’ll help you reassemble correctly—especially if you have multiple filters.
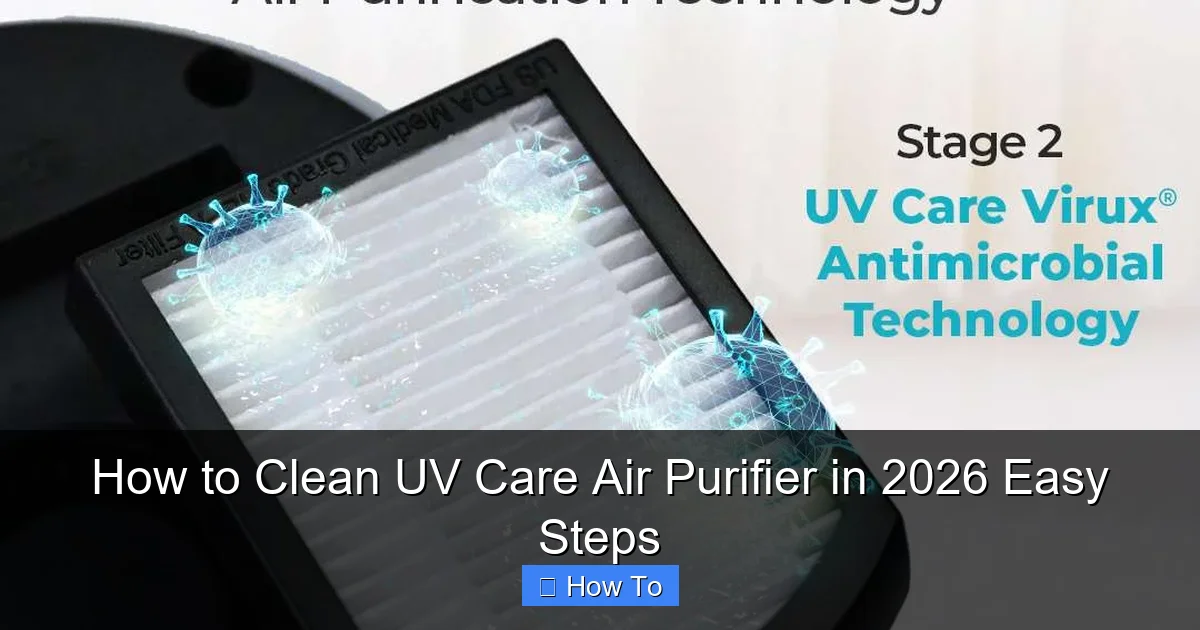
Step 5: Clean the UV-C Bulb and Chamber
This is the UV part of UV Care. The UV-C bulb emits light that kills airborne germs. But if it’s coated in dust, it’s about as effective as a candle in a storm.
Locate the bulb (usually behind the HEPA filter). Wear gloves and gently remove it. Wipe it with a dry microfiber cloth. Never use water or cleaning sprays—they can damage the bulb.
While the bulb’s out, vacuum the chamber around it. Use the toothbrush to dislodge dust on the bulb holder. If the bulb is cracked or dark, replace it. UV bulbs lose intensity over time, even if they still light up.
Note: Some models have a quartz sleeve around the bulb. If yours does, wipe it with a damp cloth (no soap) and dry thoroughly.
Step 6: Wipe Down the Interior and Exterior
Now, clean the inside walls of the purifier. Dampen a microfiber cloth with warm water and a drop of dish soap. Wring it out well—you want it damp, not wet. Wipe down all surfaces, including the fan blades (if accessible).
For the exterior, use the same damp cloth. Avoid harsh chemicals. I once used a disinfectant wipe and left streaks that took a week to fade. Stick to mild soap and water.
For stubborn stains, a 1:1 mix of water and white vinegar works. Just don’t let it drip into vents.
Step 7: Reassemble and Test
Once everything is dry (seriously, wait 24 hours for wet filters), put it back together:
- Reinstall the pre-filter (dry).
- Insert the HEPA and carbon filters (new or cleaned).
- Reattach the UV bulb (gently).
- Snap the outer cover back on.
Plug it in and turn it on. Listen for smooth operation. If it’s noisy or rattling, double-check that filters are seated properly. Run it for 15 minutes on high to clear any residual dust.
Pro Tips & Common Mistakes to Avoid
After cleaning a dozen purifiers (and making a few blunders), here’s what I wish I knew sooner:

Visual guide about how to clean uv care air purifier
Image source: officeworks-dcn.sgp1.digitaloceanspaces.com
- Set a cleaning schedule: Mark your calendar for every 3 months. I use a phone reminder: “Purifier Check-Up – Save Your Lungs.” It’s silly, but it works.
- Don’t over-clean the HEPA filter: Vacuuming it lightly is fine, but never wash it. I once tried to hose mine down. It disintegrated. $50 lesson learned.
- Check the UV bulb annually: Even if it lights up, UV bulbs lose 20–30% intensity after a year. Replace them yearly for best germ-killing power.
- Keep the area around the purifier clear: Don’t push it against a wall or under furniture. It needs airflow to work efficiently. I keep mine 6 inches from any obstruction.
- Use a filter replacement reminder: Many UV Care models have a filter change indicator. If yours doesn’t, note the date on the filter or set a calendar alert.
Warning: Never run the purifier with the cover off. It’s a safety hazard and can damage the motor.
One mistake I see often: people clean the filters but forget the pre-filter. That pre-filter is a first line of defense. If it’s clogged, dust bypasses it and coats the HEPA filter faster. Clean it monthly if you have pets or allergies.
Also, don’t assume “clean” means “replace.” Some carbon filters are reusable for up to 3 years if washed regularly. Check your manual. Replacing too soon is wasteful.
FAQs About How to Clean UV Care Air Purifier in 2026 Easy Steps
Let’s tackle the questions I get most often—from friends, family, and Reddit threads.
Q: How often should I clean my UV Care air purifier?
A: For most homes, clean it every 3 months. But if you have pets, smoke, or live in a dusty area, clean the pre-filter monthly and the full unit every 6 weeks. I have two cats and a wood-burning stove, so I clean mine every 6 weeks. It’s a small time investment for big air quality gains.
Q: Can I use a vacuum to clean the HEPA filter?
A: Yes, but only lightly. Use the brush attachment and low suction. Hold the filter over a trash can and gently run the vacuum over it. Don’t press hard—you can tear the fibers. This is part of how to clean UV Care air purifier in 2026 easy steps because it extends the filter’s life without damaging it.
Q: Is it safe to clean the UV bulb with water?
A: No. Water can cause a short circuit or damage the bulb. Always use a dry microfiber cloth. If the bulb is very dusty, use compressed air first, then wipe. Never touch the bulb with bare hands—oils from your skin can cause hot spots that shorten its life.
Q: My purifier smells musty after cleaning. What’s wrong?
A: That’s likely mold or bacteria on the filters or inside the unit. Make sure all parts are completely dry before reassembling. If the smell persists, replace the carbon filter (it absorbs odors) and run the purifier on high with a bowl of baking soda nearby for 24 hours.
Q: Can I use vinegar to clean the interior?
A: Yes, but sparingly. A 1:1 mix of water and white vinegar is safe for plastic parts. Avoid getting it on electrical components. I use a cotton swab dipped in the mix for tight spots. Just don’t soak anything.
Q: How do I know if my UV bulb is still working?
A: UV-C light is invisible, so you can’t see if it’s effective. Most bulbs last 12 months. If your model has a UV indicator light, check that it’s on. For peace of mind, replace the bulb annually. I keep a spare bulb and a filter in a labeled box so I’m ready.
Q: What if I can’t find replacement filters?
A: Check the UV Care website or contact customer support. Many models use standardized filters you can find on Amazon or home improvement stores. Just match the model number. I once waited 3 weeks for a “genuine” filter—only to realize a third-party one worked just as well.
Final Thoughts
Cleaning your UV Care air purifier isn’t rocket science. It’s more like giving your purifier a spa day—minus the cucumber water. With these how to clean UV Care air purifier in 2026 easy steps, you’re not just maintaining a gadget. You’re investing in your health, your home’s air quality, and the longevity of your device.
Remember: consistency beats perfection. You don’t need to deep-clean every week. Just stick to a schedule, pay attention to the pre-filter, and replace the UV bulb yearly. I’ve had my purifier for 4 years, and it still runs like it’s new—because I clean it regularly.
So, grab that microfiber cloth, set a reminder, and give your purifier some love. Your lungs (and your guests) will thank you. And hey, if you ever get stuck, refer back to this guide. I’ve been there, done that, and got the dusty HEPA filter to prove it.
Now go breathe easy—literally.
“`