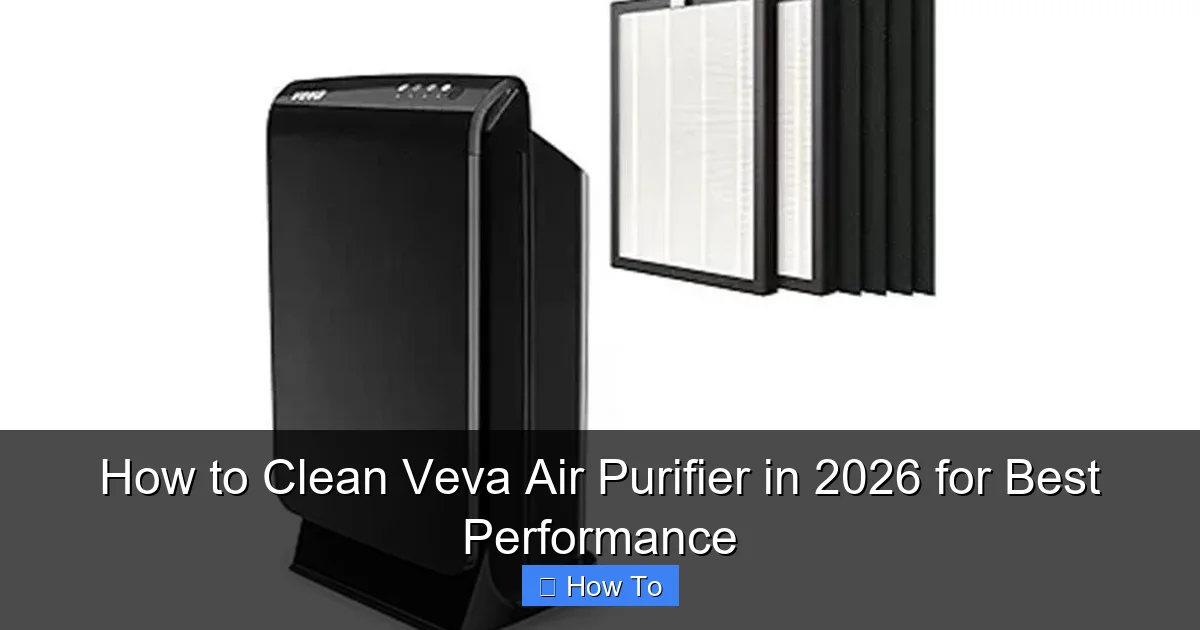
Featured image for how to clean veva air purifier
Image source: airpurey.com
Keeping your Veva air purifier clean is essential for optimal performance and long-term efficiency. In 2026, regular maintenance—including washing or replacing filters, wiping down the exterior, and clearing the internal fan—ensures maximum air purification and energy savings. Follow the manufacturer’s guidelines and clean your unit every 1-3 months to maintain peak airflow and extend its lifespan.
“`html
How to Clean Veva Air Purifier in 2026 for Best Performance
Key Takeaways
- Turn off and unplug the purifier before cleaning for safety.
- Remove and vacuum the pre-filter weekly to remove dust buildup.
- Wash filters gently with water if reusable, and air-dry completely.
- Wipe the interior with a dry cloth to prevent mold and debris.
- Replace HEPA filters every 6–12 months for optimal performance.
- Clean the exterior with a damp cloth to maintain appearance.
Why This Matters / Understanding the Problem
Imagine this: you’ve invested in a Veva air purifier to breathe cleaner air, but over time, it starts sounding louder than your morning coffee maker and the air feels… less crisp. Sound familiar? That’s because dust, pet hair, and allergens love to cling to your purifier’s filters and internal parts—slowing it down and reducing its effectiveness.
Cleaning your Veva air purifier isn’t just about looks. It’s about performance, longevity, and health. A dirty purifier can’t trap particles as well, meaning you’re breathing in what it’s supposed to remove. Plus, clogged filters force the motor to work harder, using more energy and shortening the device’s lifespan.
That’s where how to clean Veva air purifier in 2026 for best performance comes in. Whether you’ve got a Veva 8000, 9000, or 10000 series, the core steps are similar. But timing, tools, and technique matter. Skip a step or rush through it, and you might do more harm than good. Let’s fix that—together.
What You Need
Before you start, gather these supplies. No need to buy anything fancy—most are already in your home. Here’s your cleaning toolkit:
Visual guide about how to clean veva air purifier
Image source: vevaproducts.com
- Microfiber cloth (soft and lint-free)
- Soft-bristle brush (like a clean paintbrush or makeup brush)
- Vacuum with a brush attachment (handheld works great)
- Mild dish soap (unscented, no harsh chemicals)
- Warm water (not hot—never soak filters!)
- Compressed air can (optional, for tight spots)
- Replacement filters (if due for a swap—check your model)
- Small bowl or tray (to hold screws and small parts)
Pro tip: Always unplug your purifier before cleaning. Safety first, friends. Also, keep your model number handy (usually on the back or bottom). Different Veva models have slight variations in filter types and access points.
Step-by-Step Guide to How to Clean Veva Air Purifier in 2026 for Best Performance
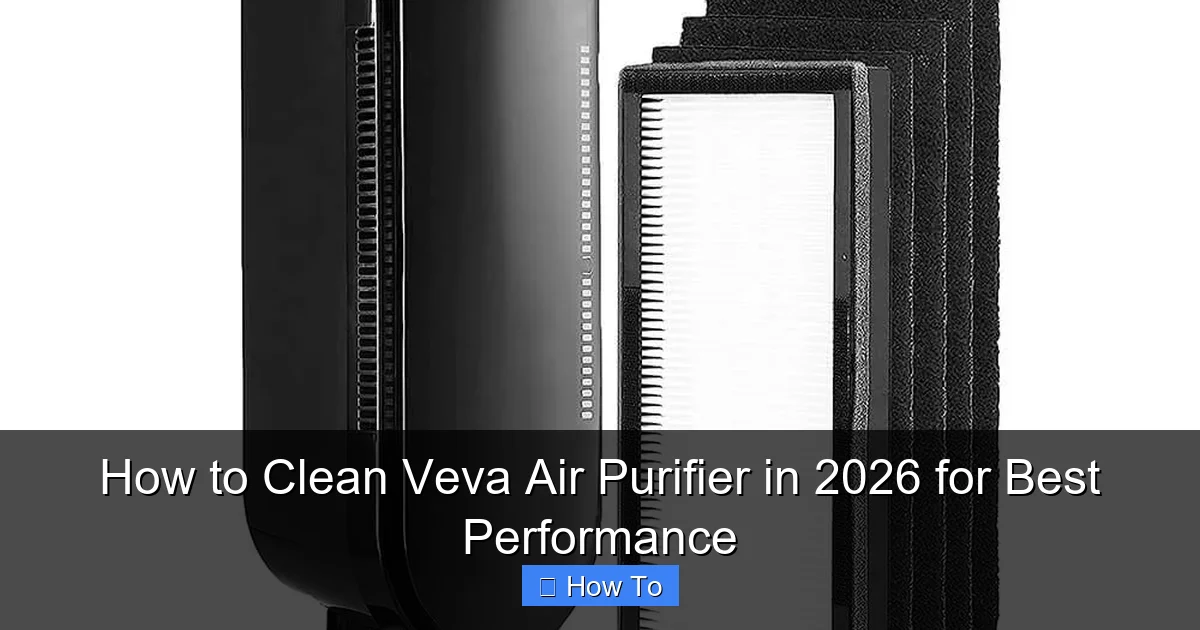
Step 1: Power Down and Disassemble
Start by turning off and unplugging your Veva air purifier. Let it sit for 10–15 minutes to cool if it’s been running. Then, locate the front or side panel—most models use a simple latch or snap mechanism.
Visual guide about how to clean veva air purifier
Image source: airpurey.com
Press or slide the release tab and gently pull the front cover off. Set it aside on a clean towel. Inside, you’ll see the pre-filter, HEPA filter, and sometimes a carbon filter. Don’t yank anything yet—take a photo for reassembly reference. Seriously, do this. I’ve spent 20 minutes figuring out where a tiny tab goes because I didn’t take a pic.
Warning: Never force a part. If it doesn’t come off easily, double-check the manual. Some models have hidden latches or require twisting.
Step 2: Remove and Inspect the Pre-Filter
The pre-filter (usually a mesh or foam layer) catches large particles like dust, pet hair, and lint. It’s the first line of defense and gets dirty fast—especially if you have pets or live in a dusty area.
Pull it out gently. Hold it up to light. If it’s gray or looks like a dust bunny’s vacation home, it’s time to clean. For foam pre-filters: rinse under warm water with a drop of mild soap. Gently squeeze—don’t wring. For mesh: use the vacuum’s brush attachment to remove surface debris.
Let it air dry completely (about 1–2 hours) before reinstalling. Never put a damp filter back in—it can mold or damage the motor.
Pro tip: If your pre-filter is cracked or falling apart, replace it. Most cost under $20 and are worth every penny for optimal performance.
Step 3: Clean the HEPA Filter (Carefully!)
Here’s where people panic. “Can I wash a HEPA filter?” The short answer: usually not. Veva HEPA filters are designed to trap microscopic particles, and water can ruin the delicate fibers.
Instead, use your vacuum’s brush attachment to gently remove dust from both sides. Hold it a few inches away to avoid damaging the filter. For stubborn spots, use a soft-bristle brush—think of it like dusting a vintage record.
Check the filter’s condition. If it’s discolored (dark gray or black), has tears, or smells musty, it’s time to replace it. Most Veva HEPA filters last 6–12 months, depending on usage. High-pollution areas? Replace sooner.
Warning: Never wash, vacuum too hard, or use compressed air directly on a HEPA filter. You’ll destroy its ability to trap allergens. If you’re unsure, consult your manual or Veva’s website.
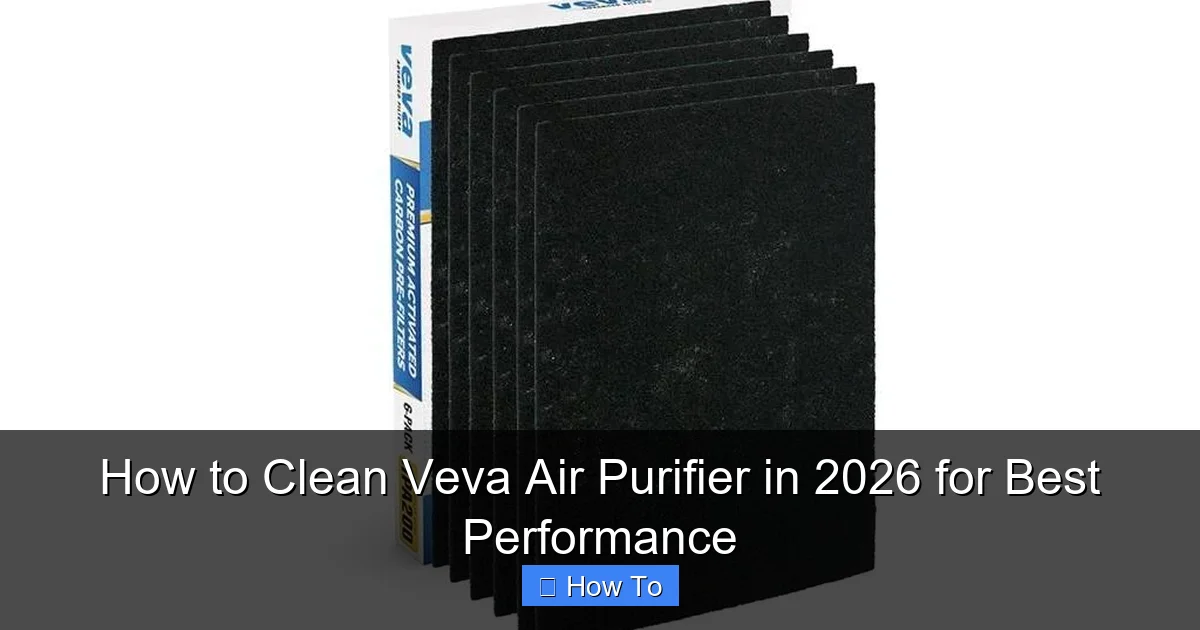
Step 4: Address the Carbon Filter (If Applicable)
Some Veva models (like the 9000 and 10000 series) include an activated carbon filter. It’s great for odors, smoke, and VOCs—but it doesn’t last forever.
Carbon filters cannot be cleaned. They’re like sponges—once saturated, they’re done. Look for signs of wear: reduced odor control, visible damage, or a “used by” date (if printed). If it’s been 6 months or smells less effective, replace it.
For reusable carbon filters (rare in Veva models): vacuum gently to remove dust, but don’t expect a full refresh. They lose potency over time.
Step 5: Wipe Down the Interior and Fan
Now that the filters are out, focus on the guts. Use a dry microfiber cloth to wipe the interior walls, removing dust and grime. For sticky spots, dampen the cloth slightly with water (not dripping wet).
Next, clean the fan blades. This is where a soft-bristle brush or compressed air shines. Gently remove dust buildup—especially on the leading edges. A clogged fan reduces airflow and makes the purifier noisier.
Check the air intake and exhaust vents. Use the vacuum’s brush attachment to remove lint and debris. If you see mold (a rare but serious issue), use a cloth with a 1:10 vinegar-water solution—wipe, then dry thoroughly.
Step 6: Clean the Exterior and Control Panel
Your purifier’s outside collects dust and fingerprints. Use a dry microfiber cloth for most surfaces. For stubborn smudges, lightly dampen the cloth with water.
Never spray cleaner directly on the unit. It can seep into electronics. For the control panel: use a cotton swab dipped in isopropyl alcohol (70%) to clean buttons and crevices. Wipe with a dry cloth after.
Pro tip: If your model has a display screen, clean it like a smartphone—gentle wipe with a screen-safe cloth. Avoid ammonia-based cleaners—they can damage coatings.
Step 7: Reassemble and Test
Once everything is dry (especially the pre-filter), reassemble your purifier in reverse order. Double-check that filters are seated properly and the front panel clicks into place.
Plug it in and power it on. Listen for unusual noises—grinding or rattling could mean a misaligned part. Check airflow: hold your hand near the exhaust. You should feel a steady, strong breeze.
Run it for 15–20 minutes. If the air feels fresher and the noise is lower, you’ve nailed how to clean Veva air purifier in 2026 for best performance.
Pro tip: Set a cleaning reminder on your phone or calendar. I do it every 2 months—or monthly if I’m running it 24/7.
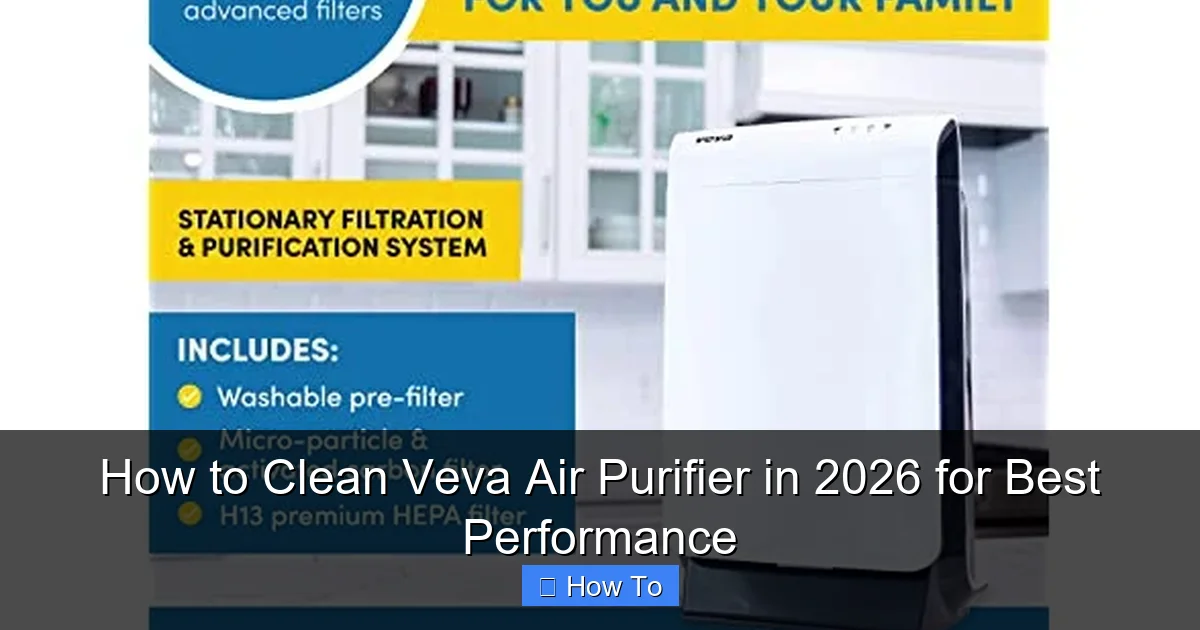
Pro Tips & Common Mistakes to Avoid
After years of cleaning my own Veva (and my mom’s, my sister’s, and even my cat’s—okay, not really), here’s what I’ve learned:
Visual guide about how to clean veva air purifier
Image source: d3gqasl9vmjfd8.cloudfront.net
- Don’t rush drying. A damp filter is a mold risk. I once put a slightly damp pre-filter back in—woke up to a musty smell. Lesson learned.
- Label your filters. I use a marker to note the installation date on HEPA and carbon filters. Saves guesswork.
- Vacuum the room, not just the purifier. Dust settles everywhere. Clean your space before cleaning the unit—it reduces future buildup.
- Use genuine Veva filters. Third-party replacements might fit but often lack the same filtration quality. I tried a “cheap” HEPA once—it leaked dust like a sieve.
- Check the manual. Veva’s website has model-specific guides. The 8000 series has a different filter layout than the 10000. Don’t assume they’re identical.
Warning: Never use bleach, ammonia, or abrasive cleaners. They can degrade plastics, damage filters, and leave harmful residues. Mild soap and water are your friends.
One last thing: if your purifier has a UV-C light (some high-end models do), don’t touch it with bare hands. The oils from your skin can cloud the lens. Use a microfiber cloth instead.
FAQs About How to Clean Veva Air Purifier in 2026 for Best Performance
Q: How often should I clean my Veva air purifier?
A: For most homes, clean every 2 months. If you have pets, allergies, or live in a dusty/polluted area, clean monthly. The pre-filter may need weekly vacuuming. Think of it like changing your car’s oil—regular maintenance keeps it running smoothly.
Q: Can I wash the HEPA filter in water?
A: No. HEPA filters are made of delicate fibers. Water ruins their structure and reduces efficiency. Vacuum gently instead. If yours is visibly damaged, replace it. Trust me—I tried washing one once. It looked like a soggy tissue.
Q: What if I lost the manual?
A: No worries! Visit Veva’s support page and enter your model number. They have downloadable PDFs for every model. I keep a digital copy on my phone—saves me from frantic searches.
Q: Is it safe to use compressed air inside the purifier?
A: Yes, but use it gently. Hold the can upright and spray in short bursts. Never aim directly at the HEPA filter. I use it for fan blades and tight corners—it’s great for dislodging stubborn dust.
Q: How do I know when to replace filters?
A: Signs include: reduced airflow, louder operation, lingering odors, or visible damage. For HEPA: 6–12 months. Carbon: 6 months. Pre-filter: 1–2 years (if washable). I set phone reminders to check them every 3 months.
Q: Can I clean the purifier while it’s running?
A: Absolutely not. Unplug it first. Cleaning a running purifier risks electric shock or injury from moving parts. Plus, you’ll stir up dust—defeating the purpose.
Q: My purifier smells weird after cleaning. What’s wrong?
A: Likely a damp filter or leftover cleaning residue. Make sure all parts are bone-dry before reassembly. If it smells musty, run the purifier with the front panel open for 1–2 hours to air out. If it persists, check for mold inside (rare but possible).
Final Thoughts
Cleaning your Veva air purifier isn’t just a chore—it’s a health investment. A well-maintained purifier works better, lasts longer, and keeps your air truly clean. You don’t need fancy tools or hours of time. Just 30–45 minutes, the right supplies, and a little care.
Remember: how to clean Veva air purifier in 2026 for best performance isn’t about perfection. It’s about consistency. Set a reminder, follow these steps, and enjoy fresher air. Your lungs (and your wallet, thanks to fewer replacements) will thank you.
Now go brew that coffee, clean your purifier, and take a deep breath. You’ve earned it.
“`