Featured image for how to clean your honeywell air purifier
Image source: honeywellstore.com
Keeping your Honeywell air purifier clean ensures peak performance and longer lifespan—don’t skip this essential maintenance. In 2026, cleaning remains simple: unplug the unit, vacuum or wipe the exterior, rinse or replace filters as needed, and clean the internal components with a soft brush or cloth. Regular cleaning every 2–3 months boosts air quality and prevents mold or bacteria buildup, so your purifier works smarter, not harder.
“`html
How to Clean Your Honeywell Air Purifier in 2026
Key Takeaways
- Unplug first: Always disconnect power before cleaning for safety.
- Wipe exterior: Use a damp cloth to clean the outer surface gently.
- Vacuum filters: Remove dust from pre-filters with a soft brush attachment.
- Wash removable parts: Rinse pre-filters monthly with mild soap and water.
- Check HEPA filter: Replace every 12 months or as needed for optimal performance.
- Clean air vents: Use a dry brush to clear debris from intake and exhaust.
Why This Matters / Understanding the Problem
Let’s be honest—your Honeywell air purifier works hard every single day. It’s quietly pulling dust, pollen, pet dander, and even sneaky odors out of your indoor air so you can breathe easier. But here’s the thing: if you don’t clean it regularly, that hardworking machine starts working against you.
I learned this the hard way. Last winter, I noticed my allergies were worse even though my purifier was running nonstop. Turns out, the filters were clogged with gunk, and the fan was struggling to push air through. My “clean air helper” had become a dust recirculator! That’s when I realized how important it is to know exactly how to clean your Honeywell air purifier in 2026—not just replace filters, but give the whole unit a proper refresh.
Dirty air purifiers don’t just lose efficiency—they can actually blow contaminated air back into your room. Plus, a well-maintained unit lasts longer, saves energy, and keeps your home truly healthy. Whether you’ve got a Honeywell HPA300, HPA100, or one of their newer smart models, regular cleaning is non-negotiable.
In this guide, I’ll walk you through everything you need—from tools to step-by-step instructions—so your purifier stays in tip-top shape all year long.
What You Need
Before we dive in, let’s gather the essentials. You don’t need fancy gear—just a few household items and maybe one or two specialty tools if you’re going deep.
Here’s your quick checklist:
- Soft microfiber cloths (lint-free is best—no streaks or fuzz!)
- Mild dish soap (nothing harsh or citrus-based—it can damage plastic)
- White vinegar (great for breaking down grease and odors)
- Warm water (not hot—high heat can warp parts)
- A small brush (an old toothbrush works perfectly for tight spots)
- Vacuum cleaner with a brush attachment (optional but super helpful)
- Replacement filters (if it’s time—check your model’s schedule)
- Rubber gloves (optional, but nice if you’re sensitive to dust)
Pro tip: Always unplug your purifier before cleaning. Safety first, always!
Most Honeywell models have similar designs—pre-filters, HEPA filters, and sometimes carbon or UV components. Check your user manual (or Honeywell’s website) to confirm your specific model’s layout. But don’t worry—we’ll cover the universal steps that work for nearly all units.
Step-by-Step Guide to How to Clean Your Honeywell Air Purifier in 2026
Cleaning your Honeywell air purifier isn’t rocket science—but doing it right makes all the difference. Follow these steps every 2–3 months (or more often if you have pets or live in a dusty area).
Step 1: Turn Off and Unplug the Unit
This might seem obvious, but I’ve seen people skip this step—and it’s risky. Always power down and unplug your purifier before touching any internal parts. Not only does this prevent electrical hazards, but it also gives the motor time to cool down if it’s been running.
While you’re at it, move the unit to a well-lit, flat surface—like a kitchen counter or table. You’ll want space to lay out parts as you clean them.
Step 2: Remove the Front Grille or Cover
Most Honeywell purifiers have a front panel that snaps or screws off. Gently press the release tabs (usually along the bottom or sides) and lift the grille away. Some older models may have screws—use a Phillips head screwdriver if needed.
Set the grille aside carefully. It’s often made of lightweight plastic and can crack if dropped.
Step 3: Take Out the Pre-Filter
The pre-filter is the first line of defense—it catches large particles like hair and dust. On many Honeywell models, this is a reusable foam or mesh layer right behind the front grille.
Pull it out gently. If it’s visibly dirty (grayish or caked with fuzz), it’s time to clean it.
Step 4: Vacuum or Rinse the Pre-Filter
For light buildup, use your vacuum’s brush attachment to suck off loose debris. Hold the filter over a trash can to avoid making a mess.
If it’s really grimy, rinse it under lukewarm water. Add a drop of mild dish soap if needed, then gently scrub with your fingers or a soft brush. Rinse thoroughly until the water runs clear.
Let it air-dry completely—never reinstall a damp filter. Moisture can encourage mold growth and damage other components.
Step 5: Clean the Interior Housing
While the pre-filter dries, wipe down the inside of the purifier’s housing. Use a slightly damp microfiber cloth to remove dust from the walls, fan blades, and motor area.
Be gentle around the fan—don’t force anything. If there’s stubborn grime, dip your cloth in a 50/50 mix of white vinegar and water. Vinegar cuts through grease without harsh chemicals.
Never spray liquid directly into the unit. Always apply cleaner to the cloth first.
Step 6: Check and Clean the HEPA Filter (If Washable)
Here’s a common myth: “All HEPA filters are disposable.” Not true! Some Honeywell models include a washable HEPA-type filter (not true HEPA, but close). Check your manual—if yours is labeled “washable,” you can clean it.
Rinse it gently under cool water—no soap, no scrubbing. True HEPA filters (the non-washable kind) should NEVER get wet. If yours isn’t washable, skip to Step 7.
After rinsing, pat it dry with a towel and let it air-dry for at least 24 hours. Rushing this step can ruin the filter.
Step 7: Inspect and Replace Disposable Filters
Most Honeywell purifiers use disposable HEPA and carbon filters. These can’t be cleaned—they must be replaced.
Check the filter indicator light (if your model has one) or follow the recommended schedule (usually every 6–12 months). If the filter looks dark, brittle, or smells musty, swap it out.
To replace:
- Remove the old filter by sliding or unclipping it.
- Insert the new one, making sure it’s oriented correctly (arrows usually point toward the fan).
- Secure it in place—don’t force it.
Always buy genuine Honeywell filters or high-quality third-party equivalents. Cheap knockoffs may not fit properly or capture pollutants effectively.
Step 8: Wipe Down the Exterior
Don’t forget the outside! Dust loves to settle on vents, buttons, and the top surface.
Use a dry or slightly damp microfiber cloth to wipe the entire exterior. For sticky fingerprints or smudges, add a drop of dish soap to the cloth. Avoid abrasive sponges—they can scratch the finish.
If your model has a display screen, use a screen-safe cleaner or just a dry cloth.
Step 9: Reassemble and Test
Once everything is dry and clean:
- Reinstall the pre-filter.
- Snap or screw the front grille back on.
- Plug in the unit.
- Turn it on and listen—it should run quietly and smoothly.
If you hear unusual noises or notice reduced airflow, double-check that all parts are seated correctly.
And that’s it! You’ve just mastered how to clean your Honeywell air purifier in 2026 like a pro.
Pro Tips & Common Mistakes to Avoid
Even seasoned cleaners make mistakes. Here’s what I’ve learned from trial, error, and a few “oops” moments.
Pro Tip: Set a calendar reminder every 60 days to check your purifier. Consistency beats perfection—cleaning little and often keeps performance high.
Warning: Never use compressed air to clean the fan or filters. It can push dust deeper into the motor or damage delicate filter fibers.
Common Mistake: Reinstalling a damp pre-filter. I did this once and woke up to a musty smell the next morning. Let everything dry completely—even if it feels “almost dry.”
Pro Tip: If you have pets, clean the pre-filter monthly. Pet hair clogs filters fast—and a clogged filter means your purifier works harder (and uses more energy).
Common Mistake: Using bleach or ammonia-based cleaners. These can degrade plastic parts and leave toxic residues in your air. Stick to mild soap, water, or vinegar.
Also, don’t ignore the user manual. Honeywell updates designs regularly, and newer models (like the Honeywell Insight series) may have smart features or unique maintenance needs. When in doubt, check the official guide.
FAQs About How to Clean Your Honeywell Air Purifier in 2026
How often should I clean my Honeywell air purifier?
Clean the pre-filter every 2–4 weeks if you have pets or allergies. Do a full cleaning (including interior wipe-down) every 2–3 months. Replace disposable filters every 6–12 months, depending on usage and air quality.
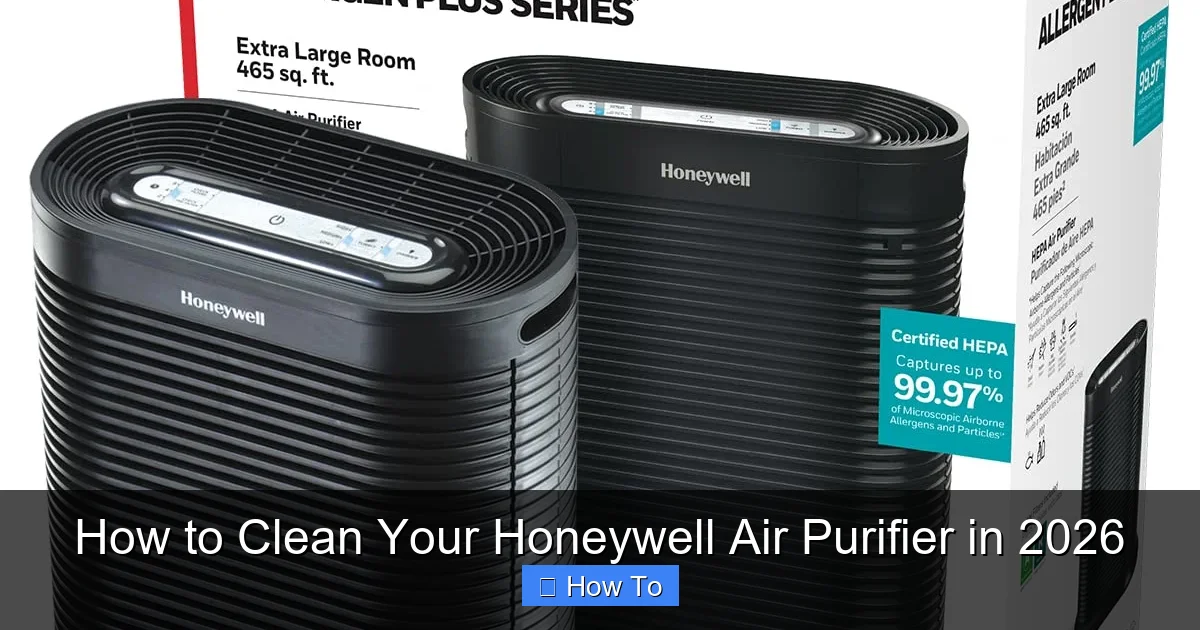
Visual guide about how to clean your honeywell air purifier
Image source: m.media-amazon.com
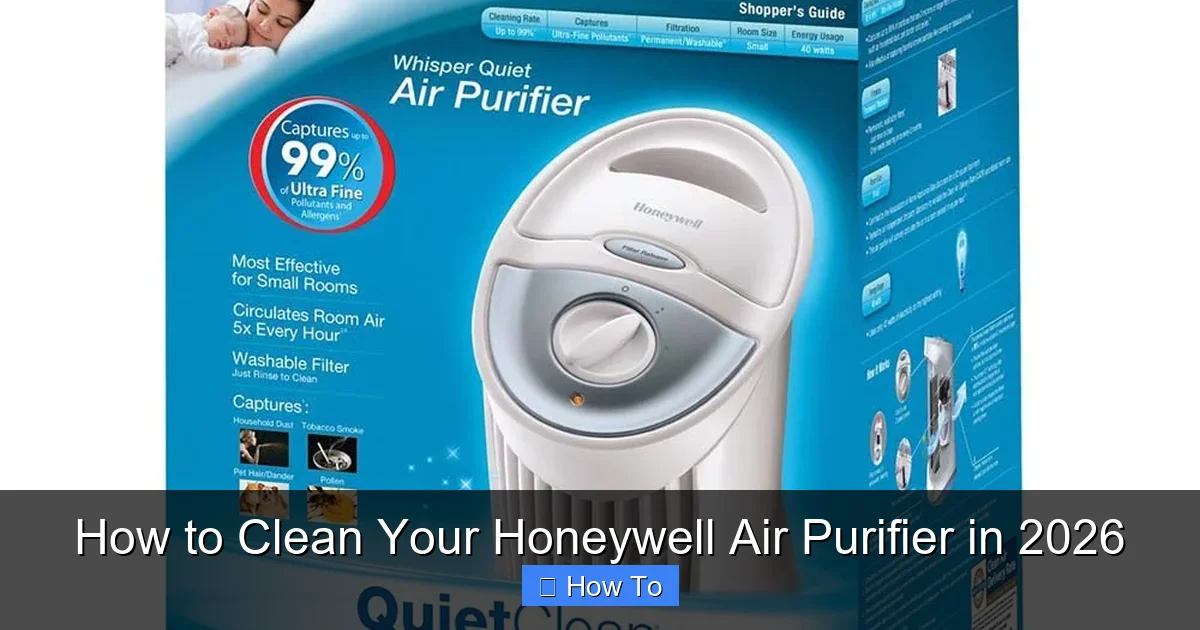
Visual guide about how to clean your honeywell air purifier
Image source: honeywellstore.com
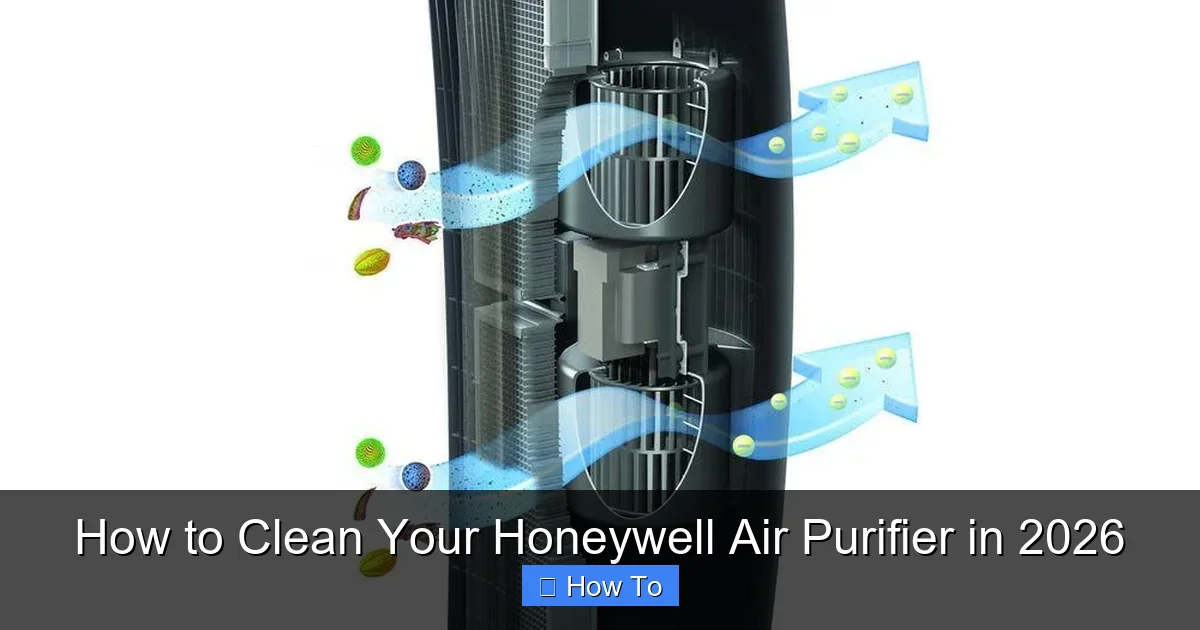
Visual guide about how to clean your honeywell air purifier
Image source: honeywellstore.com
Can I wash the HEPA filter in my Honeywell purifier?
Only if it’s labeled “washable.” Most true HEPA filters are not washable and must be replaced. Check your model number in the manual—Honeywell clearly states which filters can be rinsed.
Why is my Honeywell purifier making a rattling noise after cleaning?
This usually means a part isn’t seated correctly. Turn off the unit, unplug it, and double-check that the pre-filter, grille, and any removable panels are securely in place. Loose parts can vibrate against the housing.
Do I need special tools to clean my Honeywell air purifier?
Nope! A microfiber cloth, mild soap, water, and maybe a toothbrush are all you need. Avoid power tools or harsh chemicals—they can damage the unit.
My purifier smells musty after cleaning. What’s wrong?
This usually means moisture got trapped inside. Turn off the unit, unplug it, and let it air-dry for 24–48 hours in a warm, dry place. Never run a damp purifier—it can grow mold or short-circuit.
Can I use a steam cleaner on my Honeywell air purifier?
Absolutely not. Steam can warp plastic, damage electronics, and ruin filters. Stick to gentle wiping with a damp cloth.
Will cleaning my purifier improve its performance?
Yes—dramatically! A clean pre-filter and unobstructed fan allow for better airflow, quieter operation, and more efficient air cleaning. You’ll notice the difference within hours.
Final Thoughts
Knowing how to clean your Honeywell air purifier in 2026 isn’t just about maintenance—it’s about protecting your health, your wallet, and your peace of mind. A clean purifier doesn’t just work better; it lasts longer and keeps your home truly fresh.
Think of it like changing the oil in your car. Skip it, and you’ll pay later—in repairs, inefficiency, or worse, poor air quality. But spend 20 minutes every few months giving your purifier some TLC, and it’ll reward you with years of reliable service.
So grab that microfiber cloth, unplug your unit, and give it the spa day it deserves. Your lungs (and your future self) will thank you.
And remember: consistency beats intensity. You don’t need to deep-clean every week—just stay on top of it. Your Honeywell air purifier is one of the hardest-working appliances in your home. Treat it right, and it’ll keep your air clean, season after season.
“`