Featured image for how to clean your rainmate air purifier
Image source: ralphsway.com
Keeping your Rainmate Air Purifier clean is essential for optimal performance and fresh, healthy air. In 2026, maintaining your unit is easier than ever—simply disassemble the water basin and filter, rinse with mild soap and warm water, and allow all parts to air dry completely before reassembling. Regular cleaning every 2–4 weeks prevents mold, bacteria, and odor buildup, ensuring your purifier delivers clean, revitalized air efficiently.
“`html
How to Clean Your Rainmate Air Purifier in 2026 for Fresh Air
Key Takeaways
- Unplug first: Always disconnect power before cleaning for safety.
- Empty water daily: Prevents mold and maintains optimal performance.
- Use mild soap: Clean basin and tray weekly to avoid residue buildup.
- Replace filters regularly: Follow schedule to ensure air purity.
- Wipe exterior gently: Keep unit dust-free with a damp cloth.
- Inspect vents monthly: Remove debris to improve airflow efficiency.
Why This Matters / Understanding the Problem
Let’s be honest—most of us bought a Rainmate air purifier because we wanted cleaner, fresher air at home. But here’s the thing: even the best purifiers lose their magic if they’re not cleaned regularly. I learned this the hard way.
A few months ago, I noticed my Rainmate wasn’t working as well as it used to. The mist felt weaker, and the air didn’t smell as crisp. At first, I blamed the filters or thought maybe it was just getting old. But when I finally opened it up? Yikes. Dust, mineral buildup, and even a faint mildew smell greeted me like an unwelcome houseguest.
That’s when I realized: cleaning your Rainmate isn’t optional—it’s essential. Over time, moisture, essential oils, and airborne particles can clog the unit, reduce performance, and even breed bacteria. If you’re using your Rainmate daily (especially with oils), residue builds up fast. And if you skip maintenance, you’re basically breathing in recycled gunk instead of fresh air.
So, whether you’re a long-time Rainmate user or just unboxed yours, this guide will walk you through how to clean your Rainmate air purifier in 2026 for fresh air—step by step, with real talk and zero fluff. Because clean air shouldn’t come with hidden costs.
What You Need
Before we dive in, let’s gather the essentials. Don’t worry—you probably already have most of these at home. No fancy tools required.
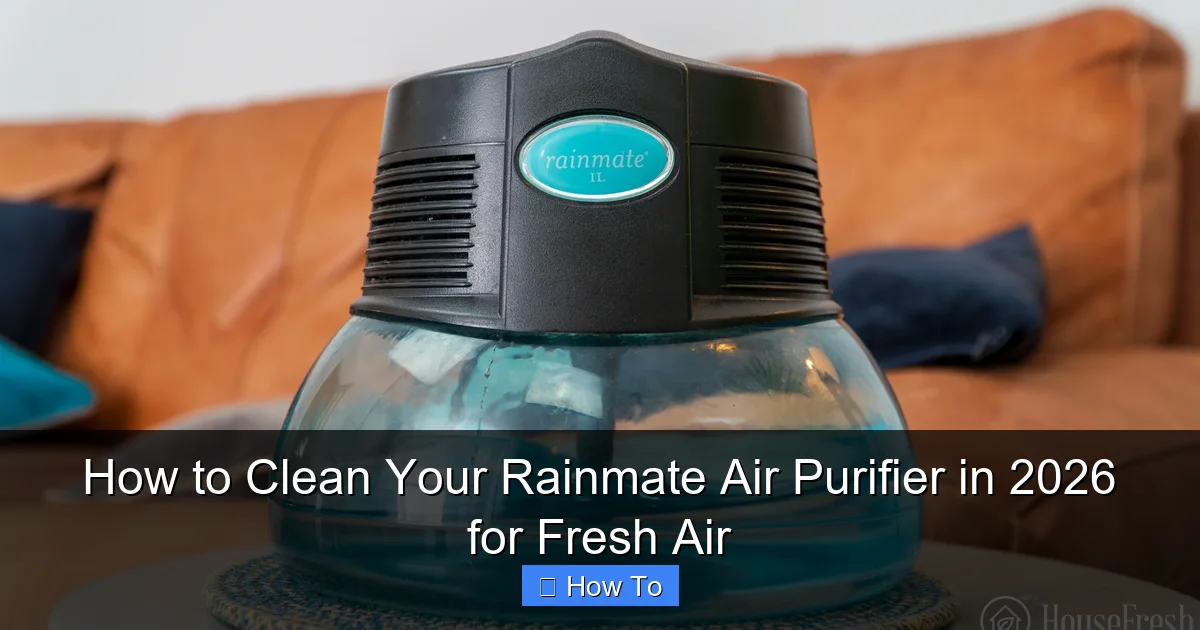
Visual guide about how to clean your rainmate air purifier
Image source: housefresh.com
- White vinegar – Nature’s cleaner and descaler. Perfect for breaking down mineral deposits.
- Distilled water – Tap water leaves minerals behind. Distilled keeps your Rainmate running smooth.
- Mild dish soap – For gentle scrubbing of plastic parts.
- Soft microfiber cloths – Avoid paper towels—they can leave lint.
- Small brush – An old toothbrush works great for tight spots.
- Q-tips or cotton swabs – Ideal for precision cleaning around the mist nozzle.
- Optional: Isopropyl alcohol (70%) – Great for disinfecting if you’ve used strong essential oils.
Pro tip: Always unplug your Rainmate before cleaning. Safety first, always.
Step-by-Step Guide to How to Clean Your Rainmate Air Purifier in 2026 for Fresh Air
Step 1: Power Down and Disassemble
Start by turning off and unplugging your Rainmate. Never clean it while it’s plugged in—water and electricity are not friends.
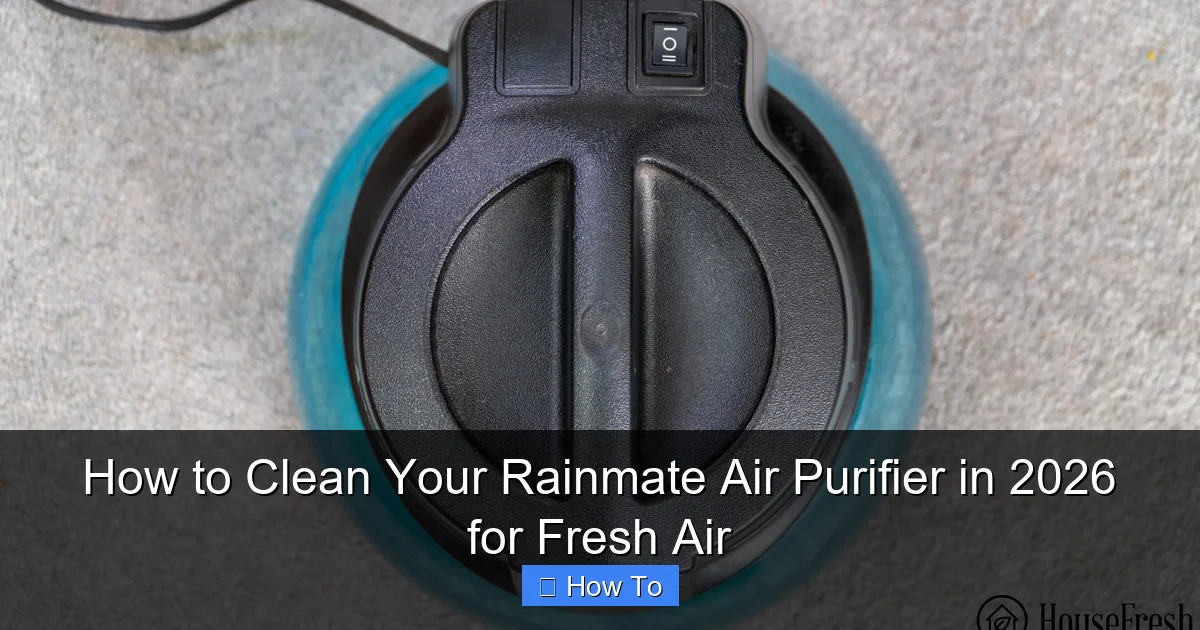
Visual guide about how to clean your rainmate air purifier
Image source: housefresh.com
Next, remove the water tank. Most Rainmate models have a top-fill tank that lifts straight off. Set it aside. Then, take out the internal nebulizer chamber (the part that creates the mist). This is usually a small, clear or white plastic cup located at the base of the tank.
If your model has a filter (some Rainmates do, especially newer versions), gently remove it too. Check the user manual if you’re unsure—don’t force anything.
Now, lay everything out on a clean towel. This keeps small parts from rolling away and gives you a clear workspace.
Step 2: Empty and Rinse All Parts
Dump any leftover water or oil mixture from the tank and nebulizer chamber. Don’t just pour it down the sink—essential oils can clog drains over time. Wipe the inside with a dry cloth first, then rinse.
Use warm (not hot) distilled water to rinse each component. Hot water can warp plastic parts, and tap water leaves mineral deposits. I learned this after warping my first nebulizer cup—don’t make my mistake.
Focus on the tank walls and the bottom of the nebulizer chamber. These areas collect the most residue, especially if you use citrus or spice-based oils (looking at you, lemon and cinnamon).
Step 3: Soak in Vinegar Solution
Here’s where the magic happens. Fill the water tank halfway with equal parts white vinegar and distilled water. Swirl it around, then let it sit for 15–20 minutes. Vinegar dissolves mineral buildup and neutralizes odors.
While that’s soaking, place the nebulizer chamber in a small bowl with the same vinegar solution. Let it soak for at least 10 minutes. If there’s heavy gunk, leave it longer—even overnight for stubborn cases.
For the mist nozzle (the tiny opening where the mist comes out), dip a Q-tip in vinegar and gently clean around the edges. Don’t push anything into the nozzle—it’s delicate.
After soaking, rinse everything thoroughly with distilled water. Any vinegar taste or smell will disappear once the unit dries, but rinsing ensures no residue lingers.
Step 4: Scrub Away Residue
Now it’s time to get hands-on. Use a soft brush (like an old toothbrush) dipped in mild soapy water to scrub the inside of the tank and nebulizer chamber.
Pay extra attention to corners and seams—these are prime spots for mold or oil buildup. If you see cloudy spots or sticky residue, that’s your cue to scrub a little harder.
For the exterior, wipe down the base and cord area with a damp microfiber cloth. Avoid getting water near the electrical components. A quick wipe with a dry cloth afterward keeps it safe.
If you’ve used strong essential oils (like oregano or tea tree), consider using a cotton swab dipped in isopropyl alcohol to disinfect the nebulizer chamber. These oils can leave antimicrobial residues that vinegar alone won’t remove.
Step 5: Dry Completely
This step is non-negotiable. Let every part air-dry completely before reassembling. I usually set them on a clean towel near an open window for 1–2 hours.
Why? Moisture left inside can lead to mold or mildew—especially in humid climates. And if you reassemble while damp, you risk damaging the motor or creating a musty smell.
Pro tip: Use a hair dryer on the cool setting to speed up drying, but keep it at least 6 inches away from plastic parts to avoid warping.
Step 6: Reassemble and Test
Once everything is bone-dry, put your Rainmate back together. Start by placing the nebulizer chamber into the base, then reattach the water tank.
Fill the tank with fresh distilled water—no oils yet. Plug it in and run it for 5–10 minutes. This flushes out any remaining vinegar taste and ensures the mist flows smoothly.
If the mist looks weak or uneven, don’t panic. Run it again with clean water. Sometimes it takes a cycle or two to fully clear the system.
Once it’s running clean, you’re ready to add your favorite essential oil and enjoy that crisp, fresh air again.
Pro Tips & Common Mistakes to Avoid
Cleaning your Rainmate seems simple—but small mistakes can shorten its life or reduce performance. Here’s what I’ve learned from trial, error, and a few “oops” moments.

Visual guide about how to clean your rainmate air purifier
Image source: housefresh.com
Pro Tip: Clean your Rainmate every 1–2 weeks if you use it daily. If you only use it occasionally, clean it after every 3–4 uses. Regular maintenance prevents buildup and keeps your unit running like new.
Warning: Never use bleach or harsh chemicals. They can damage plastic parts and leave toxic residues. Stick to vinegar, soap, and alcohol—they’re safe and effective.
Common Mistake: Skipping the nebulizer chamber. It’s easy to forget, but this is where most clogs happen. Always clean it—even if it looks fine.
Pro Tip: Use only high-quality, pure essential oils. Cheap or synthetic oils leave more residue and can gum up the system faster. Your Rainmate will thank you.
Warning: Don’t overfill the water tank. Most Rainmates have a max fill line. Overfilling can cause leaks or reduce mist output.
Common Mistake: Using tap water regularly. Minerals in tap water build up over time, clogging the nebulizer and reducing efficiency. Distilled water is cheap and worth the switch.
One last thing: if your Rainmate starts making strange noises, leaking, or the mist stops completely, it might be time to replace the nebulizer chamber. These parts wear out after 6–12 months of regular use. Check Rainmate’s website for replacement parts—they’re affordable and easy to install.
FAQs About How to Clean Your Rainmate Air Purifier in 2026 for Fresh Air
Q: How often should I clean my Rainmate?
A: If you use it daily, clean it every 1–2 weeks. For occasional use, clean it after every 3–4 sessions. Regular cleaning prevents buildup and keeps your air fresh.
Q: Can I use tap water instead of distilled?
A: Technically yes, but I wouldn’t recommend it. Tap water leaves mineral deposits that clog the nebulizer over time. Distilled water keeps your Rainmate running smoothly and extends its life.
Q: My Rainmate smells musty even after cleaning. What’s wrong?
A: That’s usually mold or mildew in the nebulizer chamber or tank. Soak everything in vinegar overnight, scrub well, and make sure it dries completely before reassembling. If the smell persists, consider replacing the nebulizer.
Q: Can I clean my Rainmate with baking soda?
A: Baking soda is great for scrubbing, but it doesn’t dissolve mineral buildup like vinegar does. You can use it as a gentle abrasive, but always follow up with a vinegar soak for deep cleaning.
Q: Is it safe to clean the Rainmate with essential oils inside?
A: No. Always empty the tank and remove oils before cleaning. Residual oils can mix with cleaning solutions and create harmful fumes or damage the unit.
Q: My mist is weak even after cleaning. What should I do?
A: First, make sure the nebulizer chamber is clean and properly seated. If that doesn’t help, the nebulizer may be worn out. Replacement chambers are available online and take just minutes to install.
Q: Can I put my Rainmate in the dishwasher?
A: Absolutely not. The high heat and harsh detergents can warp plastic parts and damage the internal components. Hand wash only—gentle soap, warm water, and air drying.
Final Thoughts
Cleaning your Rainmate might not be the most exciting chore, but it’s one of the best things you can do for your health and your home. Think of it like changing the oil in your car—small effort, big payoff.
By following this guide on how to clean your Rainmate air purifier in 2026 for fresh air, you’ll keep your unit running efficiently, extend its lifespan, and breathe easier knowing your air is truly clean.
Start today. Unplug your Rainmate, grab that vinegar, and give it the TLC it deserves. Your lungs—and your nose—will thank you.
And remember: a little maintenance goes a long way. Clean regularly, use distilled water, and your Rainmate will keep delivering that crisp, refreshing mist for years to come.
“`