Featured image for how to cleaner sharper image hybrid gp germicidal air purifier
Image source: ecx.images-amazon.com
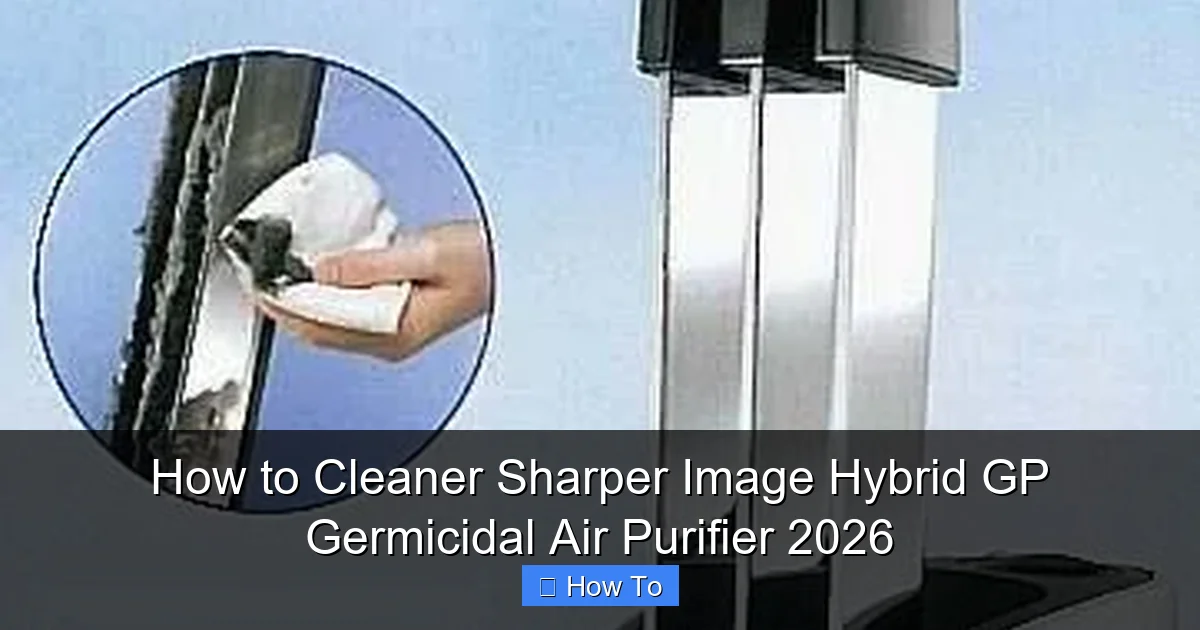
Regularly cleaning your Sharper Image Hybrid GP Germicidal Air Purifier 2026 is essential to maintain peak performance and extend its lifespan. Follow a simple routine: unplug the unit, remove and rinse the pre-filter, gently wipe the germicidal chamber and internal components with a dry or slightly damp cloth, and ensure all parts are completely dry before reassembling. Never use harsh chemicals or submerge the unit in water to avoid damaging sensitive electronic parts.
“`html
How to Clean Your Sharper Image Hybrid GP Germicidal Air Purifier 2026
Key Takeaways
- Turn off and unplug the purifier before cleaning for safety.
- Clean pre-filters weekly with a vacuum or soft brush to maintain airflow.
- Wipe the exterior with a damp cloth and mild detergent.
- Replace HEPA and UV filters as recommended to ensure peak performance.
- Check UV-C bulb function regularly and replace if not emitting light.
- Run the purifier empty for 10 minutes after cleaning to dry components.
Why This Matters
Let’s be real—your air purifier works hard. Every day, it pulls in dust, pollen, pet dander, and even invisible germs from the air in your home. But if you’ve owned a Sharper Image Hybrid GP Germicidal Air Purifier 2026 for more than a few months, you might notice it’s not running as quietly or efficiently as it used to. That’s usually a sign it’s time for a deep clean.
I learned this the hard way. Last winter, my purifier started making a weird humming noise, and my allergies flared up worse than usual. At first, I thought it was just seasonal—until I opened the unit and saw layers of grime clogging the filters and UV chamber. Yikes! Once I cleaned it properly, the difference was night and day: quieter operation, fresher air, and no more sneezing fits.
Cleaning your Sharper Image Hybrid GP Germicidal Air Purifier 2026 isn’t just about maintenance—it’s about performance, longevity, and your health. A dirty unit can’t trap pollutants effectively, and worse, it might even recirculate bacteria or mold if the germicidal components aren’t functioning right. So yes, this matters. A lot.
What You Need
Before we dive in, gather these simple supplies. Most are probably already in your cleaning closet:
Visual guide about how to cleaner sharper image hybrid gp germicidal air purifier
Image source: blazingauctionsimages.blob.core.windows.net
- Microfiber cloths (lint-free is best)
- Mild dish soap or all-purpose cleaner
- White vinegar (great for disinfecting and breaking down residue)
- Soft-bristle brush (an old toothbrush works perfectly)
- Compressed air canister (optional, but helpful for tight spots)
- Replacement HEPA filter (if yours is due for a swap—check your manual)
- Rubber gloves (to protect your hands from dust and cleaning solutions)
- Small bowl or sink for soaking parts
You don’t need fancy tools or expensive cleaners. The key is consistency and care. And remember: always unplug the unit before cleaning. Safety first!
Step-by-Step Guide to Cleaning Your Sharper Image Hybrid GP Germicidal Air Purifier 2026
Step 1: Power Down and Unplug the Unit
Before touching anything, turn off your air purifier and unplug it from the wall. This isn’t just common sense—it’s essential. Even though the unit has safety features, you never want to risk electrical shock or accidentally damage internal components while cleaning.
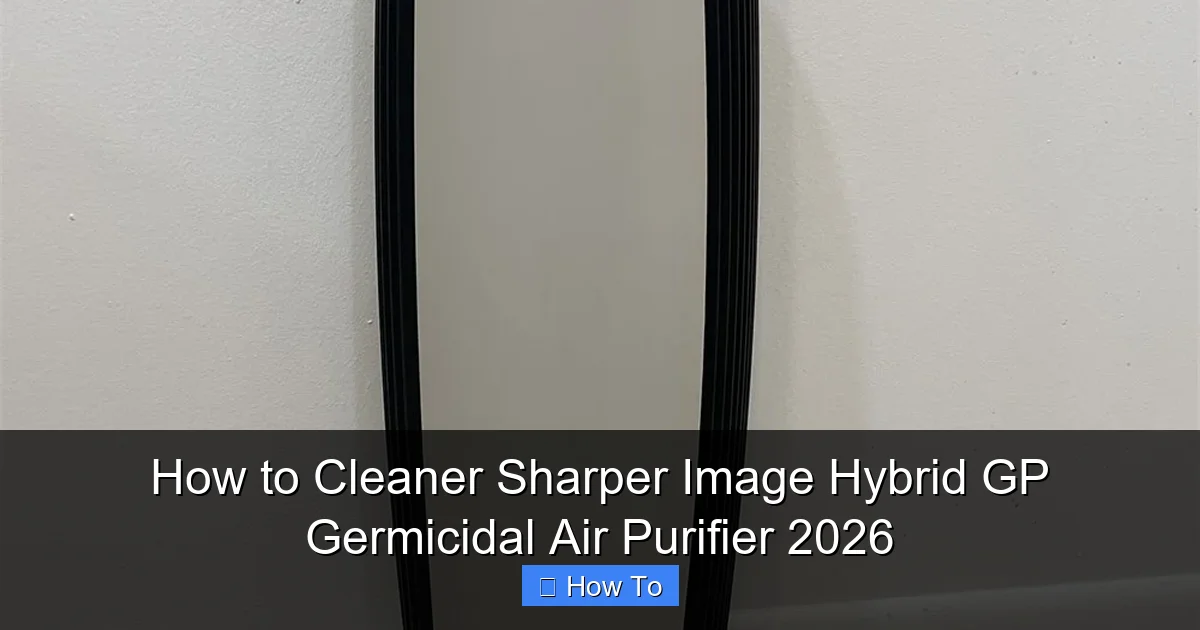
Visual guide about how to cleaner sharper image hybrid gp germicidal air purifier
Image source: blazingauctionsimages.blob.core.windows.net
While you’re at it, give the exterior a quick wipe with a dry microfiber cloth to remove surface dust. This prevents dirt from falling into the machine when you open it up.
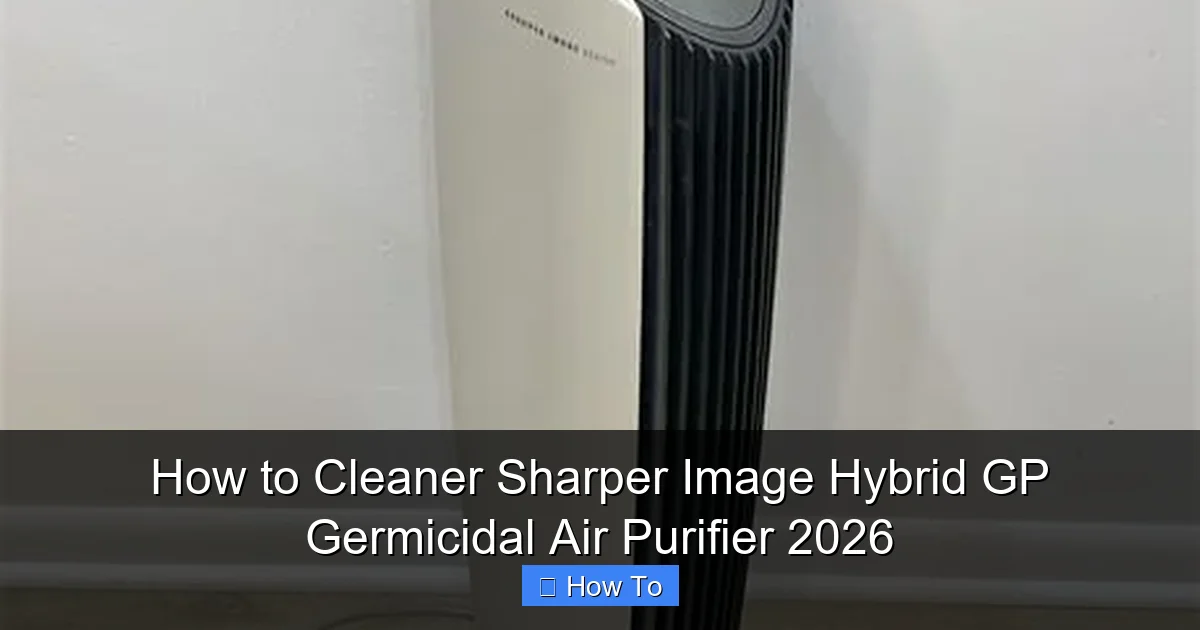
Step 2: Remove the Front Panel and Pre-Filter
Most Sharper Image models, including the Hybrid GP 2026, have a front panel that snaps off easily. Gently press the release tabs (usually on the sides or bottom) and pull the panel toward you. Set it aside.
Behind the panel, you’ll see the pre-filter—a mesh-like layer that catches large particles like hair and dust. This guy gets dirty fast, especially if you have pets or live in a dusty area.
Rinse the pre-filter under lukewarm water. If it’s really grimy, add a drop of mild dish soap and gently scrub with your soft brush. Avoid harsh scrubbing—you don’t want to tear the mesh. Rinse thoroughly and let it air-dry completely before reinserting. Never put a wet filter back in—it can cause mold or damage the motor.
Step 3: Access and Clean the HEPA Filter
Once the pre-filter is out, you’ll see the main HEPA filter. This is the workhorse of your purifier—it traps 99.97% of particles as small as 0.3 microns.
Important: The HEPA filter in the Sharper Image Hybrid GP 2026 is not washable. Do not rinse it! Instead, use a vacuum with a brush attachment to gently remove surface dust. Focus on both sides, especially the intake side where most debris accumulates.
If your filter looks dark gray or feels heavy with dust, it’s probably time to replace it. Most manufacturers recommend replacing HEPA filters every 6–12 months, depending on usage. Check your user manual for the exact model number so you buy the right replacement.
Step 4: Clean the Germicidal UV-C Chamber
This is where things get interesting—and a bit delicate. The Hybrid GP 2026 uses UV-C light to kill bacteria, viruses, and mold spores. But if the quartz sleeve around the UV lamp gets coated in dust or residue, it blocks the light and reduces effectiveness.
Carefully remove the UV chamber cover (usually held by screws or clips). Inside, you’ll see a glass tube—the UV lamp. Never touch the glass with bare fingers. Oils from your skin can create hot spots and shorten the lamp’s life.
Use a microfiber cloth lightly dampened with white vinegar to wipe the quartz sleeve. For stubborn buildup, let the vinegar sit for a minute, then gently scrub with your soft brush. Rinse with a clean, damp cloth and dry thoroughly.
If your model has a removable UV lamp (some do), consult your manual before handling. If not, just clean around it carefully. And remember: UV lamps typically last 6,000–9,000 hours—so if your unit is several years old, consider replacing the lamp for optimal germ-killing power.
Step 5: Wipe Down the Interior and Fan Blades
With the filters and UV chamber out, you now have access to the inner chamber. Use your microfiber cloth or a slightly damp one to wipe down all surfaces. Pay special attention to corners and crevices where dust loves to hide.
The fan blades are often overlooked—but they matter! Over time, dust builds up on the blades, throwing the fan off balance and causing noise or reduced airflow. Use your soft brush or compressed air to blow away loose debris, then wipe gently with a damp cloth.
Avoid spraying water directly into the unit. If you use a cleaning solution, apply it to the cloth first, not the machine.
Step 6: Reassemble and Test
Once everything is dry (and I mean completely dry), it’s time to put your purifier back together. Start by placing the HEPA filter back in its slot, then the pre-filter, and finally snap the front panel into place.
Plug the unit back in and turn it on. Listen for smooth operation—no rattling, grinding, or unusual noises. Run it on high for 10–15 minutes to ensure proper airflow.
Pro tip: Mark your calendar! Set a reminder to clean the pre-filter every 2–4 weeks and do a full deep clean every 3–6 months. Your lungs (and your purifier) will thank you.
Pro Tips & Common Mistakes to Avoid
Pro Tip: Keep a cleaning log. Note the date you cleaned or replaced each component. It sounds nerdy, but it helps you stay consistent and catch issues early.
Warning: Never use bleach, ammonia, or abrasive cleaners inside your purifier. These can damage plastic parts, degrade filters, and leave toxic residues that get blown back into your home.
One mistake I made early on? Assuming “germicidal” meant I didn’t need to clean often. Nope! The UV light kills germs, but it doesn’t remove physical debris. Dust still builds up and blocks airflow.
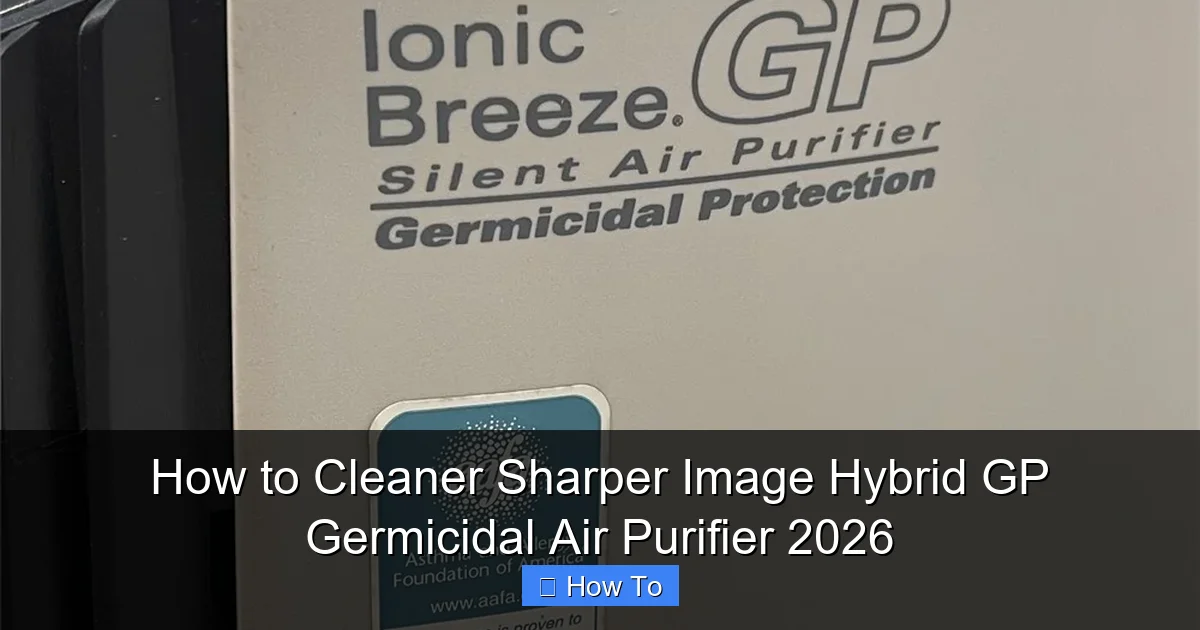
Visual guide about how to cleaner sharper image hybrid gp germicidal air purifier
Image source: blazingauctionsimages.blob.core.windows.net
Another common error: rushing the drying process. Putting damp parts back in can lead to mold growth inside the unit—defeating the whole purpose of having an air purifier!
Also, don’t ignore the manual. Yes, it’s tempting to wing it, but the Sharper Image Hybrid GP 2026 has specific design quirks. For example, some models have a carbon filter behind the HEPA—if yours does, handle it gently and replace it as recommended (usually every 3–6 months).
FAQs About Cleaning Your Sharper Image Hybrid GP Germicidal Air Purifier 2026
Q: How often should I clean my Sharper Image Hybrid GP Germicidal Air Purifier 2026?
A: Clean the pre-filter every 2–4 weeks, especially during high-use seasons (like winter or allergy season). Do a full deep clean—including the UV chamber and interior—every 3–6 months. If you have pets or smokers in the house, lean toward the shorter end of that range.
Q: Can I wash the HEPA filter?
A: No! The HEPA filter in this model is not washable. Wetting it can ruin its electrostatic charge and structural integrity. Vacuum it gently instead, and replace it when it looks dirty or every 6–12 months.
Q: What if my purifier still smells musty after cleaning?
A: That’s a red flag. Musty odors often mean mold inside the unit—likely in the UV chamber or around the fan. Disassemble again, inspect carefully, and clean with vinegar. If the smell persists, the HEPA or carbon filter may be contaminated and need replacing.
Q: Is it safe to clean the UV lamp myself?
A: Yes, as long as you unplug the unit and avoid touching the glass. Use a vinegar-dampened cloth and handle it gently. If you’re unsure or the lamp is cracked, contact Sharper Image support or a certified technician.
Q: My purifier is noisy after cleaning. Did I break something?
A: Not necessarily! Make sure all parts are seated correctly and nothing is loose. Check that the fan isn’t hitting any debris. If noise continues, double-check that the HEPA filter isn’t bent or misaligned—it can restrict airflow and strain the motor.
Q: Can I use rubbing alcohol to clean the UV chamber?
A: Technically yes, but vinegar is safer and just as effective for mineral deposits. Alcohol can leave residues or damage certain plastics over time. Stick with vinegar or mild soap unless your manual specifies otherwise.
Q: Does cleaning actually improve air quality?
A: Absolutely! A clean Sharper Image Hybrid GP Germicidal Air Purifier 2026 runs more efficiently, captures more pollutants, and maintains proper UV-C exposure. Dirty units can actually worsen air quality by recirculating trapped contaminants.
Final Thoughts
Cleaning your Sharper Image Hybrid GP Germicidal Air Purifier 2026 might seem like a chore, but think of it as a quick tune-up for your home’s air quality. It takes less than 30 minutes every few months—and the payoff is huge: cleaner air, quieter operation, and a longer life for your device.
Start small: clean the pre-filter this weekend. Then schedule your next deep clean in your calendar. Before you know it, it’ll become part of your regular routine—like changing furnace filters or wiping down kitchen counters.
And remember: your purifier protects you every day. Returning the favor with a little TLC is the least you can do. Breathe easy, friend—you’ve got this.
“`