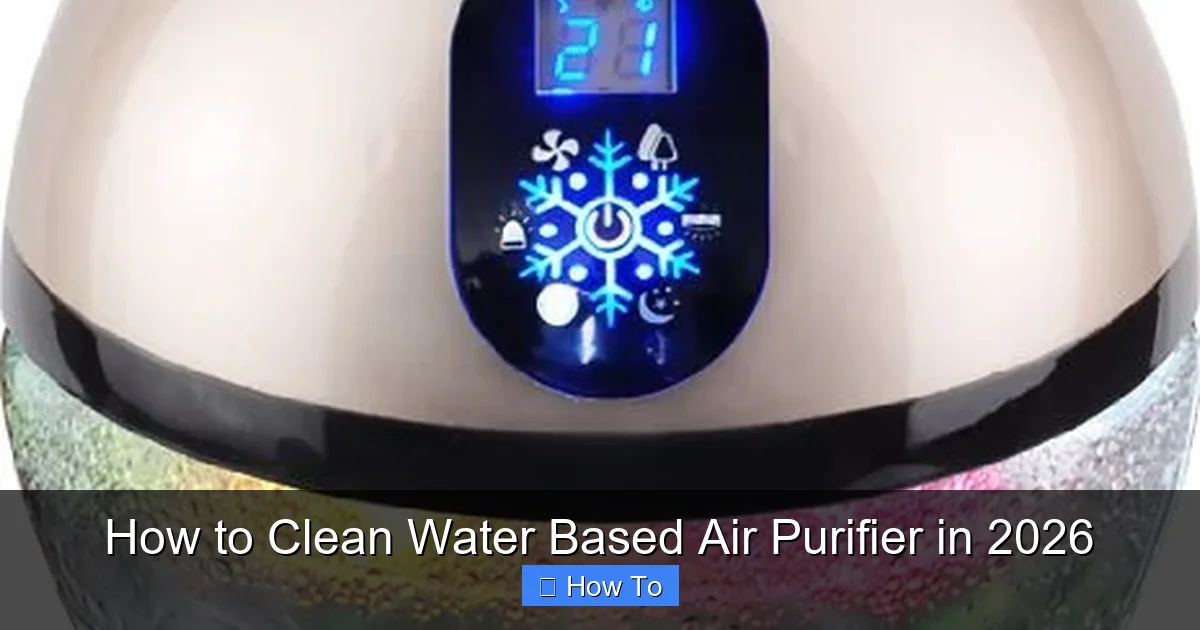
Featured image for how to cleaner water based air purifier
Image source: 7gadgets.com
Cleaning your water-based air purifier regularly is essential for optimal performance and long-term efficiency. In 2026, the best method involves draining the water tank, scrubbing it with a vinegar solution, and rinsing all components thoroughly to prevent mold and mineral buildup. Don’t forget to wipe the exterior and replace filters as recommended to ensure clean, fresh air year-round.
“`html
How to Clean Water Based Air Purifier in 2026
Key Takeaways
- Unplug first: Always disconnect power before cleaning for safety.
- Empty water daily: Prevents mold and bacterial growth in the tank.
- Use mild soap: Clean tank and parts with gentle, non-abrasive cleaners.
- Replace filters regularly: Follow manufacturer guidelines for optimal performance.
- Rinse thoroughly: Ensure no soap residue remains to avoid air contamination.
- Dry completely: Air-dry components before reassembling to prevent moisture damage.
Why This Matters / Understanding the Problem
Let’s be real—air purifiers are like the unsung heroes of our homes. They quietly work behind the scenes, filtering out dust, pollen, pet dander, and even odors. But if you’ve got a water-based air purifier, you know it’s not just about replacing filters. These units use water to trap pollutants, which sounds great… until you realize that water becomes a breeding ground for bacteria, mold, and mineral buildup if you don’t clean it properly.
I learned this the hard way last spring. My living room started smelling faintly like a damp basement, even though the air purifier was running nonstop. Turns out, I’d been skipping the deep clean for months. The water tank was cloudy, and there was a slimy film around the edges. Yikes. That’s when I realized: knowing how to clean a water-based air purifier in 2026 isn’t just helpful—it’s essential for both performance and your health.
Water-based purifiers are awesome because they don’t rely on expensive HEPA filters. Instead, they pull air through a water chamber where contaminants get trapped. But that same water can turn into a petri dish if neglected. Regular cleaning prevents mold, keeps the unit efficient, and ensures you’re breathing truly clean air—not recirculated gunk.
So whether you’re a first-time owner or just need a refresher, this guide will walk you through the process step by step. No fluff, no jargon—just real talk from someone who’s been there.
What You Need
Before we dive in, let’s gather our supplies. You don’t need anything fancy—just a few household items and maybe one or two things you already have under the sink.
Here’s your quick checklist:
- White vinegar (distilled is best—it’s cheap and cuts through mineral deposits like a champ)
- Soft microfiber cloths (avoid paper towels—they can leave lint behind)
- A small brush (an old toothbrush works perfectly for tight spots)
- Mild dish soap (unscented and free of harsh chemicals)
- Clean water (filtered or distilled if your tap water is hard)
- Optional: Hydrogen peroxide (3%) for extra disinfection)
- Optional: Rubber gloves (if you’re sensitive to cleaning products)
Most water-based air purifiers also come with removable parts like the water tank, fan cover, and sometimes a pre-filter. Check your user manual—it’ll tell you exactly what comes apart. And hey, if you’ve misplaced yours (we’ve all been there), most manufacturers post PDFs online.
Pro tip: Always unplug your purifier before cleaning. Safety first, always.
Step-by-Step Guide to How to Clean Water Based Air Purifier in 2026
Cleaning your water-based air purifier doesn’t have to be a chore. With a little routine, it takes less than 20 minutes. Here’s how I do it every two weeks—and why it keeps my unit running like new.
Step 1: Turn Off and Unplug the Unit
This might seem obvious, but it’s worth repeating. Never clean any electrical appliance while it’s plugged in. Even if the power switch is off, there’s still a risk of shock or short-circuiting if water gets near the motor.
I keep a habit of unplugging mine right after I turn it off at night. That way, when I wake up and decide to clean it, I don’t have to remember whether I already did it.
Once it’s unplugged, let it sit for 10–15 minutes. This gives any internal components time to cool down and reduces the chance of warping plastic parts during cleaning.
Step 2: Remove and Empty the Water Tank
Most water-based purifiers have a front-loading or top-loading water tank. Gently pull it out—don’t force it. Some models have a latch or release button; others just slide right out.
Pour out any remaining water. If it’s been sitting for a while, you might notice discoloration or floating particles. That’s totally normal, but it’s also a sign you’re overdue for a clean.
Rinse the tank under lukewarm water to remove loose debris. Don’t use hot water—it can warp certain plastics over time.
Step 3: Disassemble Removable Parts
Now’s the time to take apart everything that comes off. This usually includes:
- The water tank
- The fan cover or grille
- Any pre-filters or mesh screens
- The water tray or base (if separate)
Refer to your manual if you’re unsure. Some models have clips or screws—don’t lose those! I keep mine in a small bowl while I clean so they don’t disappear into the void under my sink.
If your unit has a washable pre-filter (often made of foam or mesh), remove it carefully. These catch larger particles before they reach the water, so they get pretty dirty.
Step 4: Soak and Scrub the Water Tank
This is where the magic happens. Fill the empty tank halfway with white vinegar. Let it sit for 15–20 minutes. Vinegar dissolves limescale, mineral deposits, and mild biofilm—all the gunk that builds up from hard water.
After soaking, use your soft brush (that old toothbrush again!) to scrub the inside walls, corners, and spout. Pay extra attention to the bottom and any narrow openings where water drips out.
For stubborn stains or slime, add a tablespoon of baking soda to the vinegar—it’ll fizz and help break down organic buildup.
Rinse thoroughly with clean water until there’s no vinegar smell left. Any residual acidity can affect future water quality and potentially damage internal parts.
Step 5: Clean the Fan and Internal Components
Now, gently wipe down the fan blades and motor housing with a damp microfiber cloth. Don’t soak this area—water and electronics don’t mix.
If there’s visible dust or grime, use the brush to loosen it, then wipe again. Some models allow you to remove the fan assembly entirely—check your manual. If you can, give it a quick rinse (without submerging the motor) and let it air-dry completely before reassembling.
Never use compressed air unless the manufacturer specifically recommends it. It can push dust deeper into sensitive areas.
Step 6: Wash Pre-Filters and Mesh Screens
If your purifier has a washable pre-filter, rinse it under cool water until the runoff runs clear. Gently squeeze out excess water—don’t wring it, as this can damage the material.
For extra sanitization, soak it in a solution of 1 part hydrogen peroxide to 3 parts water for 10 minutes. This kills bacteria without harsh chemicals.
Let it air-dry completely before reinstalling. A damp filter can promote mold growth—the last thing you want in an air purifier.
Step 7: Wipe Down the Exterior and Base
While everything’s drying, wipe the outside of the unit with a slightly damp cloth and a drop of mild dish soap. Avoid spraying cleaner directly onto the machine—dampen the cloth instead.
Pay attention to vents, buttons, and seams where dust loves to hide. A dry toothbrush works great for getting into tight spaces.
Dry everything with a clean microfiber cloth to prevent water spots.
Step 8: Reassemble and Refill with Fresh Water
Once all parts are completely dry (this is crucial!), put everything back together in reverse order.
Fill the tank with fresh, clean water. If you live in an area with hard water, consider using distilled water to reduce mineral buildup. It’s a small cost that saves big on cleaning time long-term.
Don’t overfill—most tanks have a “max fill” line. Overfilling can cause leaks or reduce airflow.
Step 9: Run a Test Cycle
Plug the unit back in and turn it on at the lowest setting. Let it run for 10–15 minutes. Listen for unusual noises—grinding or gurgling could mean air pockets or improper assembly.
Smell the air coming out. It should be fresh, not musty or chemical-like. If you notice an odd odor, double-check that all parts are dry and properly seated.
Pro Tips & Common Mistakes to Avoid
After cleaning dozens of these units (mine and friends’), I’ve seen what works—and what doesn’t.
Pro Tip: Clean your water-based air purifier every 2 weeks during heavy use (allergy season, pets, cooking smells) and monthly otherwise. Consistency beats occasional deep cleans.
Warning: Never use bleach or abrasive cleaners. They can degrade plastic parts and leave toxic residues that get aerosolized into your air.
One common mistake? Skipping the drying step. Putting wet parts back together traps moisture, which leads to mold—the exact problem you’re trying to solve.
Another rookie error: using tap water exclusively in hard-water areas. Those white flakes you see? That’s calcium and magnesium. Over time, they clog spray nozzles and reduce efficiency. Distilled water isn’t just for labs—it’s your purifier’s best friend.
Also, don’t ignore the user manual. I used to think all water purifiers worked the same—until I ruined a $200 unit by soaking a non-removable component. Manufacturers design these machines with specific tolerances. Respecting them extends lifespan.
Lastly, mark your calendar. I set a phone reminder every other Sunday. It takes 15 minutes, and I feel way better knowing my air is truly clean.
FAQs About How to Clean Water Based Air Purifier in 2026
Q: How often should I clean my water-based air purifier?
A: Every 2 weeks during peak usage (spring/summer, pet shedding season, or if you cook a lot), and monthly during lighter use. If you notice odors, reduced airflow, or cloudy water, clean it immediately—don’t wait for the schedule.

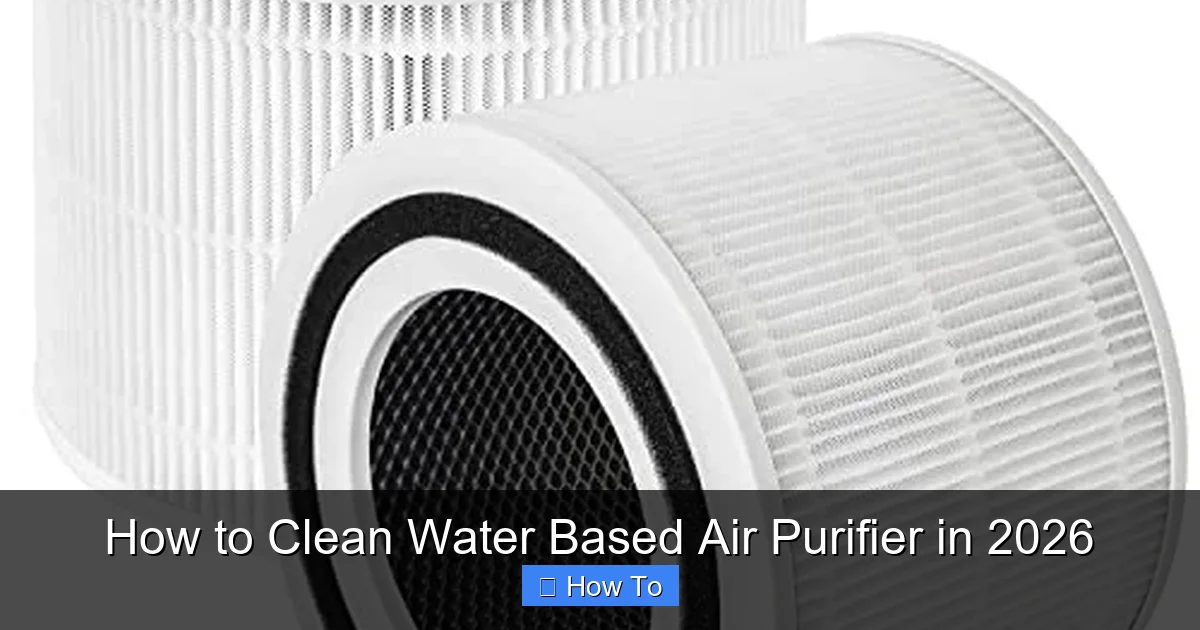
Visual guide about how to cleaner water based air purifier
Image source: m.media-amazon.com
Visual guide about how to cleaner water based air purifier
Image source: m.media-amazon.com
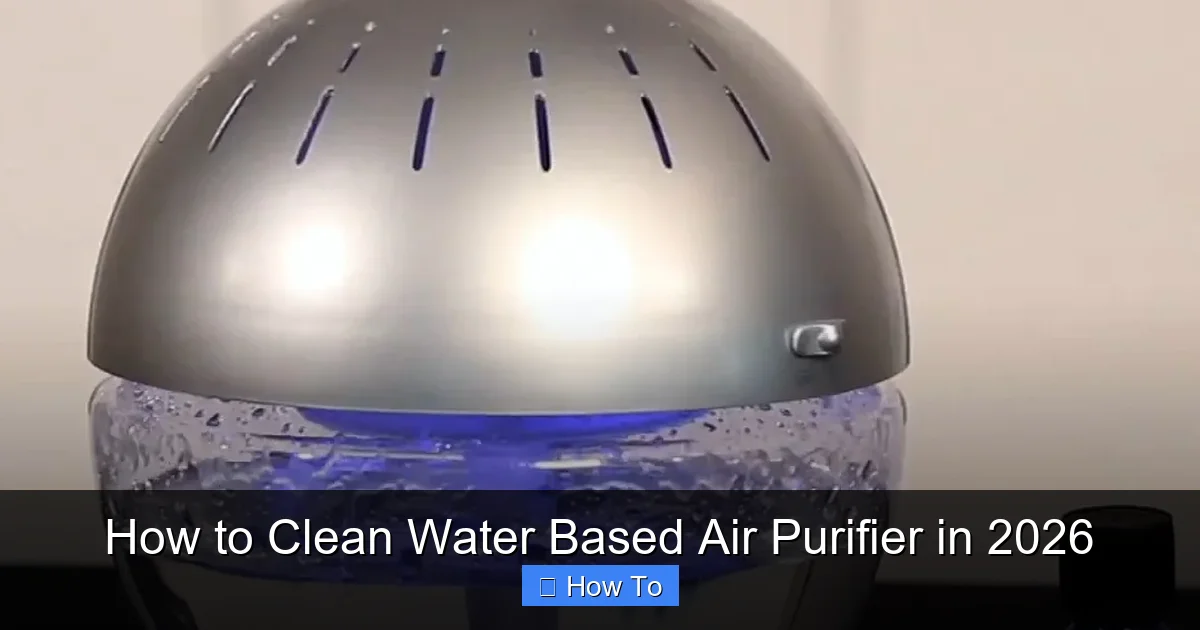
Visual guide about how to cleaner water based air purifier
Image source: s.yimg.com
Q: Can I use tap water instead of distilled?
A: You can, but it’s not ideal. Hard water leaves mineral deposits that clog the system and reduce efficiency. If you must use tap water, clean the tank more frequently (every 1–2 weeks) and use vinegar soaks to dissolve buildup.
Q: Is it safe to run the purifier with vinegar inside?
A: Absolutely not. Always rinse the tank thoroughly after using vinegar. Residual acid can corrode internal parts and release fumes when heated by the motor. Safety first!
Q: My purifier still smells after cleaning. What’s wrong?
A: Lingering odors usually mean mold or bacteria in hidden areas—like the water pump or internal tubing. Try a hydrogen peroxide soak (3%) for 20 minutes, or contact the manufacturer. Some models have serviceable pumps; others don’t.
Q: Can I put my water-based air purifier in the dishwasher?
A: Only if the manual explicitly says so. Most plastic parts aren’t dishwasher-safe and can warp or crack under high heat. Hand-washing is always the safest bet.
Q: Do I need to replace any parts when cleaning?
A: Most water-based purifiers don’t have replaceable filters, but check your pre-filter every 3–6 months. If it’s torn, discolored, or won’t come clean, it’s time for a new one. Some brands sell replacements online.
Q: Will cleaning improve air quality?
A: Yes—dramatically. A dirty unit recirculates contaminants instead of removing them. Clean purifiers run more efficiently, use less energy, and actually deliver on their promise of cleaner air.
Final Thoughts
Learning how to clean a water-based air purifier in 2026 isn’t just about maintenance—it’s about breathing easier, literally. These machines are simple, effective, and eco-friendly… but only if you treat them right.
Think of it like changing the oil in your car. Skip it, and you’ll pay later—in performance, smell, or even health issues. Do it regularly, and your purifier will hum along for years, quietly doing its job.
So grab that vinegar, unplug your unit, and give it the spa day it deserves. Your lungs (and your nose) will thank you. And hey—if you’ve got tips of your own, share them in the comments. We’re all in this clean-air journey together.
“`