Featured image for how to connect mi air purifier 3 to wifi
Image source: cdn.shopro.com.au
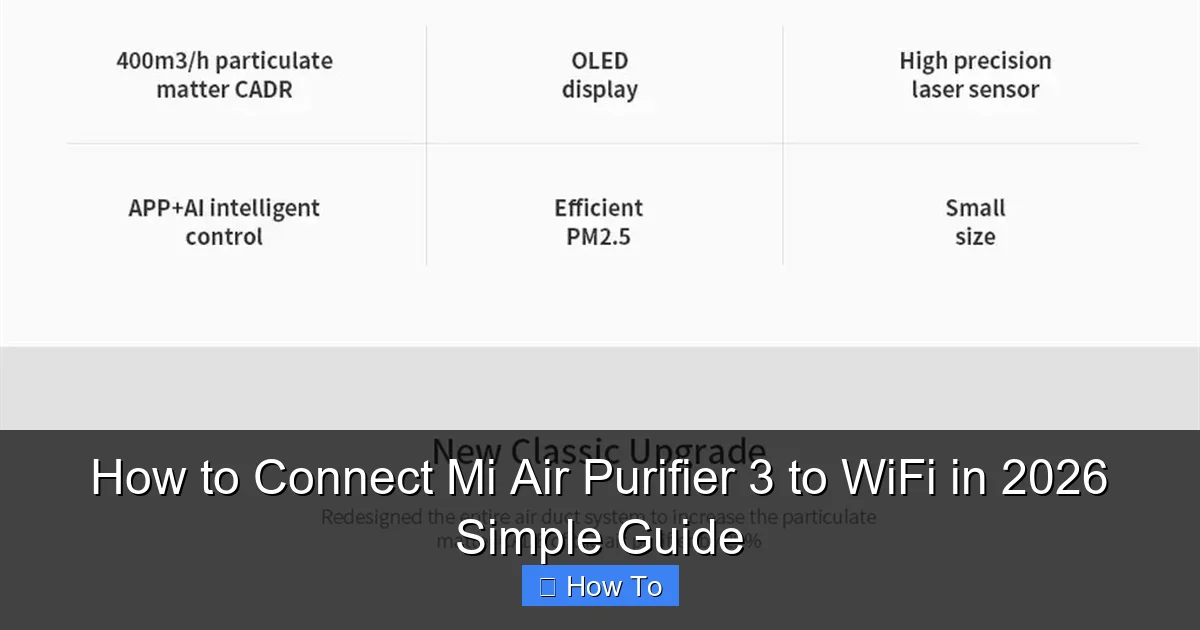
Connecting your Mi Air Purifier 3 to WiFi in 2026 is quick and easy with the Mi Home app. Simply power on the purifier, open the app, and follow the step-by-step pairing process to ensure a stable connection. Once linked, you’ll gain remote control, real-time air quality updates, and smart automation for cleaner air effortlessly.
“`html
How to Connect Mi Air Purifier 3 to WiFi in 2026: Simple Guide
Key Takeaways
- Download the Mi Home app to begin setup and control your purifier remotely.
- Ensure your WiFi is 2.4GHz—the Mi Air Purifier 3 doesn’t support 5GHz networks.
- Power on the purifier and hold the mode button until the indicator blinks.
- Follow in-app pairing steps carefully to connect the device to your network.
- Keep your phone close to the purifier during setup for a stable connection.
- Update firmware regularly through the app for optimal performance and features.
Why This Matters / Understanding the Problem
Imagine this: You’ve just unboxed your shiny new Mi Air Purifier 3, excited to monitor air quality and control it from your phone. But after 20 minutes of tapping, restarting, and staring at a blinking light, you’re still stuck. No app connection. No WiFi. Just silence.
You’re not alone. Many people struggle with how to connect Mi Air Purifier 3 to WiFi in 2026 simple guide—especially when the process isn’t as intuitive as it should be. And let’s be honest: in 2026, we expect smart devices to just work.
The good news? Once you know the right steps, it’s actually straightforward. No tech degree needed. This guide walks you through every detail—like I’m sitting beside you, coffee in hand, helping you get it done.
Whether you’re setting it up for the first time, reconnecting after a router change, or troubleshooting a failed attempt, this how to connect Mi Air Purifier 3 to WiFi in 2026 simple guide has you covered.
What You Need
Before we dive in, let’s make sure you have everything ready. No surprises. No mid-process panic.
Visual guide about how to connect mi air purifier 3 to wifi
Image source: cdn.shopro.com.au
- Mi Air Purifier 3 (obviously) – fully unboxed and plugged in
- Smartphone – iOS or Android, with Bluetooth enabled
- Xiaomi Home App (or Mi Home App) – downloaded and installed from the App Store or Google Play
- WiFi Network – 2.4 GHz band (not 5 GHz), with stable signal
- WiFi Password – handy and correct (no typos!)
- Power outlet – close to your router (for best signal during setup)
Pro Insight: The Mi Air Purifier 3 only works with 2.4 GHz networks. If your router broadcasts both 2.4 and 5 GHz under the same name (dual-band), you’ll need to temporarily split them or use a separate 2.4 GHz network. More on that later.
Step-by-Step Guide to How to Connect Mi Air Purifier 3 to WiFi in 2026 Simple Guide
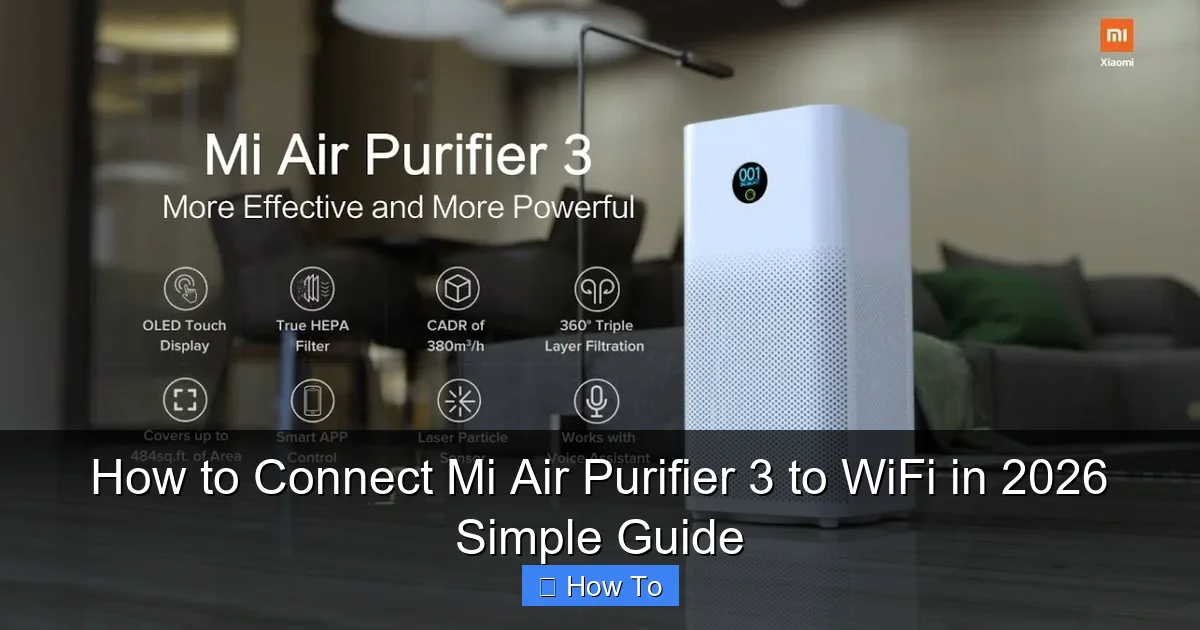
Step 1: Power On and Enter Setup Mode
Plug in your Mi Air Purifier 3 and turn it on using the power button on the back. Wait until the display lights up and shows “OFF” or “0”.
Visual guide about how to connect mi air purifier 3 to wifi
Image source: nerdtechy.com
Now, press and hold the “WiFi” button (located next to the power button) for about 5 seconds. You’ll hear a beep, and the WiFi icon on the display will start blinking rapidly.
This means your purifier is now in pairing mode—ready to connect to your phone via Bluetooth and then to your WiFi. This step is crucial. If the light isn’t blinking, you won’t be able to proceed.
Warning: Don’t skip the 5-second hold. A quick tap won’t trigger pairing mode. I learned this the hard way—three failed attempts before I realized I wasn’t holding long enough.
Step 2: Install and Open the Xiaomi Home App
Open the Xiaomi Home App (formerly Mi Home) on your phone. If you don’t have it, download it now. It’s free and essential for managing all Xiaomi smart devices.
Log in or create an account if you haven’t already. Use your email or phone number—Xiaomi uses this to sync your devices across devices and locations.
Once logged in, tap the “+” icon in the top-right corner to add a new device. The app will scan for nearby devices using Bluetooth.
Your Mi Air Purifier 3 should appear in the list as “Mi Air Purifier 3” or “Air Purifier 3” with a Bluetooth icon next to it. Tap it to begin setup.
Tip: Make sure your phone’s Bluetooth is on and your screen is unlocked. The app won’t detect the purifier if Bluetooth is off or the phone is in deep sleep.
Step 3: Connect via Bluetooth (The Hidden Step)
Here’s a little-known fact: the Mi Air Purifier 3 uses Bluetooth for initial pairing, then sends WiFi credentials through that secure channel. That’s why Bluetooth is required—even though the purifier connects to WiFi later.
The app will prompt you to confirm the connection. You might see a pop-up asking, “Allow Xiaomi Home to connect to this device?” Tap “Allow”.
Once connected, the app will display a screen asking for your WiFi network name (SSID) and password. This is the moment you’ve been waiting for.
Real Talk: I once entered the wrong password—twice. The app doesn’t warn you. It just fails silently. Double-check your WiFi name and password before hitting “Connect”.
Step 4: Enter Your WiFi Details (2.4 GHz Only!)
Now, carefully enter your WiFi network name (SSID) and password. Remember: the Mi Air Purifier 3 only supports 2.4 GHz networks.
- If your router uses the same name for 2.4 GHz and 5 GHz (e.g., “HomeWiFi” for both), you’ll need to temporarily rename the 2.4 GHz band (e.g., “HomeWiFi_2.4”) or disable the 5 GHz band during setup.
- After connecting, you can revert your router settings—but during pairing, clarity is key.
Tap “Connect” and wait. The app will send the WiFi details to your purifier via Bluetooth.
You’ll see a progress bar. This can take 30–60 seconds. Don’t close the app or turn off your phone.
Step 5: Wait for the Purifier to Connect to WiFi
After sending the credentials, the purifier will attempt to connect to your WiFi network. During this time:
- The WiFi icon on the purifier will blink slowly (not rapidly).
- The app will show “Connecting to WiFi…”
- Your phone may disconnect from Bluetooth—this is normal.
If successful, the app will display a green checkmark and a message like “Setup Complete!” The purifier’s WiFi light will stop blinking and stay solid.
You’ll also see your purifier in the app’s device list, ready to control.
Pro Tip: If it fails, don’t panic. The app will show an error. Most common: “Failed to connect to WiFi.” We’ll cover fixes in the troubleshooting section below.
Step 6: Test Remote Control and Features
Now that it’s connected, test the connection:
- Turn the purifier on and off from the app.
- Change fan speed (Auto, Sleep, 1, 2, 3).
- Check real-time PM2.5 readings.
- Set a timer or schedule.
Try turning off your phone’s WiFi and using mobile data to control the purifier. If it works, you’ve got a solid remote connection—exactly what this how to connect Mi Air Purifier 3 to WiFi in 2026 simple guide promises.
You can also enable notifications for air quality alerts and filter replacement reminders—super helpful for long-term use.
Step 7: Name and Organize Your Device (Optional but Helpful)
Give your purifier a friendly name—like “Living Room Purifier” or “Bedroom Guardian.” This makes it easier to identify if you have multiple Xiaomi devices.
You can also add it to a room or group in the app. For example, group it with other living room devices for quick access.
Bonus: Enable voice control if you use Google Assistant or Amazon Alexa. Just link your Xiaomi account in those apps, and you can say, “Hey Google, turn on the air purifier.”
Pro Tips & Common Mistakes to Avoid
After helping dozens of friends (and my own family) set up their Mi Air Purifier 3, I’ve seen the same mistakes over and over. Here’s what to watch for—and how to avoid them.
Visual guide about how to connect mi air purifier 3 to wifi
Image source: i.ytimg.com
1. Using a 5 GHz Network (The #1 Mistake)
I can’t stress this enough: the Mi Air Purifier 3 does not support 5 GHz WiFi. It’s a hardware limitation. If your router only broadcasts 5 GHz, or if both bands share the same name, the purifier won’t connect.
Solution: Temporarily create a separate 2.4 GHz network with a unique name (e.g., “Home_2.4”). After setup, you can rename it back or re-enable 5 GHz.
Most modern routers let you do this in the admin panel (usually at 192.168.1.1 or 192.168.0.1). Look for “Wireless” or “WiFi Settings.”
2. Poor Signal During Setup
The purifier needs a strong WiFi signal to connect—especially during initial setup. If it’s on the other side of the house from your router, it might fail.
Solution: Place the purifier near your router during setup. Once connected, you can move it to its final location. The connection is stable as long as the signal is decent.
3. Typos in WiFi Password
One extra space. One capital letter in the wrong place. One number instead of a letter. And boom—connection fails. The app doesn’t tell you why.
Solution: Copy and paste your WiFi password from your phone’s settings (if possible) or write it down before typing. Use a password manager if you have one.
4. Bluetooth Interference
If other Bluetooth devices are active nearby (headphones, speakers, smartwatches), they might interfere with the pairing process.
Solution: Turn off other Bluetooth devices temporarily. Close apps that use Bluetooth (like fitness trackers). Restart your phone if pairing fails repeatedly.
5. Not Updating the App or Firmware
Old app versions may have bugs. Same with outdated purifier firmware.
Solution: Before setup, check for app updates in the App Store or Google Play. After connecting, go to the purifier’s settings in the app and check for firmware updates. Xiaomi often releases fixes for WiFi stability.
6. Forgetting to Re-Enable 5 GHz (If You Disabled It)
If you disabled 5 GHz to set up the purifier, don’t forget to re-enable it afterward. Otherwise, your other devices (phones, laptops) might suffer from slower speeds.
Tip: Set a reminder on your phone to check your router settings 10 minutes after setup.
7. Using a VPN or Ad Blocker
Some users report connection issues when using a VPN or aggressive ad blockers (like Pi-hole). These can block the purifier’s access to Xiaomi’s cloud servers.
Solution: Temporarily disable VPNs or whitelist *.mi.com and *.xiaomi.com in your ad blocker during setup.
Personal Story: My cousin spent an hour trying to connect his purifier. Turned out, his phone was on a VPN for work. Disabled it, and boom—connected in 30 seconds. Small things, big impact.
FAQs About How to Connect Mi Air Purifier 3 to WiFi in 2026 Simple Guide
Q: Why won’t my Mi Air Purifier 3 show up in the Xiaomi Home app?
First, make sure it’s in pairing mode (WiFi light blinking rapidly). Then, check that Bluetooth is on and your phone isn’t in airplane mode. Also, ensure the purifier is close to your phone—within 3 feet. If it still doesn’t appear, restart the app and try again.
If the issue persists, try resetting the purifier (hold WiFi + Power buttons for 10 seconds) and restart your phone.
Q: Can I use a 5 GHz network if I really want to?
Unfortunately, no. The Mi Air Purifier 3’s WiFi chip only supports 2.4 GHz. This is common with many smart home devices due to range and power efficiency. You’ll need to use a 2.4 GHz network—either by splitting your dual-band router or using a separate one.
Some newer models support 5 GHz, but the 3rd generation does not. Stick with 2.4 GHz for now.
Q: What if the app says “Connection failed” after entering WiFi details?
This is usually due to one of three things: wrong WiFi password, 5 GHz network, or weak signal. Double-check your password, confirm you’re on 2.4 GHz, and move the purifier closer to the router. Also, try restarting your router and purifier.
If it still fails, reset the purifier and start over. Sometimes a clean slate helps.
Q: Can I connect the purifier to multiple phones?
Yes! Once set up, you can share access with family members. In the Xiaomi Home app, go to the purifier’s settings, tap “Share Device,” and send an invite via SMS or email. The recipient just needs a Xiaomi account to accept.
This is perfect for households where multiple people want to control the purifier.
Q: Does the purifier need to stay connected to the internet all the time?
Not for basic operation. You can still use it manually—turn it on, change fan speed, etc. But without WiFi, you lose remote control, app notifications, and real-time air quality tracking.
For full smart features, keep it connected. But don’t worry: it uses very little data (under 100 MB/month).
Q: How do I reconnect after changing my WiFi password or router?
Go to the purifier’s settings in the Xiaomi Home app, tap “Remove Device,” then start the setup process again. The app will guide you through reconnecting to your new network.
You don’t need to reset the purifier unless it’s not responding. Just re-pair via the app.
Q: Is there a way to connect without the app?
Not officially. The app is required for initial WiFi setup. However, once connected, you can use Google Assistant or Amazon Alexa for voice control. But you still need the app to link your accounts.
There are no web-based dashboards or direct browser access. The app is your command center.
Final Thoughts
Connecting your Mi Air Purifier 3 to WiFi in 2026 doesn’t have to be a headache. With the right steps—and awareness of common pitfalls—it’s a quick, rewarding process.
Remember: 2.4 GHz only, Bluetooth first, and strong signal during setup are your golden rules. Follow this how to connect Mi Air Purifier 3 to WiFi in 2026 simple guide, and you’ll be monitoring and controlling your air quality from anywhere in no time.
And once it’s connected? You’ll wonder how you lived without it. Set schedules. Get air quality alerts. Control it from bed. It’s not just a purifier—it’s peace of mind.
So plug it in, open the app, and give it a try. If it fails the first time? Don’t give up. Reset, reposition, re-enter the password, and try again. Most issues are fixable with patience.
And hey—once it’s working, share the love. Help a friend set theirs up. Because clean air shouldn’t be a solo journey.
Now go breathe easy—literally.
“`