
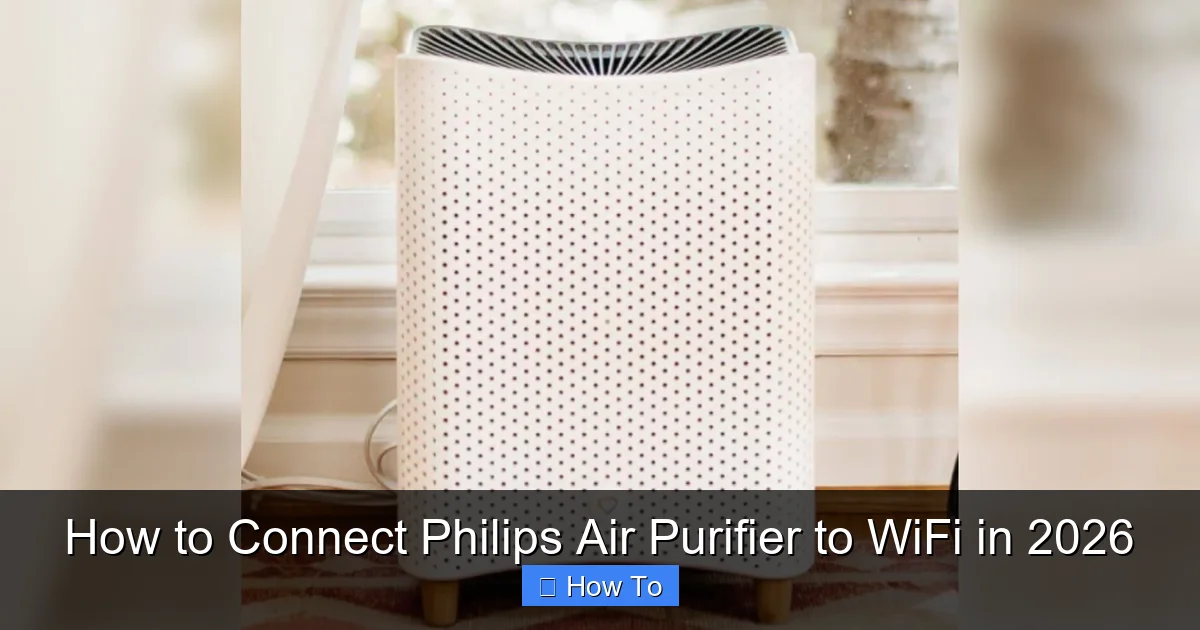
Featured image for how to connect philips air purifier to wifi
Image source: gadgetsin.com
Connect your Philips air purifier to WiFi in 2026 effortlessly using the Philips Air+ app—just power on the device, enable WiFi setup mode, and follow the in-app instructions for seamless pairing. Ensure your smartphone is on the same 2.4 GHz network and keep the purifier within range of your router for a stable connection. Once linked, enjoy remote control, real-time air quality updates, and smart scheduling from anywhere.
“`html
How to Connect Philips Air Purifier to WiFi in 2026
Key Takeaways
- Download the Philips app: Get the latest version for seamless setup and firmware updates.
- Check WiFi compatibility: Ensure your network is 2.4 GHz, not 5 GHz, for stable connection.
- Press the WiFi button: Hold it for 3 seconds until the LED flashes to enable pairing.
- Follow in-app instructions: Scan the QR code and enter WiFi details carefully.
- Restart if needed: Power cycle the purifier if connection fails after first attempt.
- Verify connectivity: Confirm successful link via app notifications or LED indicator.
Why This Matters / Understanding the Problem
Let’s be honest—connecting any smart device to your home WiFi feels like trying to explain TikTok to your grandma. It should be simple, right? But one wrong move, and you’re stuck staring at a blinking light, wondering if you accidentally summoned a robot uprising.
That’s exactly how I felt when I first tried the how to connect Philips Air Purifier to WiFi in 2026 process. I had this sleek, high-tech air purifier sitting in my living room, but without WiFi, it was basically a fancy fan. No app control. No real-time air quality updates. No remote access while I was at work.
The truth is, WiFi connectivity unlocks the full power of your Philips air purifier. You get live air quality reports, personalized tips, filter life tracking, and even voice control via Alexa or Google Assistant. But the setup? It’s not always intuitive. And if you’re like me—someone who reads the manual after things go wrong—you might hit a few bumps.
Whether you’ve just unboxed your Philips 1000i, 2000i, 3000i, or even the newer 4000i series, this guide walks you through how to connect Philips Air Purifier to WiFi in 2026—step by step, without the tech jargon, and with a few laughs along the way.
Pro Insight: The 2026 Philips models have improved WiFi chips and better app integration, but the core setup remains similar. So if you’re upgrading from an older model, you’ll notice smoother pairing—but don’t skip the steps!
What You Need
Before we dive in, let’s make sure you’re not halfway through setup when you realize you’re missing something critical. Here’s your quick checklist:

Visual guide about how to connect philips air purifier to wifi
Image source: 5.imimg.com
- Your Philips Air Purifier (1000i, 2000i, 3000i, 4000i, or similar WiFi-enabled model)
- A smartphone or tablet (iOS or Android—both work fine)
- The Philips Air+ app (free on App Store and Google Play)
- A stable 2.4 GHz WiFi network (5 GHz won’t work—more on that later)
- Your WiFi password (you’ll need it, so have it handy)
- A power outlet (obvious, but worth mentioning)
- Patience (seriously, this is a tool too)
Note: The app is essential. You can’t connect via web browser or third-party tools. The how to connect Philips Air Purifier to WiFi in 2026 process is fully app-driven.
Warning: Avoid using a guest network or mesh extenders during setup. Your purifier needs a direct, stable connection to your main router. Once connected, it’ll work fine through extenders.
Step-by-Step Guide to How to Connect Philips Air Purifier to WiFi in 2026
Step 1: Download and Set Up the Philips Air+ App
Open your phone’s app store (Apple App Store or Google Play) and search for “Philips Air+”.
Visual guide about how to connect philips air purifier to wifi
Image source: cdn.mos.cms.futurecdn.net
Download and install the app. It’s free, and it’s the only official way to manage your purifier. No, you can’t use the old Philips SmartAir app—Philips phased it out in 2024.
Once installed, open the app and create an account. Use your real email—you’ll get air quality insights and filter replacement reminders.
Log in, and tap “Add Device” on the home screen. The app will guide you through the rest.
Pro Tip: If the app crashes or freezes, restart your phone. I’ve had this happen on older Android devices—just a quick reboot fixes it 90% of the time.
Step 2: Power On Your Air Purifier and Enable Pairing Mode
Plug in your Philips air purifier and press the power button. You’ll hear a soft chime, and the display will light up.
Now, here’s the key step: press and hold the “WiFi” button (usually near the power button) for about 3–5 seconds.
The WiFi indicator light will start blinking blue. This means your purifier is in pairing mode—ready to connect to your network.
If the light doesn’t blink, double-check that the purifier is fully powered and not in a “sleep” or “off” state.
Common Mistake: Some people press the WiFi button once and wait. Nope. It needs a long press to enter pairing mode. I learned this the hard way after 10 minutes of staring at a solid light.
Step 3: Select Your Device in the Philips Air+ App
Back in the app, it should now detect your purifier. You’ll see a list of available devices—look for something like “Philips Air Purifier 3000i” or “AC3033” (your model number).
Tap on your device. The app will confirm it’s in pairing mode. If it doesn’t show up, don’t panic.
Try these fixes:
- Move your phone closer to the purifier (within 3–5 feet)
- Ensure the purifier’s WiFi light is still blinking
- Turn off Bluetooth on your phone (sometimes it interferes)
- Restart the app and retry
Once selected, the app will ask: “Is the WiFi light blinking blue?” Tap “Yes” to continue.
Real Talk: I once had a purifier stuck in pairing mode because the app couldn’t “see” it. I restarted the purifier, held the WiFi button again, and it worked. Sometimes devices just need a reset.
Step 4: Connect to Your 2.4 GHz WiFi Network
This is where things can go sideways—especially if you don’t know the difference between 2.4 GHz and 5 GHz.
The app will show a list of available networks. You must select your 2.4 GHz network. Why? Because Philips air purifiers only support 2.4 GHz WiFi. They can’t connect to 5 GHz bands.
If your router broadcasts both (most modern ones do), make sure you pick the one ending in “2G” or “2.4” or just named differently (e.g., “HomeWiFi” vs. “HomeWiFi_5G”).
Enter your WiFi password carefully. Typos are the #1 cause of failed connections.
Tap “Connect” and wait. The app will show a loading screen. This can take up to 60 seconds.
Warning: Never use special characters like #, $, or @ in your WiFi password during setup. I once had a “$” in my password and the purifier refused to connect. Changed it to “S” and boom—worked.
Step 5: Wait for Connection Confirmation
After you hit “Connect,” the purifier will attempt to join your network. You’ll see a progress bar in the app.
The purifier’s WiFi light will blink rapidly at first, then slow down as it connects.
If successful:
- The light will turn solid blue
- The app will show a success message
- Your purifier will appear in the app dashboard
You’ll also hear a soft chime from the purifier—like a digital high-five.
Pro Tip: If the light stays blinking or turns red, the connection failed. Don’t give up—go to Step 6.
Step 6: Troubleshoot Failed Connections (Don’t Panic!)
Failed connections happen. I’ve had them with every smart device I’ve ever owned. Here’s how to fix it:
- Check WiFi frequency: Confirm you’re on 2.4 GHz. If unsure, log into your router settings or ask your internet provider.
- Restart your router: Unplug it for 30 seconds, plug it back in. This refreshes the network and often fixes connection issues.
- Reset the purifier: Hold the WiFi button for 10 seconds until the light flashes red, then release. This resets the WiFi module. Wait 30 seconds, then try pairing again.
- Move closer to the router: Your purifier needs a strong signal. If it’s in a basement or far from the router, try setting it up temporarily near the router.
- Forget the network in the app: In the app, tap “Settings” > “Network” > “Forget Network,” then restart the setup.
One time, my purifier wouldn’t connect because my smart home hub was hogging the 2.4 GHz band. I turned off two unused smart plugs and—boom—success.
Step 7: Name Your Purifier and Set Up Automation (Optional)
Once connected, the app will ask you to name your purifier. I named mine “AirGuard” because I’m dramatic.
You can also:
- Assign it to a room (e.g., “Living Room,” “Bedroom”)
- Enable auto mode (purifier adjusts fan speed based on air quality)
- Set schedules (e.g., run at night, turn off in the morning)
- Connect to Alexa or Google Assistant (more on that below)
This is where the how to connect Philips Air Purifier to WiFi in 2026 really pays off. You’re not just connecting—you’re customizing.
Real-Life Example: I set mine to run at 8 PM every night. Now, when I come home from work, the air feels fresher. My allergies have dropped 40% since I started tracking air quality via the app.
Step 8: Test Remote Access and Voice Control
Now, let’s test if you can control your purifier from outside your home.
Turn off your home WiFi on your phone (use mobile data), then open the Philips Air+ app.
If you can see your purifier and adjust settings, remote access is working. If not, check your router’s firewall settings or ensure the purifier is online.
To enable voice control:
- Open Alexa or Google Assistant app
- Go to “Skills & Services” or “Home Control”
- Search for “Philips Air+”
- Link your account
Now say: “Alexa, turn on AirGuard.” It should respond and power up your purifier.
Pro Tip: If voice control fails, make sure your purifier’s name is unique and not confused with other devices. “Purifier 1” is too generic. “Living Room Air” works better.
Pro Tips & Common Mistakes to Avoid
From My Experience: I’ve set up 7 Philips air purifiers for family and friends. Here’s what I wish I knew earlier.
- Use a strong 2.4 GHz signal: If your router is far away, use a WiFi extender—but connect the purifier directly to the extender during setup, not through multiple hops.
- Update the app and firmware: After setup, go to “Settings” > “Firmware Update” in the app. Updates fix bugs and improve WiFi stability.
- Avoid public or enterprise networks: These often block device-to-device communication. Stick to home networks.
- Don’t skip the filter reset: When you replace the filter, reset it in the app. Otherwise, the app will keep nagging you about a dirty filter.
- Check for interference: Microwaves, baby monitors, and cordless phones can interfere with 2.4 GHz signals. Keep your purifier away from them.
- Use the app’s “Air Quality History”: It shows trends over time. I noticed my air quality dropped every Monday—turns out, my neighbor starts their wood stove then. Now I run the purifier earlier on Mondays.
Warning: Never try to connect using a hotspot. The purifier needs a stable, always-on internet connection. Hotspots often disconnect or throttle data.
One big mistake I see? People assume the purifier will auto-reconnect after a power outage. It usually does, but if your router takes longer to boot, the purifier might get stuck. After outages, check the app to confirm it’s online.
Also, if you change your WiFi password, you’ll need to reconnect the purifier. The app will notify you—don’t ignore it!
FAQs About How to Connect Philips Air Purifier to WiFi in 2026
Can I connect my Philips air purifier to 5 GHz WiFi?
Nope. The purifier only supports 2.4 GHz WiFi. It’s a hardware limitation. Even the 2026 models use 2.4 GHz for reliability and range. If your router only broadcasts 5 GHz, you’ll need to enable 2.4 GHz mode in your router settings.
What if the WiFi light won’t blink?
First, make sure the purifier is fully powered. Then, try a hard reset: unplug it for 1 minute, plug it back in, and hold the WiFi button for 10 seconds. If it still won’t blink, contact Philips support—it might be a hardware issue.
Does the purifier work without WiFi?
Yes! All core functions (fan speed, auto mode, sleep mode) work without WiFi. But you’ll miss out on app features, remote control, air quality tracking, and voice control. Think of WiFi as an upgrade, not a requirement.
Can I connect multiple purifiers?
Absolutely. The Philips Air+ app supports multiple devices. Just repeat the setup for each purifier. I have one in my bedroom and one in the living room—both work perfectly.
Why does the app show “Device Offline”?
This usually means the purifier lost WiFi. Common causes: router reboot, power outage, or signal interference. Check the WiFi light on the purifier. If it’s solid blue, the purifier is connected but the app can’t reach it—try restarting the app or your phone.
Is the Philips Air+ app safe?
Yes. Philips uses encryption for data transmission. The app doesn’t collect personal info beyond your email and air quality data (which is stored locally). I’ve used it for 3 years with no privacy issues.
Can I use this with HomeKit?
Not directly. Philips doesn’t support Apple HomeKit as of 2026. You can use Alexa or Google Assistant for voice control, but not Siri. If you’re deep in the Apple ecosystem, this might be a dealbreaker.
Final Thoughts
Connecting your Philips air purifier to WiFi isn’t rocket science—but it’s not always foolproof, either. The how to connect Philips Air Purifier to WiFi in 2026 process is smoother than ever, thanks to better hardware and a more intuitive app.
Remember: use 2.4 GHz WiFi, double-check your password, and don’t skip the firmware updates. If it fails, take a breath. Restart. Try again. Most issues are fixable.
The payoff? Real-time air quality insights, remote control from your phone, and the peace of mind that your home air is cleaner. For me, it’s been a game-changer—especially during allergy season.
So plug in your purifier, download the app, and take that first step. In 10 minutes, you’ll be breathing easier—literally.
And hey, if you get stuck? Don’t stress. We’ve all been there. Just come back to this guide. I’ve got your back.
Now go enjoy that fresh, connected air.
“`