
Featured image for how to detach grille honeywell air purifier cleaning filter
Image source: i.ytimg.com
Detaching the grille on your Honeywell Air Purifier Cleaning Filter 2026 is quick and easy—simply locate the latch or clips on the front panel and gently press or lift to release it. Once the grille is removed, you can access the filter for cleaning or replacement, ensuring your air purifier runs efficiently. Always power off the unit before starting to ensure safety and prevent damage.
“`html
How to Detach Grille Honeywell Air Purifier Cleaning Filter 2026
Key Takeaways
- Power off first: Always unplug the purifier before detaching the grille for safety.
- Locate release tabs: Press the side tabs to unlock the grille from the unit.
- Remove grille gently: Pull the grille outward without forcing it to avoid damage.
- Access filter easily: Slide out the filter once the grille is detached for cleaning.
- Clean with care: Use a soft brush or vacuum to remove dust from the filter.
- Reattach securely: Align and snap the grille back until it clicks into place.
Why This Matters / Understanding the Problem
Let’s be real—cleaning your air purifier isn’t exactly the most exciting chore on your list. But if you’ve got a Honeywell Air Purifier model 2026, you’ve probably noticed that dust and pet hair love to cling to the grille like it’s their favorite couch. Over time, that buildup doesn’t just look gross—it actually blocks airflow and makes your purifier work harder, which means less clean air and higher energy bills.
I learned this the hard way. Last winter, my allergies were going wild even though my purifier was running nonstop. Turns out, the grille was so clogged that air could barely get through. Once I finally figured out how to detach grille Honeywell Air Purifier Cleaning Filter 2026, everything changed. The machine hummed smoother, and my sinuses thanked me.
Regular maintenance isn’t just about performance—it’s about longevity. Honeywell designed the 2026 with user-friendly parts, but if you’ve never removed the grille before, it can feel a little intimidating. Don’t worry. It’s simpler than it looks, and once you do it once, you’ll wonder why you waited so long.
In this guide, I’ll walk you through the entire process step by step—no tools required, no guesswork, just clear, friendly instructions. Whether you’re a first-time owner or just need a refresher, you’ll have that grille off, cleaned, and back on in under 10 minutes.
What You Need
Good news: you don’t need a toolkit or a degree in engineering. Everything you need is probably already in your home. Here’s your quick checklist:
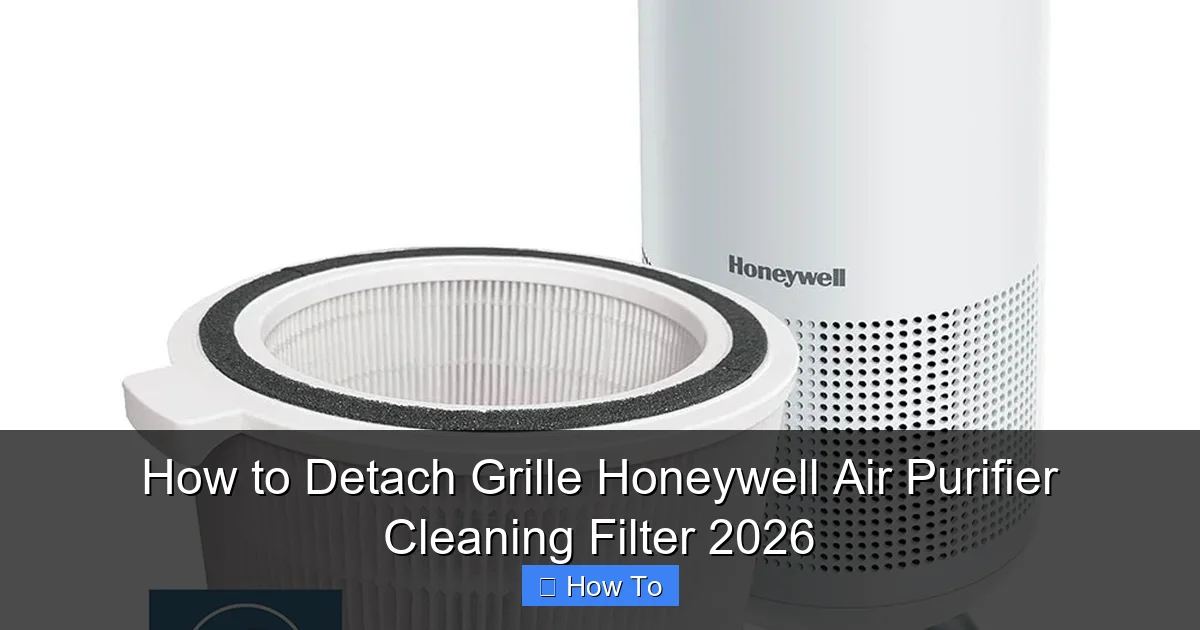
Visual guide about how to detach grille honeywell air purifier cleaning filter
Image source: honeywellstore.com
- Your Honeywell Air Purifier 2026 – obviously!
- A clean, flat workspace – like a table or countertop near an outlet
- A soft cloth or microfiber towel – for wiping down surfaces
- A vacuum with a brush attachment (optional but helpful) – great for sucking up loose dust before you start
- Mild soap and water (optional) – only if the grille is extra grimy
That’s it. No screws, no clips that require special tools—just your hands and a little patience. I recommend doing this near a trash can so you can easily toss any dust bunnies you dislodge.
Step-by-Step Guide to How to Detach Grille Honeywell Air Purifier Cleaning Filter 2026
Step 1: Turn Off and Unplug the Unit
Before you touch anything, safety first. Always turn off your Honeywell Air Purifier 2026 using the power button on the front panel. Then—and this is crucial—unplug it from the wall outlet.
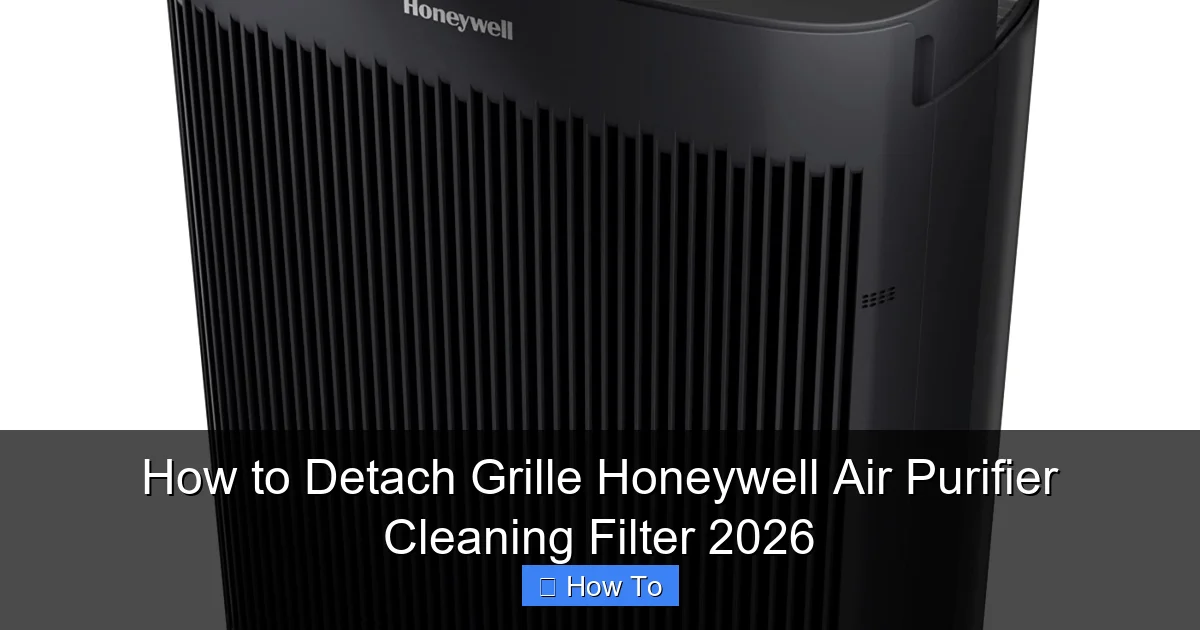
Visual guide about how to detach grille honeywell air purifier cleaning filter
Image source: m.media-amazon.com
I can’t stress this enough: even if the unit is off, there’s still a small chance of electrical components being live. Unplugging eliminates any risk, especially if you’re planning to wipe down the grille with a damp cloth later.
While you’re at it, give the exterior a quick wipe with a dry cloth. Dust on the outside can fall into the machine when you open it up, undoing all your hard work.
Step 2: Locate the Grille Release Mechanism
Now, take a close look at the front of your purifier. The grille is the slatted panel covering the filter—it’s what you see when you look straight at the machine.
On the Honeywell 2026, there are two small tabs on the top edge of the grille, right where it meets the main body of the unit. These aren’t buttons—they’re flexible plastic clips that hold the grille in place. You won’t see them unless you tilt your head and look closely from above.
Pro tip: Shine a flashlight along the top seam if it’s hard to see. The tabs are about the size of a fingernail and slightly recessed. Once you spot them, you’ll know exactly where to press.
Step 3: Gently Press the Tabs and Lift the Grille
Here’s where some people get nervous—don’t be. The grille isn’t glued or screwed in. It’s held by those two clips, and they’re designed to release with gentle pressure.
Place your thumbs on the top edge of the grille, right over the tabs. Press inward (toward the center of the unit) with steady, even pressure. You’ll feel a slight “give” as the clips disengage.
Once both tabs are released, slowly lift the top of the grille upward. It will pivot slightly at the bottom, so don’t yank it. The entire panel should come free with minimal effort.
If it feels stuck, stop and double-check that both tabs are fully depressed. Sometimes one side releases before the other. Wiggle it gently side to side while lifting—it should slide right out.
Step 4: Remove the Pre-Filter (If Present)
With the grille off, you’ll likely see a thin, mesh-like layer behind it—this is the pre-filter. It’s not part of the main HEPA filter but catches larger particles like pet hair and lint.
On the Honeywell 2026, the pre-filter sits snugly in a frame and can be lifted out by hand. Simply grip the edges and pull it straight out. No clips, no fuss.
This is a great time to inspect it. If it’s gray or fuzzy with dust, it’s time for a cleaning. You can rinse it under cool water (no soap needed) and let it air dry completely before reinserting. Never put a wet filter back in—it can damage the machine or promote mold growth.
Step 5: Access the Main HEPA Filter
Now that the grille and pre-filter are out of the way, you’ll see the main HEPA filter tucked inside. This is the workhorse of your purifier—it traps allergens, smoke, and even some bacteria.
Don’t remove the HEPA filter unless it’s time for replacement (usually every 12 months, depending on use). But while you’re here, give the area around it a quick vacuum with the brush attachment to suck up any loose debris.
Be gentle—the filter housing has delicate seals. Avoid poking or pushing anything into the compartment. A soft brush or cloth is all you need for light cleaning.
Step 6: Clean the Detached Grille
Now for the fun part—cleaning that grille! Over time, dust, pet dander, and even cooking grease can coat the slats, blocking airflow.
Start by using your vacuum’s brush attachment to remove loose dust. Then, wipe the grille with a dry microfiber cloth. For stubborn grime, dampen the cloth with water (or a mix of water and mild dish soap), wring it out well, and wipe gently.
Avoid soaking the grille or using harsh chemicals—they can warp the plastic or leave residues that attract more dust. Once clean, let it air dry completely before reassembly. Never reinstall a damp grille—it can trap moisture and damage internal components.
Step 7: Reattach the Grille
Ready to put everything back? Start by placing the pre-filter back into its slot—make sure it sits flat and covers the entire opening.
Next, align the bottom edge of the grille with the corresponding groove on the purifier’s base. It should slide in easily. Then, press the top edge firmly until you hear or feel a soft “click” as the clips snap back into place.
Give the grille a gentle tug to confirm it’s secure. If it wobbles or feels loose, press the top edge again—sometimes the clips don’t fully engage on the first try.
Once it’s locked in, plug the unit back in and turn it on. Listen for smooth operation. If the fan sounds strained or you notice reduced airflow, double-check that the grille and pre-filter are properly seated.
Pro Tips & Common Mistakes to Avoid
Even simple tasks can go sideways if you’re not careful. Here’s what I’ve learned from my own mishaps—and how to avoid them.
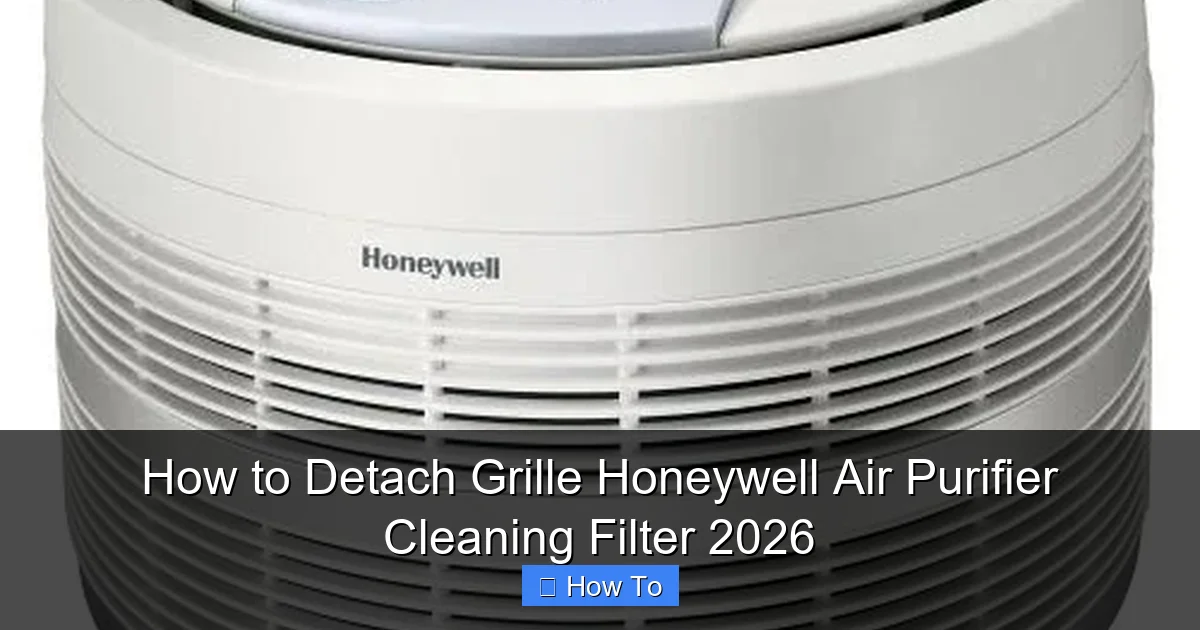
Visual guide about how to detach grille honeywell air purifier cleaning filter
Image source: cdn.shopify.com
Pro Tip: Clean the grille every 2–4 weeks, especially during high-pollen seasons or if you have pets. Regular maintenance keeps your purifier efficient and extends the life of your HEPA filter.
Warning: Never force the grille off. If it doesn’t release easily, you’re probably missing a clip or pressing in the wrong spot. Forcing it can crack the plastic or damage the hinge mechanism.
Common Mistake: Skipping the pre-filter cleaning. Many people assume the HEPA filter does all the work, but the pre-filter takes the brunt of large particles. A clogged pre-filter forces the HEPA to work harder, shortening its lifespan.
Insider Insight: Keep a cleaning log. I jot down the date every time I clean the grille and pre-filter. It helps me stay consistent and reminds me when it’s time to replace the HEPA filter.
Bonus Hack: Use a can of compressed air to blow dust out of the grille slats before wiping. It’s faster than vacuuming and gets into tight spaces.
FAQs About How to Detach Grille Honeywell Air Purifier Cleaning Filter 2026
Q: Can I wash the grille with soap and water?
A: Yes—but only with mild soap and cool water. Avoid hot water, which can warp the plastic, and never soak it. Always let it dry completely before reinstalling.
Q: How often should I detach the grille for cleaning?
A: Every 2–4 weeks is ideal, especially if you have pets, smoke, or live in a dusty area. If your purifier runs constantly, check it monthly.
Q: What if the grille won’t come off?
A: First, make sure the unit is unplugged. Then, double-check that you’re pressing the correct tabs on the top edge. If it still won’t budge, gently wiggle it side to side while lifting. Never use tools—they can damage the clips.
Q: Can I clean the HEPA filter?
A: No. HEPA filters are not washable. You can vacuum the surface lightly to remove dust, but once it’s dirty, it needs replacement. Most Honeywell 2026 filters last about 12 months.
Q: Is it safe to run the purifier without the grille?
A: Absolutely not. The grille protects internal components and prevents fingers or objects from touching the fan. Always reinstall it before use.
Q: My grille makes a rattling noise after reassembly. What’s wrong?
A: It’s likely not fully secured. Turn off and unplug the unit, then reattach the grille, making sure the clips click into place. Also, check that the pre-filter is seated properly—it can cause noise if loose.
Q: Can I use a different grille or filter with my Honeywell 2026?
A: Stick with genuine Honeywell parts. Third-party filters or grilles may not fit correctly, reducing efficiency or even damaging the unit.
Final Thoughts
Detaching the grille on your Honeywell Air Purifier 2026 might seem like a small task, but it makes a big difference in how well your machine performs—and how long it lasts. I used to dread this chore, but now it’s part of my monthly routine, right alongside changing the AC filter and wiping down the fridge coils.
Remember: clean air starts with clean parts. By following these steps to detach grille Honeywell Air Purifier Cleaning Filter 2026, you’re not just maintaining a device—you’re investing in your health and comfort.
So grab that microfiber cloth, unplug your purifier, and give it some love. Your lungs (and your electricity bill) will thank you. And the next time someone asks you how to keep their air purifier running smoothly, you’ll know exactly what to say.
“`