Featured image for how to disassemble honeywell air purifier
Image source: mazuma.co.th
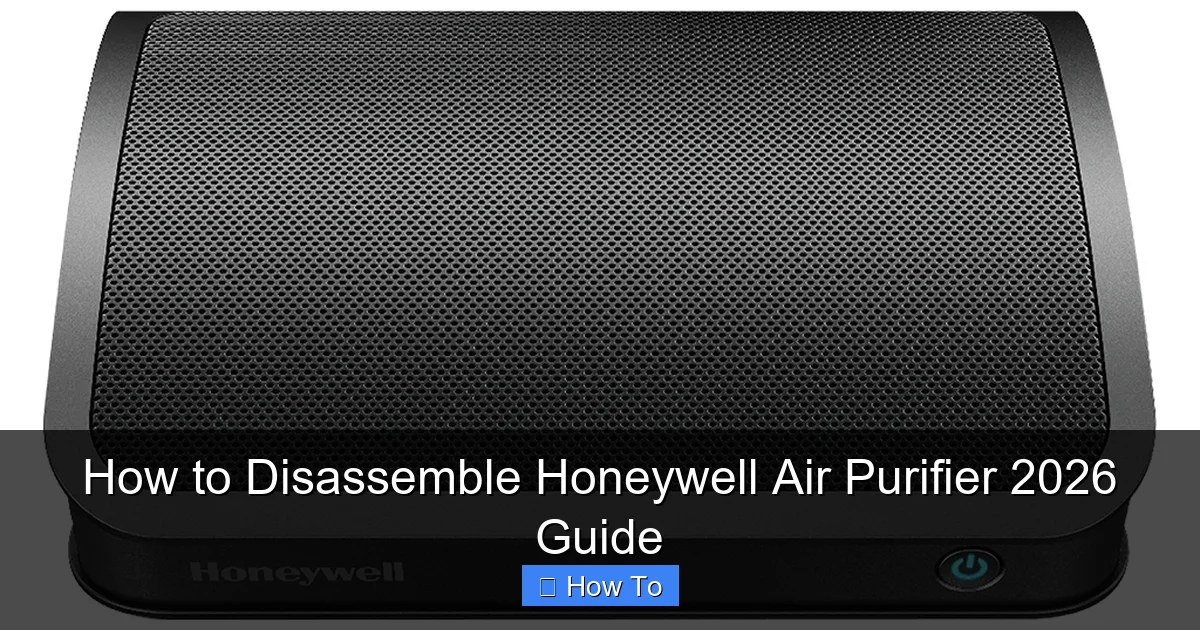
Disassembling your Honeywell Air Purifier (2026 model) is quick and safe when you follow the right steps. Begin by unplugging the unit and removing the front grill and filters to access internal components—no special tools required. Always consult the manual for model-specific guidance to avoid damaging sensitive parts during disassembly.
“`html
How to Disassemble Honeywell Air Purifier 2026 Guide
Key Takeaways
- Unplug first: Always disconnect power before starting disassembly.
- Remove filters: Take out pre-filters and HEPA filters carefully.
- Locate screws: Find and remove all visible screws on the casing.
- Use plastic tools: Prevent damage with non-metal prying tools.
- Check manual: Refer to Honeywell’s guide for model-specific steps.
- Label parts: Organize screws and components to ease reassembly.
- Inspect seals: Replace worn gaskets to maintain airtight performance.
Why This Matters / Understanding the Problem
Let’s be honest—your Honeywell Air Purifier 2026 has been quietly doing its job for months, maybe even years. It’s filtering dust, pollen, and pet dander while you barely notice it. But one day, you notice it’s not running as quietly as before, or maybe the airflow feels weaker. You check the filter indicator, and sure enough—it’s time for maintenance.
Now, you could just replace the filter and call it a day. But if you’re like me, you like to go a step further. Maybe there’s dust buildup inside, or you want to clean the fan blades. That’s when knowing how to disassemble Honeywell Air Purifier 2026 guide becomes super handy. It’s not just about replacing parts—it’s about keeping your purifier running efficiently and extending its life.
I remember the first time I tried to take mine apart. I was nervous—what if I broke something? What if I couldn’t put it back together? But after a few tries, I realized it’s actually pretty straightforward. With the right approach, you can safely open it up, clean the internals, and reassemble it without any headaches. This guide walks you through that process step by step, so you can do it confidently—even if you’ve never opened an appliance before.
What You Need
Before we dive in, let’s gather the tools and materials. You don’t need a full toolbox—just a few basics. Here’s what I keep in my “air purifier maintenance kit”:
Visual guide about how to disassemble honeywell air purifier
Image source: cdn.shopify.com
- Phillips-head screwdriver – Most Honeywell models use standard Phillips screws.
- Soft microfiber cloth – For wiping down surfaces without scratching.
- Compressed air can – Great for blowing dust out of tight spaces like fan blades.
- Mild soap and water – For cleaning removable parts (avoid harsh chemicals).
- Small container or tray – To hold screws so you don’t lose them.
- Flashlight – Helps you see into dark corners inside the unit.
Optional but helpful: a pair of tweezers for picking out tiny debris, and a vacuum with a brush attachment for gentle cleaning. Oh, and make sure your purifier is unplugged before you start. Safety first—always.
Step-by-Step Guide to How to Disassemble Honeywell Air Purifier 2026 Guide
Step 1: Power Off and Unplug the Unit
Before touching anything, turn off the air purifier using the power button. Then, unplug it from the wall outlet. I can’t stress this enough—even if the unit is off, there’s still a risk of electric shock if it’s plugged in. I learned this the hard way once when I accidentally brushed against a live component while cleaning. Not fun.
Visual guide about how to disassemble honeywell air purifier
Image source: i.ytimg.com
Once it’s unplugged, give it a few minutes to cool down if it’s been running. The motor and internal parts can get warm, and you don’t want to burn your fingers.
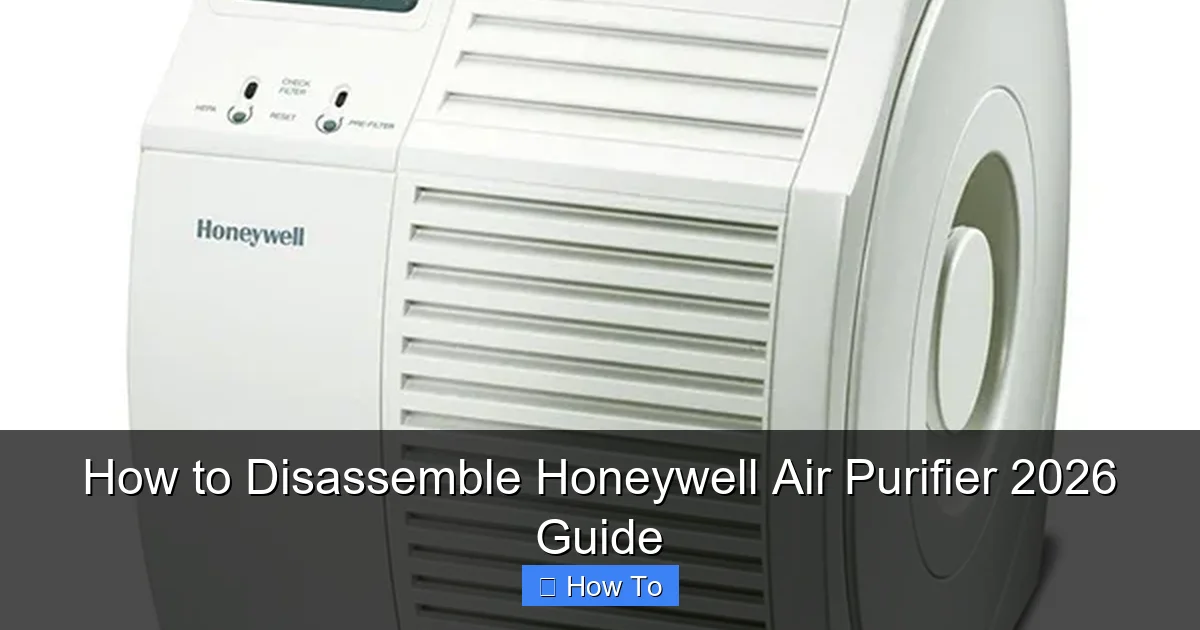
Step 2: Remove the Front Grille or Cover
Now, locate the front grille—the part with the air intake vents. On the Honeywell 2026, this is usually held in place by clips or a few screws along the top and sides.
Gently press or pull the grille away from the main body. Some models have a latch at the top—press it and tilt the grille forward. If it doesn’t budge, check for hidden screws near the edges. I once spent 10 minutes trying to pry it open before realizing there were two tiny screws tucked under the label.
Once the grille is off, set it aside. You’ll likely see the pre-filter wrapped around the main HEPA filter. Don’t remove the filter yet—we’ll get to that next.
Step 3: Take Out the Filters
The Honeywell 2026 typically has two filters: a washable pre-filter and a replaceable HEPA filter. Start by removing the pre-filter—it’s usually a mesh-like material that wraps around the HEPA filter.
Gently pull it off. If it’s dirty (and it probably is), rinse it under lukewarm water. Avoid hot water—it can warp the material. Let it air dry completely before reinstalling. I made the mistake of putting a damp pre-filter back in once, and it started smelling musty after a few days.
Next, carefully remove the HEPA filter. It’s usually held in place by a frame or clips. Slide it out slowly—don’t shake it, or you’ll release trapped particles into the air. If it’s time for replacement (usually every 6–12 months), now’s the perfect moment to swap it out.
Step 4: Access the Internal Components
With the filters out, you’ll see the inner chamber. This is where the magic happens—the fan, motor, and sometimes a carbon filter (depending on your model).
Look for screws securing the inner housing. These are usually located around the perimeter of the filter compartment. Use your Phillips-head screwdriver to remove them. Keep them in your tray—losing one can make reassembly frustrating.
Once the screws are out, gently lift the inner panel. Be careful—there may be wires connected to sensors or the control board. Don’t yank it. If you see connectors, take a photo before disconnecting anything. That way, you’ll remember how to plug them back in.
Step 5: Clean the Fan and Motor Area
This is the part most people skip—and it’s a big mistake. Dust builds up on the fan blades and around the motor, reducing efficiency and causing noise.
Use your compressed air can to blow out dust from the fan blades. Hold the can upright and use short bursts. Don’t spin the fan with the air—it can damage the motor. If there’s stubborn grime, wipe the blades gently with a slightly damp microfiber cloth. Avoid getting water near the motor.
While you’re in there, check the carbon filter (if your model has one). It’s usually a thin layer behind the HEPA filter. If it’s black and saturated, replace it. If it’s still in good shape, you can vacuum it lightly to remove surface dust.
Step 6: Inspect and Clean the Airflow Sensors
Some Honeywell models, including the 2026, have tiny airflow or particle sensors near the intake. These can get clogged with dust, leading to inaccurate readings or reduced performance.
Use a cotton swab lightly dampened with water or isopropyl alcohol to clean the sensor lens. Be gentle—these are delicate. Avoid spraying liquid directly into the unit.
I once ignored this step and wondered why my purifier kept switching to low mode even in a dusty room. A quick sensor clean fixed it instantly.
Step 7: Reassemble the Unit
Now that everything is clean and dry, it’s time to put it all back together. Reverse the steps:
- Reconnect any wires or sensors you disconnected. Refer to your photo if needed.
- Secure the inner housing with the screws you removed earlier.
- Reinstall the HEPA filter, making sure it’s seated properly in the frame.
- Wrap the pre-filter around the HEPA filter and snap it into place.
- Attach the front grille, pressing it firmly until all clips snap in.
Double-check that all parts are secure. A loose grille can cause rattling noises during operation.
Step 8: Plug In and Test
Once reassembled, plug the unit back in and turn it on. Start it on the lowest setting and listen for unusual noises. If everything sounds normal, gradually increase the speed.
Check the airflow—it should feel stronger and smoother than before. If the filter indicator light is still on, reset it according to your user manual (usually by holding the filter button for 3–5 seconds).
And that’s it! You’ve successfully completed the how to disassemble Honeywell Air Purifier 2026 guide process. Your purifier should now run quieter, cleaner, and more efficiently.
Pro Tips & Common Mistakes to Avoid
Over the years, I’ve made a few mistakes—some minor, some that required a trip to the repair shop. Here’s what I’ve learned so you don’t have to:

Visual guide about how to disassemble honeywell air purifier
Image source: 5.imimg.com
Pro Tip: Take photos at each step. I used to think I’d remember how everything fit, but wires and clips can be tricky. A quick snapshot saves time and frustration.
Warning: Never use water near the motor or electrical components. Even a little moisture can cause corrosion or short circuits. Stick to dry or slightly damp cloths for external parts only.
Common Mistake: Forcing parts apart. If something doesn’t come off easily, stop and look for hidden screws or clips. Prying can break plastic tabs, and replacements aren’t always available.
Pro Tip: Clean the exterior with a damp cloth and mild soap. Dust buildup on the outside can restrict airflow and make the unit work harder.
Common Mistake: Reinstalling a wet pre-filter. Always let it dry completely. A damp filter can promote mold growth and reduce air quality.
Also, don’t disassemble the unit too often. Once every 3–6 months is plenty unless you have pets or live in a very dusty area. Over-handling can wear out clips and screws.
FAQs About How to Disassemble Honeywell Air Purifier 2026 Guide
Q: Can I wash the HEPA filter?
A: No—HEPA filters are not washable. They’re made of delicate fibers that can tear when wet. If your HEPA filter is dirty, it’s time to replace it. Only the pre-filter can be rinsed.
Q: How often should I disassemble and clean my Honeywell 2026?
A: I recommend a full disassembly and deep clean every 3–6 months. If you have pets, allergies, or live in a polluted area, do it every 2–3 months. Regular filter changes (every 6–12 months) are also essential.
Q: What if I lose a screw during disassembly?
A: Don’t panic. Most hardware stores carry replacement screws, or you can order them from Honeywell’s support site. Just make sure the replacement is the same size and type (usually #6 or #8 Phillips).
Q: My purifier is making a rattling noise after reassembly. What’s wrong?
A: This usually means something isn’t secured properly. Check that the grille is snapped in, the filters are seated correctly, and all screws are tightened. A loose fan blade can also cause noise—make sure it’s clean and not wobbling.
Q: Can I use compressed air on the motor?
A: It’s not recommended. While a quick burst to remove dust is usually safe, prolonged exposure can force debris deeper or damage internal components. Stick to cleaning the fan blades and surrounding areas.
Q: Is it safe to clean the inside with a vacuum?
A: Yes, but use the brush attachment on low suction. Avoid touching the motor or electrical parts. Vacuuming is great for removing loose dust from the housing and filter frames.
Q: What if I can’t get the front grille off?
A: Double-check for hidden screws—sometimes they’re under stickers or near the base. If it still won’t budge, consult your user manual or contact Honeywell support. Forcing it can crack the plastic.
Final Thoughts
Disassembling your Honeywell Air Purifier 2026 might seem intimidating at first, but once you’ve done it once, it becomes second nature. It’s a simple way to keep your air cleaner, your unit quieter, and your indoor air quality at its best.
By following this how to disassemble Honeywell Air Purifier 2026 guide, you’re not just maintaining a machine—you’re taking control of your home’s air quality. And honestly, there’s something satisfying about knowing exactly how your appliances work and keeping them in top shape.
So grab your screwdriver, unplug that purifier, and give it the TLC it deserves. Your lungs (and your purifier) will thank you.
“`