
Featured image for how to disassemble xiaomi air purifier 3h
Image source: airpurifierfirst.com
Disassembling the Xiaomi Air Purifier 3H in 2026 is a straightforward process that begins with unplugging the device and removing the front panel to access internal components. With basic tools and careful handling, users can safely detach the filter housing, fan assembly, and circuit board for cleaning, maintenance, or repairs. This step-by-step guide ensures a hassle-free disassembly while preserving the purifier’s functionality and longevity.
How to Disassemble Xiaomi Air Purifier 3H in 2026 A Complete Guide
Key Takeaways
- Power off and unplug the device before starting disassembly to ensure safety.
- Remove the front panel by gently pulling it away from the main body.
- Detach the filter cover using the built-in latch mechanism for easy access.
- Carefully extract filters in order—pre-filter, HEPA, and activated carbon.
- Use a soft brush to clean internal fans and vents without damaging components.
- Reassemble in reverse order, ensuring all parts click securely into place.
- Check for error codes after reassembly to confirm proper function.
Why This Matters / Understanding the Problem
Let’s be honest: air purifiers are like silent roommates. You plug them in, they hum quietly, and you forget they exist — until one day, the filter light blinks red, or the airflow sounds off.
That’s when you realize: it’s time for a deep clean or filter replacement. But here’s the catch — the Xiaomi Air Purifier 3H isn’t designed like a toaster. It’s a sleek, minimalist box with hidden latches, internal sensors, and a delicate HEPA filter that can’t be rushed.
Many people panic. They try to pry it open with a butter knife (yes, I’ve been there), only to crack the plastic housing or damage the internal fan. Others skip maintenance entirely, thinking it’s too complicated.
But the truth? With the right approach, how to disassemble Xiaomi Air Purifier 3H in 2026 a complete guide isn’t just possible — it’s surprisingly simple. Whether you’re replacing filters, cleaning internal dust, or troubleshooting a weird noise, knowing how to take it apart safely saves time, money, and frustration.
In 2026, with more people working from home and air quality concerns rising, regular maintenance isn’t a luxury — it’s essential. And this guide? It’s your backstage pass to mastering that process.
What You Need
Before you dive in, let’s gather your gear. You don’t need a full toolkit — just a few basic items. Think of this like prepping for a light home repair, not a full engine overhaul.
Visual guide about how to disassemble xiaomi air purifier 3h
Image source: oriceco.com
- Phillips-head screwdriver (#1 size) – Most critical tool. The screws are small, and a wrong size can strip them.
- Plastic pry tool (or old credit card) – Prevents scratches when separating the front and back panels.
- Clean microfiber cloth – For wiping dust without leaving lint behind.
- Small container or ziplock bag – To hold screws and small parts so you don’t lose them.
- Flashlight (optional but helpful) – The interior is dark, and a light helps spot dust buildup.
- Replacement HEPA filter (if needed) – Always good to have a spare on hand.
- Vacuum with soft brush attachment (optional) – For cleaning internal dust without damaging components.
Pro Tip: Work on a clean, flat surface — like a table with a soft towel. This keeps the purifier from slipping and gives you room to spread out parts. I once dropped a screw into a carpet and spent 20 minutes on my hands and knees searching. Learn from my mistakes!
You don’t need special tools or technical know-how. Just patience, attention to detail, and this how to disassemble Xiaomi Air Purifier 3H in 2026 a complete guide to keep you on track.
Step-by-Step Guide to How to Disassemble Xiaomi Air Purifier 3H in 2026 A Complete Guide
Step 1: Power Off and Unplug — Safety First
Start by turning off the purifier and unplugging it from the wall. This isn’t just a suggestion — it’s non-negotiable.
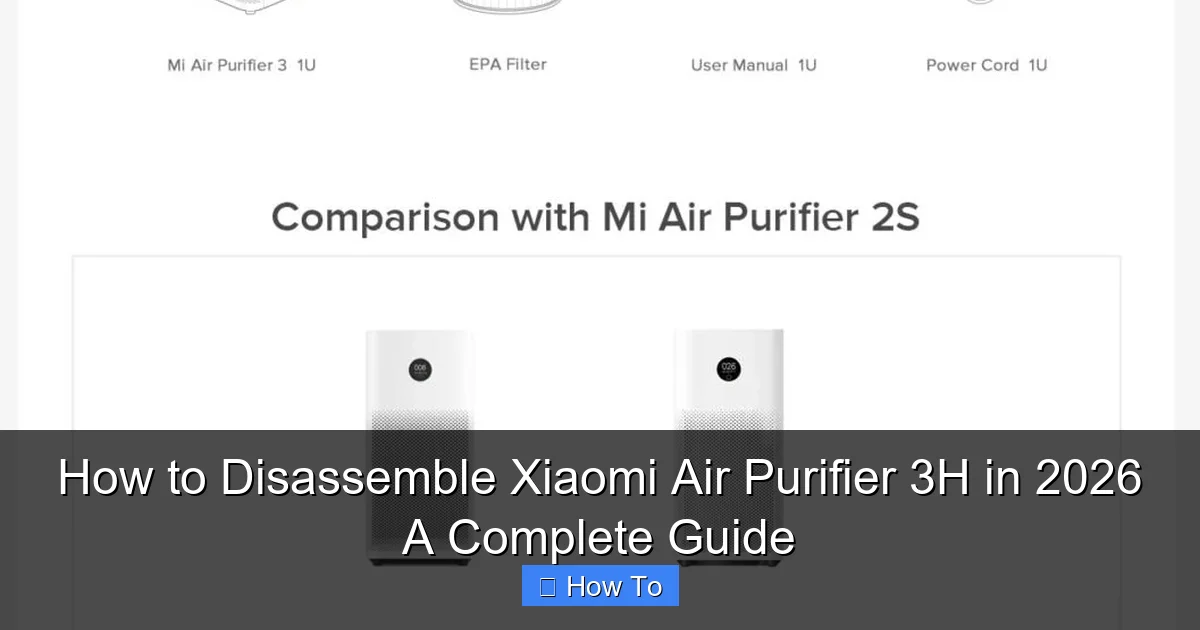
Visual guide about how to disassemble xiaomi air purifier 3h
Image source: ohmymi.com.my
The Xiaomi Air Purifier 3H has internal fans and sensors. Even when “off,” residual power can cause a jolt or damage components if you touch the wrong part.
Let it sit unplugged for at least 2 minutes. This gives any stored charge time to dissipate. Think of it like letting a phone cool down after gaming — it just makes sense.
Step 2: Remove the Front Panel (Where the Air Enters)
The front panel is held by four small plastic latches — two on the top edge, two on the bottom. They’re subtle, but they’re there.
Grab your plastic pry tool or a clean credit card. Gently insert it at the top-left corner of the front panel, just behind the edge where it meets the main body.
Apply light, even pressure. You’ll hear a soft click — that’s the latch releasing. Work your way across the top, then down the sides. Don’t force it. If it feels stuck, double-check for hidden latches (there aren’t any, but I’ve seen people panic).
Once the top is free, the panel will tilt outward slightly. Support it with your free hand and gently pull it down and away from the unit.
Warning: The front panel has a small plastic tab near the bottom that connects to the main body. Pull too hard, and you might snap it. I’ve done it once — it’s fixable with a drop of super glue, but avoidable with care.
Step 3: Remove the Pre-Filter (Foam Mesh)
Now you’ll see the pre-filter — a thin, gray foam mesh stretched over a plastic frame. It’s the first line of defense against dust and pet hair.
It’s held by four plastic clips — two on each side. Gently press the clips inward with your fingers or the pry tool to release the frame.
Pull the pre-filter straight out. If it’s dirty, this is a good time to clean it. Rinse under cool water, let it air dry completely (2–4 hours), then reinstall. Never use hot water or soap — it damages the foam.
This step is part of the full how to disassemble Xiaomi Air Purifier 3H in 2026 a complete guide because skipping it means dust can bypass the HEPA filter and clog internal parts.
Step 4: Remove the HEPA Filter
Behind the pre-filter sits the main HEPA filter — a white, accordion-folded rectangle with a cardboard frame.
It’s held in place by a plastic housing with two side clips. Press the clips inward and pull the filter straight out.
Inspect it. If it’s dark gray or black, smells musty, or has visible tears, it’s time to replace it. A clogged HEPA filter reduces airflow and strains the motor.
Pro Tip: Take a photo of the filter orientation before removing it. Some replacements look identical but have airflow direction arrows. Installing it backward cuts efficiency by up to 30%.
Set the old filter aside (wrap it in a bag before tossing — it’s full of dust!). If you’re replacing it, now’s the time to install the new one. Slide it in with the airflow arrow pointing toward the back of the purifier.
Step 5: Remove the Back Cover (Access to Internal Components)
Now things get a little more involved. The back cover is held by four small Phillips-head screws — two near the top, two near the bottom.
Use your #1 screwdriver to remove them. Place the screws in your container immediately. They’re tiny and easy to lose.
Once the screws are out, the back cover is held by plastic clips around the perimeter. Start at the top edge and use the pry tool to gently release the clips, working clockwise.
As the cover loosens, you’ll see the internal fan, motor, and control board. Support the cover as you remove it — don’t let it hang by any wires.
Warning: There are no user-serviceable parts inside. Don’t touch the circuit board, fan blades, or sensor wires. Just clean around them. If something looks broken, contact Xiaomi support — not Reddit.
Step 6: Clean the Internal Chamber (Dust & Debris)
Now you’re inside the heart of the purifier. Use your flashlight to scan for dust buildup — especially around the fan housing and air ducts.
Use a vacuum with a soft brush attachment to suck up dust. For stubborn grime, use a slightly damp microfiber cloth (wring it out well — no water drips).
Pay attention to the fan blades. They collect dust like nobody’s business. Gently wipe them with a dry cloth. Never use compressed air — it can damage the motor bearings.
This step is often skipped, but it’s crucial. A clean interior improves airflow and extends the life of your purifier. It’s a key part of how to disassemble Xiaomi Air Purifier 3H in 2026 a complete guide for long-term performance.
Step 7: Reassemble in Reverse Order
Now the fun part: putting it all back together. Work in reverse order — back cover first, then HEPA, pre-filter, and front panel.
Back Cover: Align the clips and press firmly around the edges until you hear them snap. Reinstall the four screws — don’t over-tighten. Snug is good; stripped is bad.
HEPA Filter: Slide it in, clip it in place. Double-check the airflow direction.
Pre-Filter: Position the frame, press the clips in, and snap it shut. It should sit flush with the housing.
Front Panel: Tilt it at a slight angle, insert the bottom tab first, then press the top latches in. You’ll hear a satisfying click when it’s secure.
Pro Tip: Plug in the purifier and turn it on before walking away. Listen for smooth airflow. If it sounds off (rattling, scraping), power off and check if a panel isn’t fully seated. I’ve caught misaligned covers this way — saved me from a motor burnout.
Step 8: Reset the Filter Timer (If Replacing HEPA)
If you installed a new HEPA filter, reset the filter timer. Otherwise, the light will keep blinking, even though you’ve fixed the issue.
Press and hold the “Filter” button (the one with the leaf icon) for 5 seconds. The light will flash, then turn solid — reset complete.
This step is often overlooked, but it’s a small detail that makes a big difference in user experience. It’s part of why this how to disassemble Xiaomi Air Purifier 3H in 2026 a complete guide is truly comprehensive.
Pro Tips & Common Mistakes to Avoid
Over the years, I’ve disassembled my fair share of Xiaomi purifiers — some successfully, some… less so. Here are the hard-earned lessons I wish I knew earlier.
Visual guide about how to disassemble xiaomi air purifier 3h
Image source: ohmymi.com.my
- Don’t rush the prying process. Plastic latches are tough but brittle. Apply steady pressure, not force. I once cracked a front panel by prying too fast. A $20 mistake.
- Label your screws if disassembling further. While this guide stops at the main chamber, if you ever need to access the fan motor, label each screw location. They’re not all the same length.
- Clean the pre-filter every 2 weeks. It’s easy to forget, but a clogged pre-filter forces the HEPA to work harder. I set a phone reminder — works every time.
- Store old filters in a sealed bag. They’re full of dust and allergens. Don’t just toss them in the trash — wrap them up first.
- Check the power cord for wear. While the unit is apart, inspect the cord where it enters the base. Fraying here is a fire hazard. I caught one early and replaced the unit before it became dangerous.
- Use genuine or high-quality third-party filters. Cheap knockoffs don’t seal properly, letting unfiltered air bypass the system. I tried a $10 filter once — it lasted 3 weeks. Learned my lesson.
Real Talk: I once thought I could skip the back cover removal and just vacuum through the vents. Big mistake. Dust was caked inside the fan housing, causing a high-pitched whine. Only after full disassembly did I realize the extent of the buildup. Full disassembly isn’t optional — it’s essential for deep cleaning.
This how to disassemble Xiaomi Air Purifier 3H in 2026 a complete guide isn’t just about taking it apart — it’s about doing it right, so you don’t create more problems than you solve.
FAQs About How to Disassemble Xiaomi Air Purifier 3H in 2026 A Complete Guide
1. Can I clean the HEPA filter instead of replacing it?
Technically, yes — but only with a vacuum or soft brush. Never wash it or use compressed air. The HEPA fibers are delicate. Once wet or compressed, they lose their ability to trap particles.
I’ve tried cleaning mine with a vacuum — it helps, but it’s not a full fix. After 6–8 months, the filter is usually too clogged to save. Replacement is the only real solution.
2. How often should I disassemble and clean the purifier?
For most homes, every 3–6 months is ideal. High-dust environments (pet owners, smokers, urban areas) may need it every 2 months. The pre-filter should be cleaned every 2–4 weeks.
I live with two cats and a dog. I disassemble mine every 2 months. It’s a small time investment for clean air and peace of mind.
3. What if I lose a screw or break a latch?
Don’t panic. A missing screw? Use a similar-sized one from a hardware store — just make sure it’s not too long (can damage internal parts).
A broken plastic latch? Small cracks can be fixed with a drop of super glue (cyanoacrylate). For larger breaks, contact Xiaomi support — they sometimes send free replacement parts for registered devices.
4. Is it safe to run the purifier after reassembling if a panel isn’t fully closed?
No. If the front or back panel isn’t fully seated, it can rattle, block airflow, or damage the fan. Always double-check that all latches click and screws are in place.
I once forgot to tighten one screw — the purifier vibrated so much it walked across my nightstand. Took me a day to figure out why my sleep was ruined.
5. Can I use this guide for the Xiaomi Air Purifier 3C or 4?
Partially. The 3C and 4 models have similar designs, but screw locations and latch positions differ slightly. Always check your model number (on the bottom label) and refer to model-specific guides when possible.
This how to disassemble Xiaomi Air Purifier 3H in 2026 a complete guide is tailored to the 3H — don’t assume it works for all models.
6. Why is the filter light still on after I replaced the filter?
You likely forgot to reset the timer. Press and hold the “Filter” button for 5 seconds. The light should flash and then turn solid.
If it still blinks, double-check that the new filter is seated properly. A loose filter can trigger the sensor.
7. Are there any internal components I should never touch?
Yes. Avoid the control board, sensor wires (thin white cables near the fan), and fan motor. These are not user-serviceable. If the purifier isn’t working, it’s best to contact Xiaomi support or a certified technician.
I once accidentally brushed a sensor wire with my finger — the purifier wouldn’t turn on. Took a week and a service call to fix. Learn from my oops.
Final Thoughts
Disassembling your Xiaomi Air Purifier 3H might sound intimidating, but with the right steps, it’s more like following a recipe than performing surgery.
This how to disassemble Xiaomi Air Purifier 3H in 2026 a complete guide is designed to take the fear out of maintenance. You’re not just cleaning a machine — you’re taking control of the air you breathe.
Start small: unplug it, clean the pre-filter, and replace the HEPA when needed. As you get comfortable, you’ll find the full disassembly becomes second nature — a quick 20-minute job that keeps your purifier running like new.
Remember: regular care extends lifespan, improves air quality, and saves you money on replacements. And honestly? There’s something satisfying about opening up a device, cleaning it, and putting it back together — like giving it a second life.
So grab your screwdriver, take a deep breath (filtered, of course), and give it a try. Your lungs — and your purifier — will thank you.
Now go enjoy that clean air.