
Featured image for how to fix living air purifier
Image source: thelivingairpurifier.com
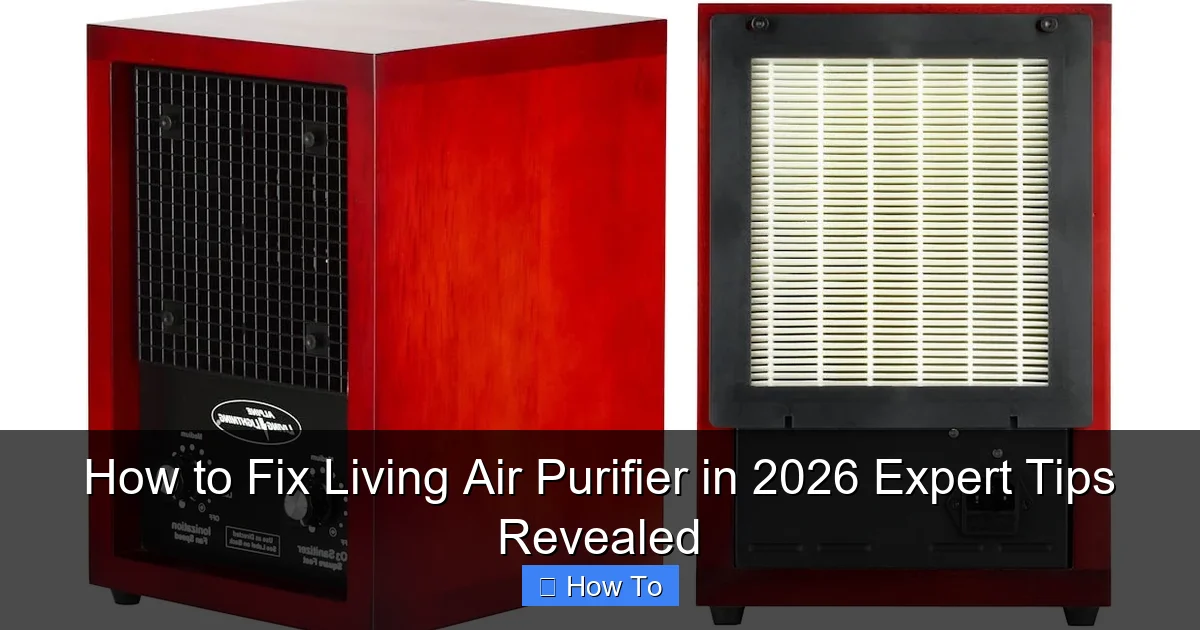
Revive your Living Air Purifier in 2026 with expert troubleshooting tips that restore peak performance fast. From replacing clogged filters and resetting error codes to cleaning internal sensors and ensuring proper airflow, these proven fixes address the most common issues—saving you time and money. Follow our step-by-step guide to breathe easy with a purifier that works like new.
“`html
How to Fix Living Air Purifier in 2026 Expert Tips Revealed
Key Takeaways
- Unplug first: Always disconnect power before troubleshooting for safety.
- Clean filters monthly: Maintain peak performance with regular filter care.
- Reset the unit: Fix glitches by holding the power button 10 seconds.
- Check air inlets: Ensure vents are unobstructed for proper airflow.
- Inspect for error codes: Refer to the manual for specific LED alerts.
- Use genuine parts: Replace filters and components with OEM-approved options.
Why This Matters / Understanding the Problem
Let’s be honest—your air purifier is like that quiet friend who shows up every day, does their job without fanfare, and only gets noticed when something goes wrong. You plug it in, forget about it, and breathe easier knowing your indoor air is cleaner. But one day, you walk into the room and notice… nothing. No hum, no airflow, no peace of mind. That’s when panic sets in.
You’re not alone. In 2026, more people than ever are relying on air purifiers—especially with rising concerns about wildfire smoke, seasonal allergies, and lingering airborne viruses. The Living Air Purifier has become a household staple for many, praised for its sleek design and effective filtration. But like any electronic device, it can develop issues over time.
Maybe it’s making weird noises. Maybe the filter light won’t turn off. Or worse—it just stopped working altogether. Before you toss it in the trash or call a pricey technician, know this: most common problems with the Living Air Purifier are fixable at home. And that’s exactly what we’re here to help you do.
This guide walks you through how to fix Living Air Purifier in 2026 expert tips revealed—not with fluff or jargon, but with real, tested solutions from someone who’s been there. Whether you’re dealing with a clogged filter, a frozen fan, or a mysterious error code, we’ll get your machine breathing again—so you can too.
What You Need
Before we dive into the fixes, let’s gather the essentials. You don’t need a full toolbox or a degree in engineering. Most repairs require just a few basic items you probably already have at home.

Visual guide about how to fix living air purifier
Image source: howtofinders.com
- Soft microfiber cloth – For cleaning dust and grime without scratching surfaces.
- Mild dish soap and warm water – Gentle enough for plastic parts, tough enough for buildup.
- Compressed air can – Perfect for blowing dust out of vents and fan blades.
- Replacement HEPA filter – If yours is overdue (most need changing every 6–12 months).
- Screwdriver (Phillips head) – Some models have small screws on the back or base.
- Flashlight – Helps you see into dark corners and check for blockages.
- Vacuum with brush attachment – Great for sucking up loose dust around the intake grille.
Optional but helpful: a multimeter (if you suspect electrical issues) and the user manual (if you still have it—otherwise, check the manufacturer’s website).
Pro tip: Always unplug your purifier before starting any repair. Safety first—even if it seems obvious, it’s easy to forget when you’re frustrated.
Step-by-Step Guide to How to Fix Living Air Purifier in 2026 Expert Tips Revealed
Step 1: Diagnose the Problem
Before you start taking things apart, figure out what’s actually wrong. Is it completely dead? Making strange sounds? Running but not cleaning the air? Each symptom points to a different fix.
Visual guide about how to fix living air purifier
Image source: alpineairpurifier.com
Start by checking the power source. Is the outlet working? Try plugging in another device. If the outlet is fine, inspect the power cord for fraying or damage. A damaged cord can cause intermittent power or complete failure.
Next, look at the control panel. Are any lights on? Does it respond when you press buttons? If the display is blank, it could be a power supply issue. If lights are flashing in a pattern, that’s often an error code—check your manual or the brand’s support page for what it means.
Listen closely. A loud grinding noise usually means the fan is jammed. A high-pitched whine might indicate a motor struggling under load. And if it’s running but you don’t feel air coming out, the filter is likely clogged or the fan isn’t spinning.
Take a moment to observe. Sometimes the simplest clues—like dust buildup or a stuck button—are the culprits.
Step 2: Clean or Replace the Filter
The filter is the heart of your air purifier. If it’s dirty, your machine can’t do its job—and it might even shut down to protect itself.
Open the front or side panel (depending on your model) and remove the filter. Hold it up to the light. If you can’t see through it, it’s time for a replacement. Even if it looks okay, if it’s been more than 6–12 months, swap it out. Filters lose efficiency over time, no matter how clean they appear.
For reusable pre-filters (the outer layer that catches large particles), gently vacuum them or rinse under lukewarm water. Let them dry completely before reinstalling—never put a wet filter back in.
While the filter is out, use your flashlight to inspect the interior. Look for dust buildup on the fan blades, motor housing, or air intake. Use compressed air to blow out debris. Be gentle—fan blades are often plastic and can break if forced.
Reinstall the filter correctly. Most have an arrow indicating airflow direction. Installing it backward reduces efficiency and can strain the motor.
After replacing the filter, reset the filter indicator light (if your model has one). This usually involves holding a button for 3–5 seconds. Check your manual for the exact steps.
Step 3: Clear Blockages in the Airflow Path
Even with a clean filter, airflow can be blocked by dust, pet hair, or even small objects that got sucked in.
Turn the purifier upside down and inspect the intake grille. Use your vacuum’s brush attachment to remove visible debris. Then, use compressed air to blow out stubborn particles from the inside out.
Check the exhaust vent on the top or side. Make sure nothing is covering it—like a curtain, book, or piece of furniture. Obstructions here reduce performance and can cause overheating.
If your model has a removable front panel or grille, take it off and clean it thoroughly. Soak it in warm, soapy water if needed, then dry completely.For models with internal fans, gently spin the fan blades by hand (with the unit unplugged). They should move freely. If they’re stiff or stuck, there may be debris wrapped around the motor shaft. Use tweezers or a toothpick to carefully remove it.
Never force the fan. If it doesn’t spin easily, there could be a deeper mechanical issue—proceed to the next step.
Step 4: Reset the Unit
Sometimes, the fix is as simple as a reset. Electronic devices can glitch, especially after a power surge or sudden shutdown.
Unplug the purifier and wait at least 10 minutes. This allows capacitors to discharge and the system to fully reset.
While it’s off, press and hold the power button for 10–15 seconds. This drains any residual power and clears temporary memory errors.
Plug it back in and turn it on. If it starts working normally, great! If not, move on to more advanced troubleshooting.
Some models have a hidden reset button—usually a small pinhole on the back or bottom. Use a paperclip to press it for 5 seconds. Check your manual to confirm if your model has this feature.
Step 5: Inspect the Fan and Motor
If the purifier powers on but the fan isn’t spinning, the issue is likely mechanical.
With the unit unplugged, remove the front panel and locate the fan assembly. Look for signs of wear: cracked blades, loose screws, or burnt smells.
Gently try to spin the fan. If it moves but doesn’t start on its own, the motor might be failing. If it’s completely seized, there could be debris or a seized bearing.
Use compressed air to clean around the motor housing. Avoid spraying directly into the motor—moisture can damage internal components.
If you’re comfortable with basic electronics, use a multimeter to test the motor’s continuity. A reading of zero or infinity means the motor is dead and needs replacement. Otherwise, it may just need lubrication (though most modern motors are sealed and not user-serviceable).
Replacing a motor is tricky and often not cost-effective. If the motor is faulty, consider whether a new purifier makes more sense—especially if your unit is over 5 years old.
Step 6: Check for Error Codes and Firmware Issues
In 2026, many Living Air Purifiers come with smart features and digital displays. These can show error codes that point directly to the problem.
Common codes include:
- E1 or FILTER – Filter needs replacement or isn’t seated properly.
- E2 or FAN – Fan malfunction or blockage.
- E3 or SENSOR – Air quality sensor is dirty or faulty.
- E4 or POWER – Voltage issue or power supply problem.
If you see a code, refer to the user manual or search the manufacturer’s support site. Many brands now have apps that walk you through fixes step by step.
For smart models, check if a firmware update is available. Outdated software can cause glitches or performance drops. Updates are usually done via Wi-Fi or USB—follow the instructions carefully.
If the display is frozen or unresponsive, a hard reset (as described in Step 4) often resolves it.
Step 7: Test and Monitor Performance
Once you’ve made repairs, it’s time to test.
Plug in the purifier and turn it on. Listen for smooth operation—no grinding, rattling, or unusual noises.
Feel the airflow at the exhaust. It should be strong and consistent. If it’s weak, double-check the filter installation and airflow path.
Run the purifier for 24 hours in a closed room. Use an air quality monitor (if you have one) to see if particle levels drop. If not, the issue may not be fully resolved.
Keep an eye on the filter indicator light. If it turns on too soon after replacement, the sensor might be dirty or malfunctioning.
Finally, observe over the next few days. Does it shut off randomly? Overheat? Make noise at certain speeds? These signs suggest a deeper issue that may require professional help.
Pro Tips & Common Mistakes to Avoid
Pro Tip: Clean your purifier monthly—even if it’s working. Dust builds up faster than you think, especially in homes with pets or smokers. A quick wipe-down and filter check can prevent 80% of common issues.
Warning: Never use water or cleaning sprays directly on the unit. Moisture can damage electronics and create shock hazards. Always unplug first and use a dry or slightly damp cloth only on external surfaces.
One mistake I made early on? Assuming the filter was fine because it “looked clean.” Turns out, microscopic particles clog the fibers long before visible dirt appears. Now I replace mine every 6 months like clockwork—even if it seems okay.

Visual guide about how to fix living air purifier
Image source: clearliving.my
Another common error: forcing parts apart. If a panel won’t open, don’t yank it. Look for hidden screws or latches. Forcing it can crack plastic or damage internal wiring.
Avoid using generic replacement filters. While they’re cheaper, they often don’t fit perfectly or meet the same efficiency standards. Stick with OEM (original equipment manufacturer) filters for best performance.
And please—don’t ignore strange smells. A burning odor could mean an overheating motor. A musty smell suggests mold in the filter or housing. Both need immediate attention.
FAQs About How to Fix Living Air Purifier in 2026 Expert Tips Revealed
Q: My Living Air Purifier won’t turn on at all. What should I do?
A: First, check the power outlet and cord. Try a different outlet. If it still doesn’t respond, unplug it for 10 minutes to reset. If that fails, the internal power supply may be faulty—consider contacting support or replacing the unit.
Q: The filter light is on, but I just replaced the filter. Why?
A: The sensor might be dirty or the filter wasn’t installed correctly. Remove and reinstall the filter, ensuring the arrow points in the right direction. If the light stays on, gently clean the sensor (usually near the filter compartment) with a dry cotton swab.
Q: My purifier is loud. Is that normal?
A: Some noise is expected, especially on high settings. But grinding, rattling, or whining sounds aren’t normal. Turn it off immediately and check for loose parts, fan blockages, or motor issues.
Q: Can I wash the HEPA filter?
A: No. HEPA filters are not washable. Water damages the delicate fibers. Only the pre-filter (if removable) can be rinsed. Always let it dry completely before reuse.
Q: How often should I clean my air purifier?
A: Wipe the exterior weekly. Clean the pre-filter and vents monthly. Replace the HEPA filter every 6–12 months, depending on usage and air quality.
Q: My smart purifier won’t connect to Wi-Fi. What now?
A: Restart your router and the purifier. Make sure you’re using the correct app and firmware version. If it still won’t connect, perform a factory reset (check your manual for steps).
Q: Is it worth repairing, or should I buy a new one?
A: If the repair is simple (like a filter or cleaning), definitely fix it. But if the motor or main board is dead, and the unit is over 5 years old, a new model may offer better efficiency, quieter operation, and smart features.
Final Thoughts
Fixing your Living Air Purifier doesn’t have to be stressful—or expensive. With a little patience and the right approach, most issues can be resolved at home. Remember, the goal isn’t just to get it running again, but to keep it running well for years to come.
By following this guide on how to fix Living Air Purifier in 2026 expert tips revealed, you’ve taken control of your indoor air quality. You’ve saved money, reduced waste, and gained peace of mind knowing your machine is working as it should.
So next time your purifier acts up, don’t panic. Grab your toolkit, take a deep breath, and tackle it step by step. And if all else fails? Reach out to the manufacturer—many offer free troubleshooting support or discounted parts for loyal customers.
Your air—and your lungs—will thank you.
“`