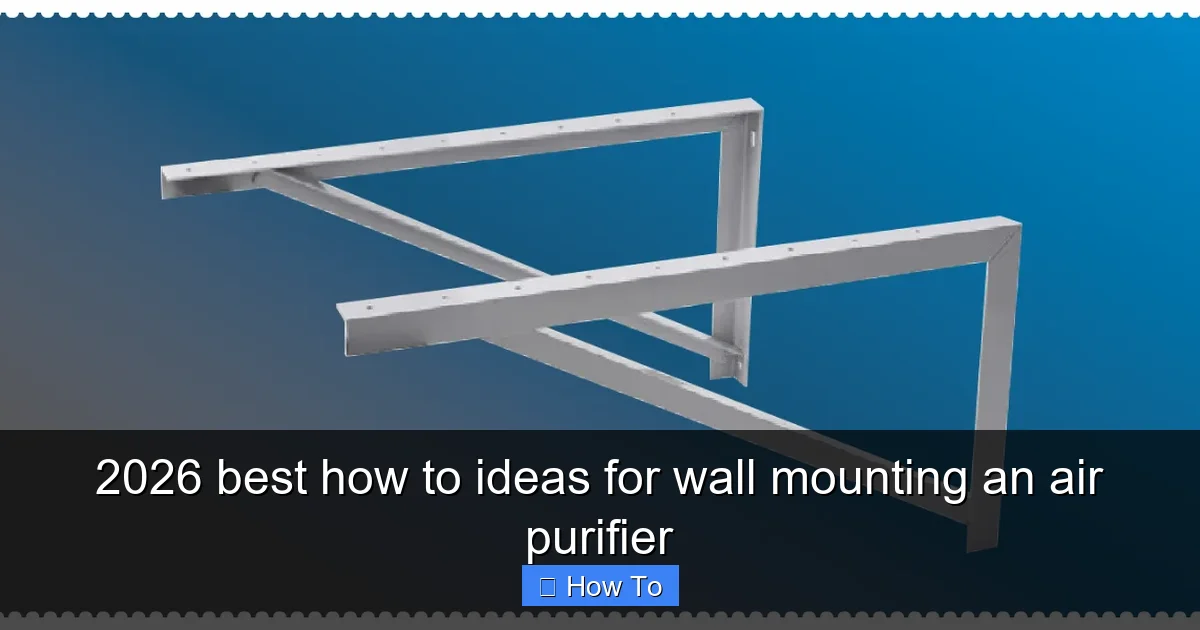
Featured image for how to ideas for wall mounting an air purifier
Image source: air-filtration-systems.com
Wall mounting an air purifier maximizes floor space and improves air circulation, making it a smart upgrade for any room. From sleek, no-drill adhesive mounts to sturdy brackets and custom shelving, 2026’s top ideas blend style and function for seamless integration. Whether you’re renting or owning, these innovative solutions ensure secure, efficient placement—elevating both air quality and interior design.
“`html
How to 2026 Best How to Ideas for Wall Mounting an Air Purifier
Key Takeaways
- Choose the right wall: Mount on sturdy, drywall or stud for secure, long-lasting installation.
- Prioritize airflow: Position 6–12 inches from obstacles to maximize purification efficiency.
- Use proper hardware: Select anchors and screws rated for your purifier’s weight.
- Check access needs: Leave clearance for filter changes and maintenance.
- Follow manufacturer guidelines: Always adhere to model-specific mounting instructions for safety.
- Hide cables neatly: Use cord covers to keep setup safe and visually clean.
Why This Matters / Understanding the Problem
Let’s be honest—air purifiers are lifesavers. Whether you’re dealing with seasonal allergies, pet dander, or just want cleaner air at home, these little machines do a lot of heavy lifting. But here’s the thing: they take up floor space. And if you’re like me, living in a cozy apartment or a cluttered bedroom, every square inch counts.
I remember when I first bought my air purifier. I plopped it down next to my nightstand, thinking it was no big deal. Fast forward two weeks, and I kept tripping over the power cord or knocking it over while reaching for my water bottle. Not ideal. That’s when I started researching ways to get it off the ground—literally. That’s how I stumbled into the world of wall mounting.
Wall mounting your air purifier isn’t just about saving space. It’s about safety, efficiency, and even aesthetics. When your purifier is elevated, it draws in air from a better angle, avoids dust buildup on the floor, and keeps curious pets or kids from accidentally bumping it. Plus, it just looks cleaner—no more cords snaking across the room.
Now, I’m not saying every air purifier is designed to be wall-mounted out of the box. Most aren’t. But with a little creativity and the right tools, you can make it work. That’s exactly what this guide is about: sharing the 2026 best how to ideas for wall mounting an air purifier—practical, tested, and totally doable, even if you’re not a DIY pro.
Whether you’re mounting a compact desktop model or a larger unit, these ideas will help you reclaim your floor space and breathe easier—literally and figuratively.
What You Need
Before we dive into the step-by-step, let’s talk about what you’ll need. Don’t worry—you probably already have most of this lying around the house. The key is to match your tools and materials to your specific air purifier and wall type.

Visual guide about how to ideas for wall mounting an air purifier
Image source: files.ekmcdn.com
- Air purifier: Obviously! Check its weight and dimensions. Most wall-mounted setups work best for units under 15 pounds.
- Wall mount bracket or shelf: You can buy a universal mounting bracket, a floating shelf, or even repurpose a sturdy picture frame hook system.
- Drill and drill bits: Essential for most wall types. A cordless drill makes this way easier.
- Screws and wall anchors: Use anchors if you’re mounting into drywall. For concrete or brick, you’ll need masonry screws.
- Level: A small bubble level ensures your purifier isn’t tilting like a crooked painting.
- Measuring tape: Precision matters—especially when aligning multiple mounting points.
- Pencil: For marking drill spots. Yes, old-school, but it works.
- Stud finder (optional but helpful): If you can anchor into a wall stud, your mount will be rock-solid.
- Extension cord or cord management clips: Wall mounting often means the outlet is now farther away. Plan for power access.
Pro tip: If your air purifier has a removable base or stand, check if it’s designed to be detached. Some models have built-in mounting holes or compatibility with third-party brackets. Always consult your user manual first—don’t void that warranty!
Step-by-Step Guide to 2026 Best How to Ideas for Wall Mounting an Air Purifier
Step 1: Choose the Right Mounting Method
Not all air purifiers are created equal, and neither are mounting solutions. The first step is figuring out how you want to mount yours. Here are the top three methods I’ve tested and loved:

Visual guide about how to ideas for wall mounting an air purifier
Image source: files.ekmcdn.com
- Floating shelf mount: Perfect for smaller purifiers. You install a small shelf (like a 12-inch floating ledge) and place the unit on top. Great for bedrooms or offices.
- Bracket-mounted hook system: Ideal for purifiers with a handle or recessed bottom. You attach a metal bracket to the wall and hook the purifier in place.
- Custom backplate mount: For the DIYers. You create or buy a backplate that attaches to the purifier, then mount that plate to the wall. Super secure, but requires more effort.
I went with the floating shelf method for my Levoit Core 300. It’s lightweight, looks modern, and keeps the purifier at the perfect height near my bed. But if you have a heavier model, like a Blueair or Coway, a bracket system might be safer.
Ask yourself: Where will this go? Near a window? Above a dresser? Make sure the location allows for proper airflow—don’t block the intake or exhaust vents!
Step 2: Measure and Mark Your Mounting Spot
Now it’s time to get precise. Grab your measuring tape and pencil. Here’s how I do it:
- Decide on the height. I recommend mounting your purifier at least 3–5 feet off the ground. This keeps it above dust bunnies and within the breathing zone.
- Measure the width and depth of your air purifier. Add an extra inch on each side for clearance.
- Use the level to draw a straight horizontal line where the bottom of your shelf or bracket will sit.
- Mark the drill points. If you’re using a shelf, mark where the brackets will attach. For a hook system, mark the center point of the bracket.
One mistake I made early on? Not accounting for the power cord. I mounted my shelf too close to the wall, and the plug wouldn’t reach the outlet. Now I always measure the cord length and plan for a nearby power source—or use an extension cord tucked neatly along the wall.
Also, check for obstructions. Are there electrical wires or pipes behind the wall? Use a stud finder to avoid drilling into something you shouldn’t. Safety first!
Step 3: Drill and Install the Mounting Hardware
Okay, this is the part that makes some people nervous—drilling into the wall. But trust me, it’s easier than it looks. Here’s my go-to process:
- Put on safety goggles. Better safe than sorry.
- Start with a small pilot hole using a drill bit slightly smaller than your screw. This prevents the wall from cracking.
- If you’re drilling into drywall and not a stud, insert a wall anchor. Push it in until it’s flush with the wall.
- Drill the screw into the anchor. Don’t overtighten—just snug enough to hold firmly.
- Repeat for all mounting points. Use the level again to double-check alignment.
I learned the hard way that drywall anchors come in different weight ratings. My first shelf fell because I used cheap plastic anchors for a 12-pound purifier. Now I use heavy-duty toggle bolts or metal anchors rated for at least 20 pounds—even if my purifier is lighter. It’s better to over-prepare.
If you’re mounting into wood, tile, or concrete, adjust your drill bits and screws accordingly. For tile, use a carbide-tipped bit and go slow to avoid cracking. For concrete, a hammer drill and masonry screws are your best friends.
Step 4: Attach the Shelf or Bracket
With the hardware in place, it’s time to secure the actual mount. Whether it’s a shelf, bracket, or backplate, follow the manufacturer’s instructions—but here’s what I’ve found works best:
- For floating shelves: Slide the shelf onto the installed brackets. Most have hidden screws underneath. Tighten them gently.
- For hook brackets: Align the bracket with the screws and tighten until it’s flush against the wall.
- For custom backplates: Attach the plate to the purifier first (using screws or strong adhesive), then hang the whole unit on the wall-mounted hook.
I love using L-brackets for extra support. Even if the shelf feels secure, adding two small L-brackets underneath gives me peace of mind—especially if I have a cat who likes to jump on things.
Once it’s up, give it a gentle shake. If it wobbles, tighten the screws or add more anchors. You want it to feel like part of the wall.
Step 5: Place the Air Purifier and Test
Now for the fun part—putting your purifier in place! Carefully lift it onto the shelf or hook it into the bracket. Make sure it’s centered and stable.
Before you celebrate, do a quick test:
- Plug it in and turn it on. Listen for any unusual vibrations or rattling.
- Check that all vents are unobstructed. Don’t let the purifier sit too close to the wall or furniture.
- Run it for 10–15 minutes. Feel the airflow. Is it pulling in air effectively? If it seems weak, you might be too close to a wall or corner.
I once mounted my purifier too high near the ceiling. Big mistake. It wasn’t capturing the air where I actually breathed. Now I keep it at chest level—around 4 feet up. It makes a noticeable difference.
Also, consider cord management. Use adhesive cable clips or a cord cover to keep the power cord tidy. Nothing ruins a clean wall mount like a dangling wire.
Pro Tips & Common Mistakes to Avoid
After mounting three different air purifiers in my home, I’ve learned a thing or two—some the easy way, some the hard way. Here are my top insights:
Visual guide about how to ideas for wall mounting an air purifier
Image source: static-3.yourspares.co.uk
Pro Tip: Use a wall-mounted shelf with a lip or guard. It prevents your purifier from sliding off if there’s a bump or vibration. I added a small wooden strip to the front of my shelf—took 5 minutes and saved me from a heart attack when my dog bumped into the wall.
Warning: Don’t mount your purifier above a bed or seating area unless it’s extremely secure. If it falls, it could cause injury or damage. I keep mine on a wall opposite my bed—safe and effective.
Common Mistake: Ignoring the weight limit. Just because a shelf holds a book doesn’t mean it can hold a purifier. Always check the load capacity of your mounting hardware.
Pro Tip: Paint or stain your shelf to match your wall. A floating shelf in a contrasting color can look like an eyesore. I used a light oak finish that blends perfectly with my bedroom walls.
Common Mistake: Forgetting about maintenance. Wall-mounted purifiers are harder to clean and filter-replace. Make sure you can easily reach the unit for routine care. I chose a shelf that’s low enough for me to access without a step stool.
Another thing? Don’t rush. I once tried to mount a purifier in under 20 minutes and ended up with crooked brackets and a wobbly shelf. Take your time. Measure twice, drill once.
And if you’re renting? Talk to your landlord first. Some buildings have rules about drilling. In that case, consider non-permanent options like heavy-duty adhesive hooks (3M Command strips work surprisingly well for lightweight models) or a freestanding wall-mounted shelf that leans against the wall.
FAQs About 2026 Best How to Ideas for Wall Mounting an Air Purifier
Q: Can I wall mount any air purifier?
A: Not all, but most can be adapted. Lightweight models (under 15 lbs) are ideal. Check your user manual—some brands sell official mounting kits. If not, a universal bracket or shelf usually works.
Q: Will wall mounting affect how well my air purifier works?
A: It can—but usually for the better. Elevating the unit improves air circulation and reduces dust intake from the floor. Just avoid blocking vents or placing it in a tight corner.
Q: What if I don’t want to drill holes in my wall?
A: You’ve got options! Use adhesive-mounted shelves (like 3M Command), a leaning shelf unit, or a wall-mounted rack that uses tension rods. They’re not as strong, but great for renters or temporary setups.
Q: How high should I mount my air purifier?
A: Aim for 3–5 feet off the ground. This keeps it in the breathing zone and away from floor dust. Avoid mounting too high near the ceiling—it won’t capture air effectively.
Q: Can I mount my air purifier in the bathroom or kitchen?
A: Only if it’s rated for high humidity. Most purifiers aren’t designed for steamy environments. Check the manufacturer’s guidelines. I keep mine in the bedroom—best air quality where I sleep.
Q: What’s the best type of wall for mounting?
A: Drywall with studs is ideal. If you can’t hit a stud, use heavy-duty anchors. Avoid plaster walls unless you’re experienced—they can crack easily.
Q: Do I need a professional to do this?
A: Not at all! With basic tools and patience, most people can handle it. But if you’re unsure about electrical wiring or structural walls, it’s worth consulting a handyman.
Final Thoughts
Wall mounting your air purifier might seem like a small change, but it makes a big difference. You’ll gain floor space, improve air circulation, and create a cleaner, more organized look in your home. Plus, it just feels smarter—like you’ve optimized your space the way it was meant to be.
The 2026 best how to ideas for wall mounting an air purifier aren’t about fancy tools or expensive gear. They’re about thinking ahead, measuring carefully, and choosing a method that fits your lifestyle. Whether you go with a sleek floating shelf or a sturdy bracket system, the key is to do it safely and securely.
So grab your drill, pick a spot on the wall, and give it a try. Your future self—and your lungs—will thank you. And hey, if you mess up the first time? No shame in that. I’ve patched more than one hole in my wall. Just grab some spackle, paint over it, and try again. That’s the beauty of DIY: it’s all part of the journey.
Now go breathe easy—your wall-mounted air purifier is waiting.
“`