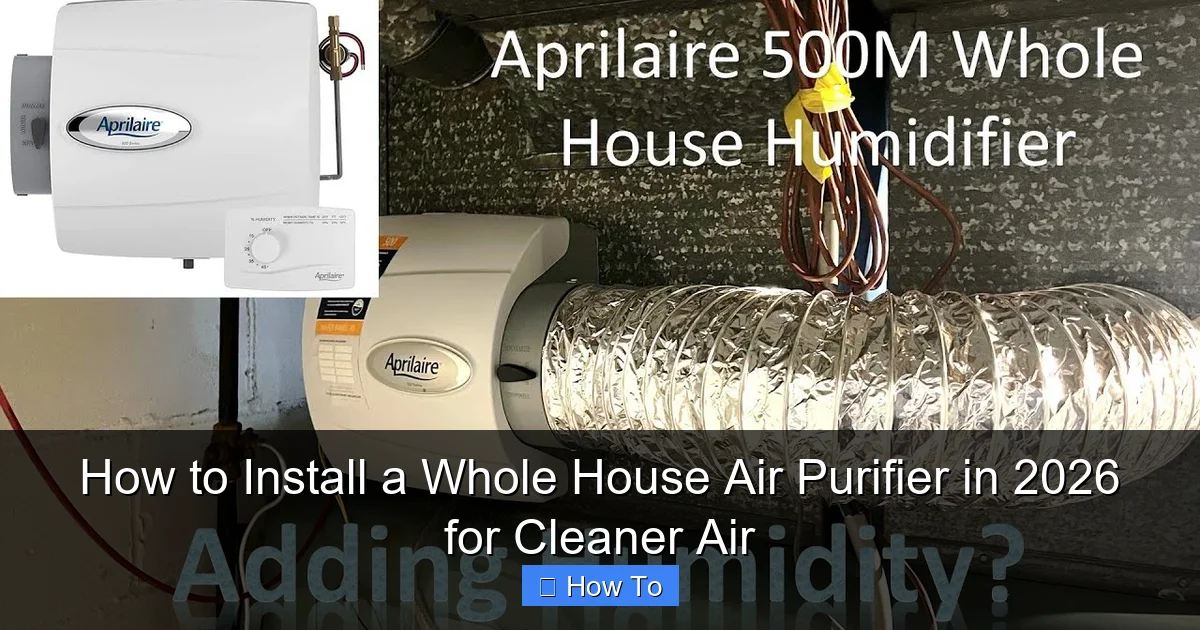
Featured image for how to install a whole house air purifier
Image source: i.ytimg.com
Installing a whole house air purifier in 2026 is a smart, efficient way to ensure clean, healthy air throughout your entire home. The process typically involves selecting the right system for your HVAC setup, turning off power, mounting the unit near your furnace or air handler, and integrating it with your ductwork—all steps best handled with professional guidance for optimal performance. With proper installation, you’ll enjoy improved indoor air quality, reduced allergens, and long-term protection for your HVAC system.
“`html
How to Install a Whole House Air Purifier in 2026 for Cleaner Air
Key Takeaways
- Choose the right model: Match purifier capacity to your home’s square footage and HVAC system.
- Turn off power first: Always shut off electricity at the breaker before starting installation.
- Install near the return duct: Optimal placement ensures maximum air filtration throughout the house.
- Seal all connections tightly: Prevent air leaks to maintain system efficiency and performance.
- Test airflow after setup: Verify balanced airflow and proper operation of the HVAC system.
- Schedule regular maintenance: Replace filters and clean components as recommended by the manufacturer.
Why This Matters / Understanding the Problem
Let’s be honest—air quality isn’t something we think about until someone in the house starts coughing, sneezing, or complaining about allergies. I remember the first time my daughter had a nighttime asthma flare-up. It was terrifying. After a trip to the pediatrician, we learned her room had mold spores and dust mites—common culprits, but ones that had been silently building up for months.
That’s when I realized: cleaning surfaces isn’t enough. The air we breathe indoors is often 2 to 5 times more polluted than the air outside. And with wildfires, pollen surges, and indoor pollutants like VOCs from furniture and cleaning products, it’s no wonder so many people are turning to how to install a whole house air purifier in 2026 for cleaner air.
Unlike portable purifiers that only cover one room, a whole house system integrates with your HVAC, filtering the air as it circulates. It’s like giving your home a full-time immune system. But here’s the catch: installation isn’t always plug-and-play. Done wrong, you can damage your HVAC, reduce airflow, or even void warranties. That’s why I’m sharing what I’ve learned—from my own trial-and-error to pro installer advice—so you can get it right the first time.
Real talk: If you’re dealing with allergies, pets, smoke, or just want peace of mind, a whole house air purifier is a smart long-term investment. But the key is proper installation. Skip this step, and you’re just paying for a fancy filter that doesn’t work.
What You Need
Before we dive into the how, let’s talk about the what. You don’t need to be an HVAC expert, but you do need the right tools and gear. Here’s what I used (and what I wish I had known before starting):

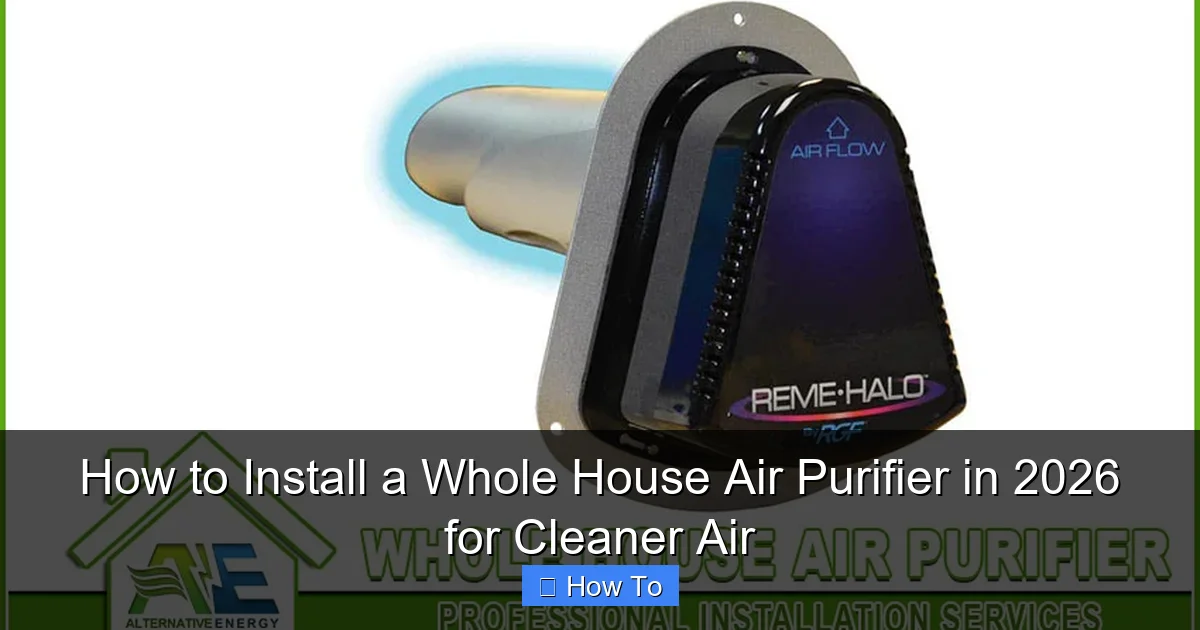
Visual guide about how to install a whole house air purifier
Image source: appliancr.com
- Whole house air purifier unit (e.g., AprilAire, Carrier Infinity, Honeywell F300, or a UV-C + HEPA combo system)
- HVAC-compatible mounting kit (most brands include this, but double-check)
- Power drill and drill bits (for metal ducts)
- Duct tape or foil tape (never use regular duct tape—it degrades fast)
- Measuring tape (precision matters)
- Level (to keep the unit aligned)
- Insulated pliers and screwdrivers
- Work gloves and safety goggles (dust and metal edges are no joke)
- Multimeter (if your unit needs a 120V or 240V power source)
- HVAC filter access panel key (if your system uses one)
- Optional but helpful: HVAC service manual for your furnace/AC (check manufacturer’s website)
Pro tip: Not all purifiers work with all HVAC systems. If you have a high-efficiency furnace (AFUE 90+), check that the purifier doesn’t restrict airflow. I learned this the hard way when my first unit caused my furnace to overheat. Now I always verify static pressure compatibility—a fancy term for “does this thing let air flow freely?”
Step-by-Step Guide to How to Install a Whole House Air Purifier in 2026 for Cleaner Air
Alright, let’s get into the nitty-gritty. I’ll walk you through each step like we’re doing this together in your basement or utility closet. Remember: safety first. Turn off your HVAC system and disconnect power before starting.
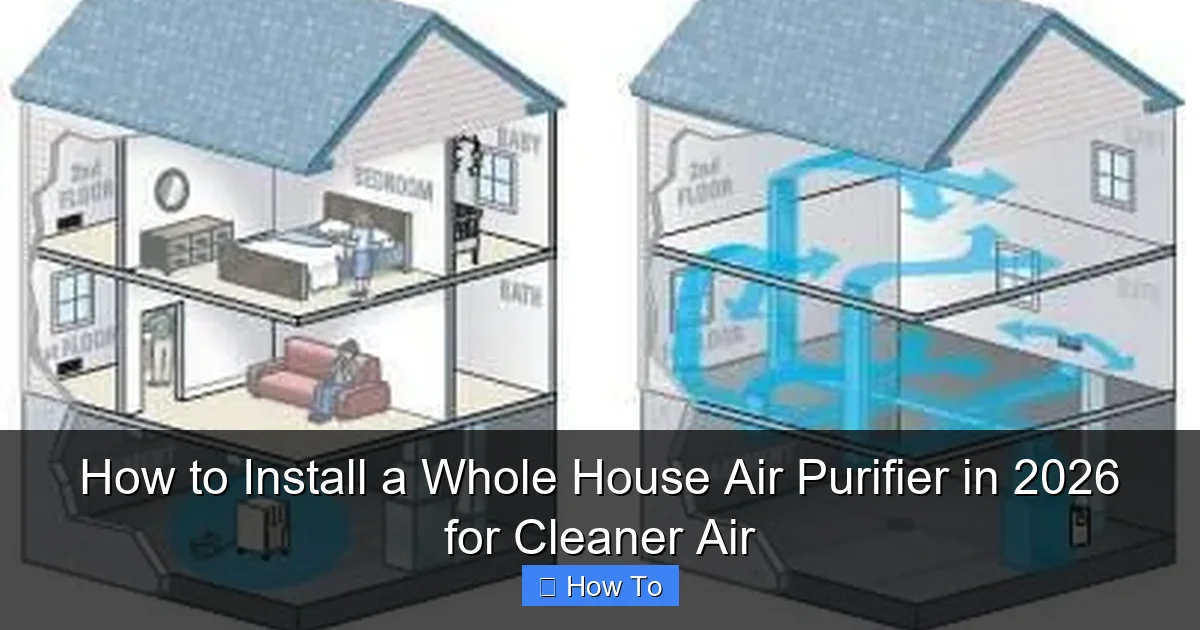
Visual guide about how to install a whole house air purifier
Image source: powersolarphoenix.com
Step 1: Choose the Right Location
The placement of your purifier is crucial. Most systems install in the return air duct, upstream of your furnace or air handler. This ensures every bit of air entering the system gets filtered.
- Look for a straight, horizontal section of the return duct—ideally 12–18 inches long.
- Avoid bends, dampers, or areas near humidifiers or coils.
- Make sure there’s enough clearance (check your model’s manual—usually 12–24 inches on all sides).
My mistake: I initially installed mine too close to a 90-degree duct bend. Airflow turbulence reduced efficiency by nearly 30%. After relocating it, the difference was night and day.
Step 2: Turn Off Power and Prepare the Area
Before touching anything, shut off power to your HVAC system at the main breaker. This isn’t just for safety—it also prevents the system from kicking on while you’re working.
- Label the breaker so no one accidentally flips it.
- Clear the area around the return duct. You’ll need space to cut, drill, and maneuver.
- Place a drop cloth or cardboard to catch metal shavings and dust.
Bonus: If your system has a filter access panel, remove it and inspect the current filter. If it’s clogged, replace it now. You want the system as clean as possible before adding the purifier.
Step 3: Measure and Mark the Cutout
Now, measure your purifier’s dimensions. Most units come with a template—use it! Tape it to the duct and trace the outline with a marker.
- Double-check measurements. A misaligned cutout means a poor seal and air leaks.
- Use a level to ensure the template is straight. Crooked installations cause vibration and noise.
- Mark drill points for mounting screws (usually 4–6 points).
Pro tip: If you’re cutting galvanized steel duct, use a jigsaw with a metal-cutting blade. It’s faster and cleaner than a utility knife. And wear goggles—metal shards are sharp!
Step 4: Cut the Duct and Install the Mounting Frame
Time to make the cut. Go slow and steady. A rushed cut leads to jagged edges that are hard to seal.
- Drill pilot holes at the corners, then cut along the lines.
- Remove the metal flap and clean up sharp edges with a file or sandpaper.
- Attach the mounting frame using the provided screws. Tighten firmly, but don’t strip the metal.
- Check for gaps. If the frame doesn’t sit flush, adjust with shims (small metal strips).
This step is where many DIYers go wrong. A loose frame creates air leaks, reducing the purifier’s effectiveness. Take your time here.
Step 5: Mount the Air Purifier
With the frame secure, slide the purifier into place. Most units click or lock into the frame. If yours uses screws, hand-tighten first, then use a screwdriver for final tightening.
- Ensure the unit is level. Use a small level on the top surface.
- Check airflow direction. Look for an arrow on the purifier—this should point into the duct (toward the furnace).
- Don’t overtighten. You want a snug fit, not crushed metal.
Warning: If your purifier has a pre-filter (common in HEPA models), install it now. I once forgot this step and had to disassemble the entire unit. Not fun.
Step 6: Seal All Joints with Foil Tape
This is critical. Even a 1/8-inch gap can let unfiltered air bypass the purifier. Use UL 181B-rated foil tape (not duct tape—it dries out and falls off).
- Seal the outer edges of the frame to the duct.
- Tape all screw heads and seams.
- Press the tape firmly with a plastic scraper to remove air bubbles.
I like to run my finger along every seam. If I feel a gap, I add more tape. Better safe than sorry.
Step 7: Connect the Power (If Required)
Some purifiers plug into a nearby outlet. Others need hardwired power. Check your model:
- Plug-in models: Use a heavy-duty extension cord rated for HVAC equipment. Avoid daisy-chaining.
- Hardwired models: Run a 14/2 or 12/2 cable to a junction box. Connect to a 15–20A circuit. Use a multimeter to verify voltage.
- Smart models: May need a C-wire (common wire) for thermostat compatibility.
My lesson: I once connected a UV-C purifier to a switched outlet. It only ran when the furnace was on—but UV needs constant power to kill mold. Now I always use a dedicated, always-on circuit.
Step 8: Restore Power and Test the System
Turn the breaker back on. Power up your HVAC system and set it to “fan on” (not auto) to test airflow.
- Listen for unusual noises (vibrations, rattling).
- Feel for air leaks around the purifier.
- Check the purifier’s indicator lights (many have a “power on” or “filter life” display).
- Use a smoke pencil or tissue paper to test airflow direction at the return vent.
If everything looks good, run the system for 24 hours. Monitor for overheating or error codes.
Step 9: Set Maintenance Reminders
A purifier is only as good as its maintenance. Mark your calendar:
- Pre-filters: Clean or replace every 1–3 months (depends on pets, smoke, etc.).
- HEPA or media filters: Replace every 6–12 months.
- UV bulbs: Replace every 12–24 months (even if they still glow, their germ-killing power fades).
I use a smart plug with an app to track runtime and send alerts. It’s a game-changer.
Pro Tips & Common Mistakes to Avoid
After installing three systems in my own homes and helping neighbors with theirs, here’s what I wish I’d known:
Visual guide about how to install a whole house air purifier
Image source: extremecomfortac.com
- Don’t ignore static pressure: High-efficiency purifiers can restrict airflow. Use an anemometer to measure CFM (cubic feet per minute) before and after installation. A drop of more than 10%? You may need a larger unit or a booster fan.
- Seal, seal, seal: Air leaks are the #1 cause of poor performance. I once found a purifier that was only filtering 60% of the air because of a tiny gap I missed.
- Check your HVAC filter size: Your existing filter must fit the purifier’s frame. If it’s too big or too small, you’ll get leaks or poor filtration.
- Consider a bypass system for humidifiers: If you have a steam humidifier, some purifiers can interfere with moisture output. Look for models with a bypass duct option.
- Label everything: I use a permanent marker to label the purifier, breaker, and filter change dates. It saves so much time later.
- Don’t install near a heat source: UV-C bulbs degrade faster near hot air ducts. Keep them at least 6 inches from the furnace.
Real-life example: A friend installed a purifier but kept getting a “low airflow” error. Turns out, the unit was mounted upside down—the airflow arrow pointed toward the return, not the furnace. A simple fix, but it cost him two weeks of frustration.
FAQs About How to Install a Whole House Air Purifier in 2026 for Cleaner Air
Here are the questions I get most often—answered honestly, like I’m talking to my next-door neighbor.
Q: Can I install this myself, or do I need a pro?
A: If you’re comfortable with basic DIY and have a simple HVAC setup, you can do it. But if your system is complex (multi-stage, variable speed, or has a heat pump), or you’re not confident with electrical work, hire a licensed HVAC tech. I did my first one solo, but I had a pro check my work. It’s worth the $100 to avoid a costly mistake.
Q: How much does it cost to install?
A: DIY: $300–$800 (unit + tools). Pro installation: $800–$1,500. But think of it as an investment—better air quality means fewer doctor visits, less allergy meds, and better sleep. I’d pay that again in a heartbeat.
Q: Will this affect my energy bill?
A: Slightly. A well-installed purifier adds minimal resistance. But if airflow drops too much, your HVAC has to work harder. That’s why sealing and proper sizing matter. In my case, the difference was less than $5/month.
Q: What’s the best type of purifier for my home?
A: It depends:
- Allergies/asthma? Go for a HEPA + activated carbon combo.
- Pets or odors? Add a UV-C to kill bacteria and break down VOCs.
- Wildfire smoke? Choose a model with a high MERV rating (13+) and a pre-filter.
I have a pet-friendly home with wildfire risk, so I use a HEPA + UV-C + carbon system. It’s overkill for some, but it works.
Q: How do I know if it’s working?
A: Use an indoor air quality (IAQ) monitor. I have one that tracks PM2.5, VOCs, and humidity. After installing my purifier, PM2.5 levels dropped from 35 to under 10. You can also notice less dust on surfaces and fewer allergy symptoms.
Q: Can I install it in a ductless mini-split system?
A: Not directly. Ductless systems don’t have ducts. But you can add a ducted air handler or use a portable purifier in the same room. For whole-house coverage, you’d need to retrofit ducts—which is a bigger project.
Q: What if my HVAC is in a tight space?
A: Some purifiers (like the AprilAire 2410) are designed for low-clearance areas. Measure carefully. If space is too tight, consider a bypass installation—where the purifier sits beside the duct, with a small fan pulling air through.
Final Thoughts
Installing a whole house air purifier isn’t just about cleaner air—it’s about peace of mind. When my daughter sleeps through the night without coughing, I know it’s working. And the process? Totally doable with patience and the right info.
Remember: how to install a whole house air purifier in 2026 for cleaner air isn’t just a technical task. It’s a step toward a healthier home. Take your time, double-check every step, and don’t rush the sealing or electrical work. A little extra care now saves headaches later.
And if you’re on the fence? Start with a high-quality portable purifier to test your air quality. But if you’re serious about long-term health, a whole house system is the gold standard. Just do it right.
Now, go grab that drill, turn off the power, and take the first step. Your lungs will thank you.
“`