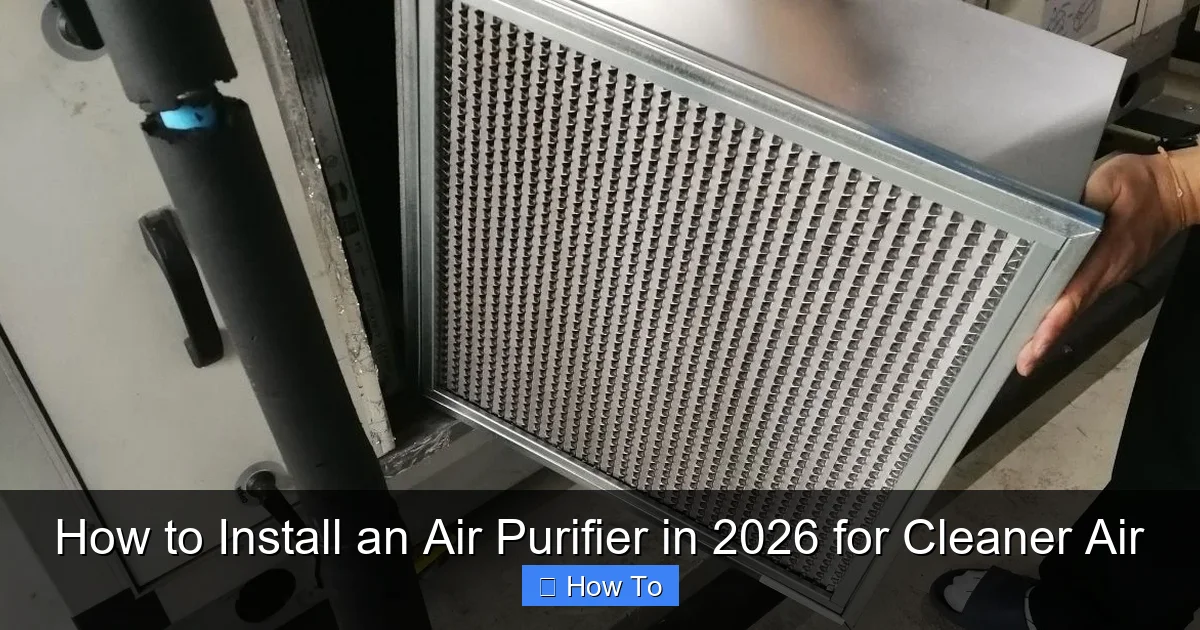
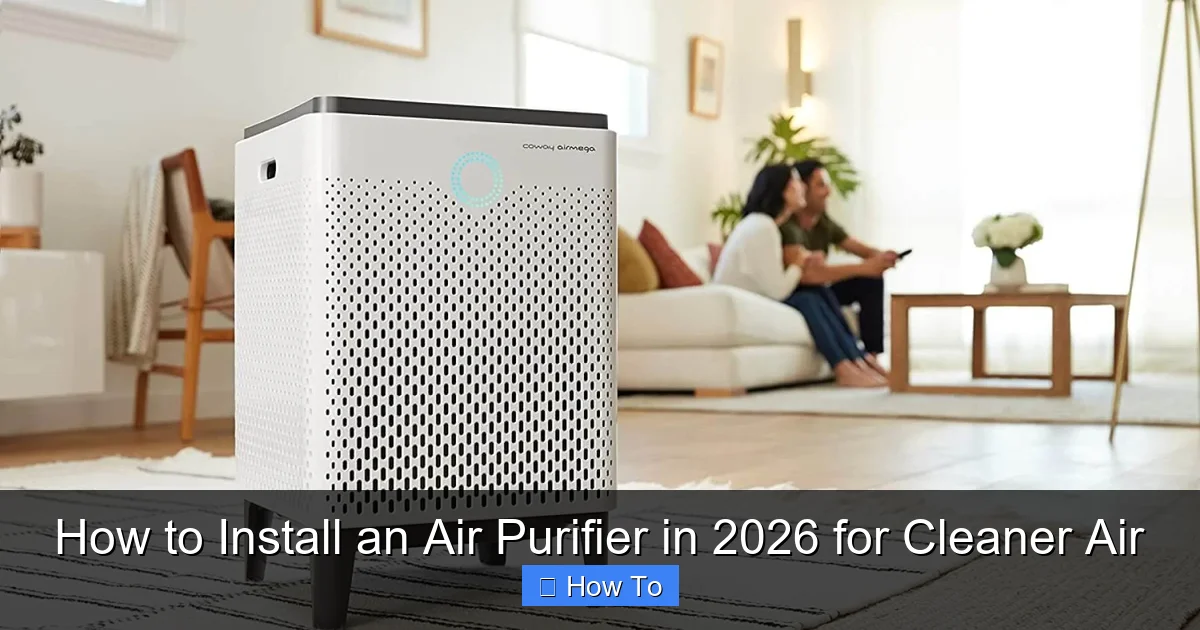
Featured image for how to install an air purifier
Image source: perfectairsolutions.ca
Installing an air purifier in 2026 is faster and smarter than ever—start by selecting a unit with HEPA and smart sensors for optimal air quality monitoring. Position it centrally, away from obstructions, and plug it into a dedicated outlet to ensure maximum airflow and efficiency. Follow the app-guided setup for real-time air quality tracking and automatic filter alerts to keep your space consistently clean.
“`html
How to Install an Air Purifier in 2026 for Cleaner Air
Let’s be real—air quality isn’t getting better. Between wildfire smoke, seasonal allergies, and that mysterious “new home smell” that lingers way too long, I’ve been on a mission to breathe easier. A few years ago, I bought my first air purifier on a whim after a particularly sneeze-filled spring. I unboxed it, plugged it in, and… nothing changed. Turns out, I’d skipped the most important part: proper installation.
That’s when I learned that how to install an air purifier in 2026 for cleaner air isn’t just about flipping a switch. It’s about placement, timing, maintenance, and understanding your space. Whether you’re dealing with pet dander, city smog, or just want to sleep better at night, getting this right makes all the difference.
In this guide, I’ll walk you through everything I’ve learned—from choosing the right spot to avoiding rookie mistakes—so you can actually enjoy the clean air you paid for. No fluff, no jargon, just real talk from someone who’s been there.
Key Takeaways
- Choose the right size: Match the purifier’s capacity to your room’s square footage for optimal performance.
- Place it centrally: Position the unit in open areas, away from walls or furniture, to maximize airflow.
- Install on a stable surface: Use a flat, level spot to prevent vibrations and ensure quiet operation.
- Keep filters accessible: Ensure easy access for future filter replacements to maintain efficiency.
- Plug into a dedicated outlet: Avoid power strips to prevent overheating and ensure consistent power supply.
- Run continuously for best results: Operate the purifier 24/7, especially in high-pollution environments.
Why This Matters / Understanding the Problem
Indoor air can be up to five times more polluted than outdoor air, according to the EPA. And in 2026, with climate change intensifying and urban living on the rise, that stat hits harder than ever. We’re spending more time indoors than ever before—working, sleeping, even exercising—so the air we breathe inside directly impacts our health.
Pollutants like dust mites, mold spores, VOCs (volatile organic compounds) from cleaning products, and even cooking fumes accumulate quietly. You might not see them, but your lungs definitely notice. That’s where an air purifier comes in—but only if it’s installed correctly.
Think of it like this: buying a high-end coffee maker but never cleaning the filter. It might brew, but it won’t taste great. Same goes for your air purifier. If you don’t set it up right, you’re basically running a fan with a fancy sticker. Learning how to install an air purifier in 2026 for cleaner air ensures you get the full benefit—not just placebo peace of mind.
Plus, modern units come with smart features like auto-mode, air quality sensors, and app connectivity. But those only work well if the device is positioned where it can actually sample and clean the air effectively. So yes, installation matters—a lot.
What You Need
Before we dive into the steps, let’s make sure you’ve got what you need. Don’t worry—this isn’t a complicated project. Most of these items you probably already have lying around.

Visual guide about how to install an air purifier
Image source: aroundclock.com
- Your air purifier (obviously!)—make sure it’s unboxed and all parts are present
- User manual—yes, read it! Every model is slightly different
- A flat, stable surface—nightstand, shelf, or floor (avoid carpets if possible)
- Access to an electrical outlet—within 3–6 feet of your chosen spot
- Measuring tape or ruler—to check clearance space
- Vacuum or duster—to clean the area before placing the unit
- Optional but helpful: smartphone with the manufacturer’s app (for smart models)
Pro tip: If you’re installing a large tower or console-style purifier, enlist a friend. They’re heavier than they look, and dropping one could damage both the unit and your floor.
Step-by-Step Guide to How to Install an Air Purifier in 2026 for Cleaner Air
Step 1: Choose the Right Location
This is the #1 mistake people make—and it completely undermines the purifier’s effectiveness. You wouldn’t put a dehumidifier in a closet and expect it to dry your whole house, right? Same logic applies here.
Visual guide about how to install an air purifier
Image source: liveenhanced.com
Start by identifying your “problem zone.” Is it your bedroom where you wake up congested? The living room where your dog sheds like it’s going out of style? Or maybe the kitchen where frying fish leaves lingering odors?
Once you’ve pinpointed the area, follow these placement rules:
- Keep it at least 12–18 inches away from walls, furniture, or curtains. Air needs to flow freely into the intake vents.
- Avoid corners. They create dead zones where air stagnates.
- Place it where you spend the most time. Bedrooms and home offices are ideal.
- Don’t hide it under a desk or behind a couch. Even if it looks neat, it won’t work well.
- For open-concept spaces, position it centrally—not tucked into one room.
I learned this the hard way when I placed my purifier behind my bed. The airflow was blocked, and after a week, my allergy symptoms hadn’t improved at all. Moving it to the foot of the bed—with clear space all around—made a night-and-day difference.
Step 2: Prepare the Area
Now that you’ve picked your spot, give it a quick cleanup. Dust, pet hair, and debris can clog the pre-filter quickly, reducing efficiency. Use a vacuum attachment or microfiber cloth to wipe down the surface and surrounding area.
If you’re placing it on carpet, consider using a small wooden board or plastic mat underneath. Carpets can trap dust and restrict airflow from the bottom vents (common in many models). Hard floors are ideal, but if you must use carpet, just ensure the unit isn’t sinking in or tilted.
Also, check for nearby heat sources—radiators, space heaters, or direct sunlight. High temperatures can warp plastic components and affect sensor accuracy. Same goes for humid areas like bathrooms. Most purifiers aren’t built for steamy environments, and moisture can damage internal electronics.
One thing I wish I’d known earlier: don’t place your purifier near strong air currents like ceiling fans or open windows during high-pollen days. While fresh air sounds good, it can overwhelm the unit’s capacity and reduce its ability to filter effectively.
Step 3: Unbox and Inspect Your Unit
Take your time here. Rushing through unboxing is how filters get damaged or misplaced.
Open the box carefully and lay out all components. Most purifiers include:
- The main unit
- HEPA filter (sometimes wrapped separately)
- Pre-filter (often removable and washable)
- Carbon filter (for odors and gases—not always included)
- Power cord
- Remote control (if applicable)
- User manual and warranty card
Check the filters for any visible damage—tears, crushed edges, or loose fibers. If something looks off, contact customer support before installing. Most reputable brands offer free replacements for defective parts.
Also, note whether your filter is “sealed” or “unsealed.” Sealed filters come pre-installed and ready to go. Unsealed ones need to be removed from plastic wrapping and inserted manually. Never run the purifier with the filter still in its plastic bag—it blocks airflow completely and can overheat the motor.
I once forgot to remove the plastic from my carbon filter. The unit ran for two days before I noticed a weird burning smell. Luckily, no damage, but it was a close call!
Step 4: Install the Filters
This step varies by model, so always refer to your manual. But here’s the general process:
- Turn off and unplug the unit. Safety first!
- Locate the filter compartment. Usually on the back, side, or bottom—look for a latch or panel.
- Remove the old filter (if replacing) or unpack the new one. Handle HEPA filters by the edges to avoid tearing.
- Insert the filter according to the arrow direction. Most have airflow arrows showing which way air should move.
- Reattach the pre-filter (if separate). This catches large particles and extends the life of the HEPA filter.
- Secure the compartment door. Make sure it clicks shut—no gaps allowed.
Some newer models in 2026 come with smart filter indicators that sync with an app. If yours has this feature, download the app now and follow the setup prompts. It’ll help you track filter life and receive replacement reminders.
One common mistake? Installing the carbon filter upside down. It doesn’t always fit both ways, and reversing it reduces odor absorption. Double-check the orientation before closing the panel.
Step 5: Plug In and Power On
Find your nearest outlet—ideally one that’s not overloaded with other devices. Air purifiers draw consistent power, so avoid power strips if possible. If you must use one, make sure it’s surge-protected and rated for continuous use.
Plug in the unit and press the power button. Most models will beep or light up to confirm they’re on. Listen for smooth fan operation—no grinding, rattling, or uneven sounds. If you hear anything odd, unplug immediately and check the filter installation.
Start on the lowest fan setting. This lets the motor warm up gently and gives you a baseline for noise level. You can always crank it up later if needed.
If your purifier has a display or app, take a moment to calibrate the air quality sensor. Some units need 10–15 minutes to “learn” your room’s baseline pollution levels. Don’t panic if it shows “poor” air quality at first—that’s normal!
Step 6: Set Up Smart Features (If Applicable)
Many 2026 models come with Wi-Fi connectivity, voice control (Alexa, Google Assistant), and auto-mode. These features are game-changers—but only if configured properly.
Download the manufacturer’s app (usually free) and create an account. Follow the in-app instructions to connect your purifier to your home Wi-Fi. This might involve holding a button on the unit until a light flashes—again, check your manual.
Once connected, you can:
- Monitor real-time air quality
- Adjust fan speed remotely
- Schedule run times (e.g., “run on high from 8 PM to 7 AM”)
- Receive filter replacement alerts
- Integrate with smart home routines (“Goodnight” mode turns on the purifier)
I love setting mine to run on high during my morning workout and switching to low while I sleep. The app even tells me when pollen counts are high outdoors—so I know when to close the windows.
Just remember: keep your Wi-Fi password updated. If you change it and forget to reconnect the purifier, you’ll lose remote access until you manually reset it.
Step 7: Run a Test Cycle
Let your purifier run for at least 2–4 hours on medium or high setting. This gives it time to circulate air throughout the room and establish a clean baseline.
During this time, avoid opening windows or doors (unless you’re testing how it handles fresh air influx). You want to see how well it performs in a controlled environment.
After the test cycle, check the pre-filter. If it’s already visibly dirty, your room has high particulate levels—great job catching that! If it’s still clean, that’s also good news: your air was already relatively fresh.
Use this opportunity to note the noise level. If it’s too loud for your comfort, try lowering the fan speed or moving it slightly farther away. Some models have a “night mode” that reduces both noise and brightness—perfect for bedrooms.
Pro Tips & Common Mistakes to Avoid
After helping friends and family install a dozen purifiers, I’ve seen the same hiccups pop up again and again. Here’s what to watch out for:
Warning: Never run your air purifier without a filter—even for a minute. The motor can suck in dust and debris, causing permanent damage.
Pro Tip: Clean the pre-filter every 2–4 weeks. Most are washable—just rinse under cool water, let dry completely, and reinstall. This simple habit can extend your HEPA filter’s life by months.
Common Mistake #1: Ignoring room size. Your purifier’s CADR (Clean Air Delivery Rate) should match your room’s square footage. A small desktop unit won’t cut it in a 400 sq ft living room. Check the specs before buying—or better yet, choose a model with auto-adjusting fan speeds.
Common Mistake #2: Forgetting to replace filters. Even the best purifier becomes useless with a clogged filter. Most need replacement every 6–12 months, depending on usage and pollution levels. Set a calendar reminder!
Common Mistake #3: Over-relying on the purifier. It’s not a magic wand. Keep windows closed during high-pollen days, vacuum regularly, and avoid smoking indoors. The purifier works best as part of a holistic clean-air strategy.
Pro Insight: If you have pets, place the purifier at pet height (not on the floor). Pet dander floats mid-air, and that’s where your furry friend spends most of their time.
FAQs About How to Install an Air Purifier in 2026 for Cleaner Air
Q: Can I install an air purifier myself, or do I need a professional?
A: Absolutely DIY! Unlike HVAC systems, portable air purifiers don’t require wiring or ductwork. Just follow the steps above—you’ve got this.
Q: Should I run my air purifier 24/7?
A: Yes, if possible. Continuous operation maintains consistent air quality. Modern units are energy-efficient (often under 50 watts), so the cost is minimal—usually less than $10/month.
Q: What if my room has high ceilings?
A: Look for a purifier with a higher CADR or consider a dual-unit setup. Air stratification can occur in tall rooms, so placing one near the floor and another higher up helps circulation.
Q: Do I need different filters for smoke vs. allergies?
A: Not necessarily. Most 2026 models use multi-stage filtration: a pre-filter for dust, HEPA for allergens, and activated carbon for smoke and odors. One unit handles it all.
Q: Can I move my purifier from room to room?
A: Yes! That’s one of the biggest perks of portable units. Just remember to clean the pre-filter more often if you’re switching between high-dust areas (like a workshop) and low-dust spaces (like a bedroom).
Q: My purifier is beeping—what does that mean?
A: Usually a filter replacement alert or blockage warning. Check your manual for the specific code. If it persists after filter changes, contact support—it could be a sensor issue.
Q: Is it safe to leave an air purifier on when I’m not home?
A: Yes, as long as it’s placed safely (away from flammable materials) and has automatic shut-off features (most modern ones do). Just ensure the outlet isn’t overloaded.
Final Thoughts
Installing an air purifier isn’t rocket science—but it does require a little thought and care. Now that you know how to install an air purifier in 2026 for cleaner air, you’re equipped to make the most of your investment. Remember: placement, preparation, and maintenance are just as important as the device itself.
Start small. Pick one room, follow these steps, and notice the difference in how you feel. Better sleep, fewer sniffles, and peace of mind? That’s worth far more than the price tag.
And if you ever get stuck? Revisit your manual, check the manufacturer’s website, or reach out to their support team. Most are surprisingly helpful—especially when it comes to filter troubleshooting.
Breathe easy, friend. Your cleaner air journey starts today.
“`