
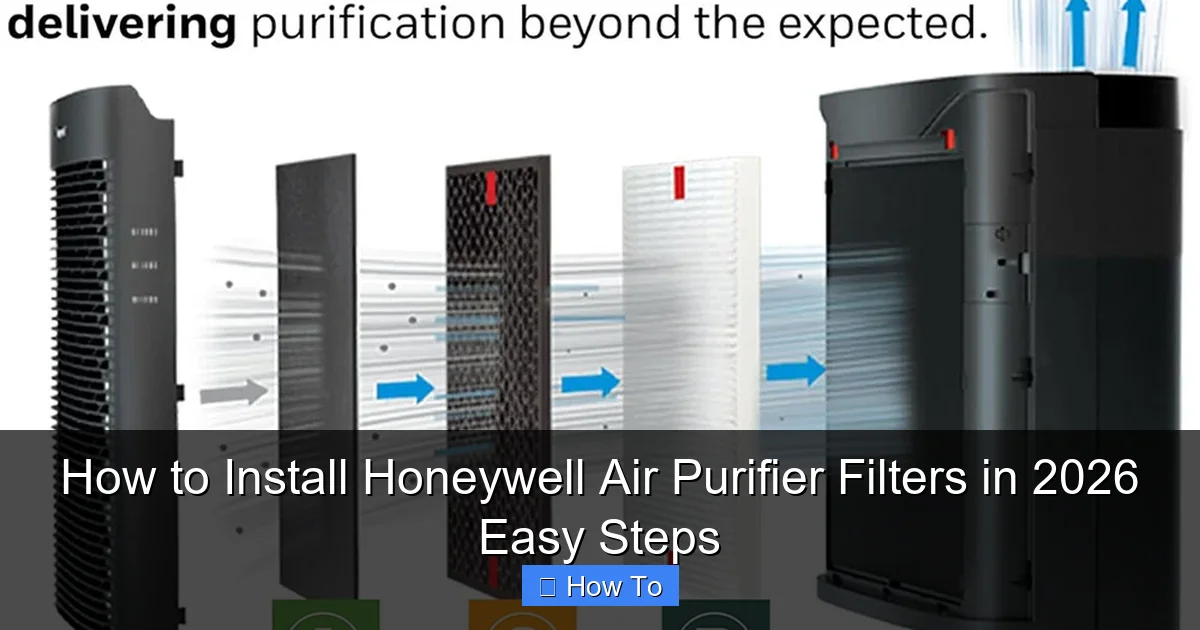
Featured image for how to install honeywell air purifier filters
Image source: images-na.ssl-images-amazon.com
Installing Honeywell air purifier filters in 2026 is a quick, tool-free process—just power off the unit, remove the old filter, and slide in the new one for a secure fit. Ensure the airflow arrow on the filter matches the unit’s direction, then reassemble and restart to enjoy cleaner, fresher air in under five minutes.
“`html
How to Install Honeywell Air Purifier Filters in 2026 Easy Steps
Key Takeaways
- Turn off and unplug the air purifier before replacing filters for safety.
- Remove the front or side panel by gently pulling or unscrewing, depending on your model.
- Take out old filters and dispose of them properly to avoid contaminating indoor air.
- Insert new filters with arrows pointing toward the unit for correct airflow direction.
- Reattach the panel securely to ensure proper operation and prevent air leaks.
- Reset the filter indicator if your model has one to track usage accurately.
Why This Matters / Understanding the Problem
Let’s be honest—no one likes a dusty house, especially when allergies flare up or the air smells stale. I remember the first time my Honeywell air purifier started making a weird noise. I thought it was broken, but it was just the filter. Over time, I learned that how to install Honeywell air purifier filters in 2026 easy steps isn’t just a technical chore—it’s the secret to cleaner, healthier air.
Filters trap dust, pollen, pet dander, and even some viruses. But if they’re clogged or installed wrong, your purifier can’t do its job. That’s why knowing the right way to swap them out matters. Whether you’re a first-timer or just need a refresher, this guide walks you through the process with zero stress.
And here’s the thing: Honeywell models vary slightly, but the core steps stay the same. So whether you have a tower, console, or compact unit, this method works. Let’s get your air flowing fresh again—without the guesswork.
What You Need
Before you start, gather these essentials. Trust me, having everything ready saves time and frustration.

Visual guide about how to install honeywell air purifier filters
Image source: images-na.ssl-images-amazon.com
- New Honeywell filter(s) – Check your model number (found on the back or bottom) to get the right type (e.g., HRF-R3, HRF-AP1, HRF-K2).
- User manual – If you lost it, download it from Honeywell’s website. It’s your cheat sheet for model-specific quirks.
- Vacuum with a brush attachment – For cleaning the inside (optional but smart).
- Soft microfiber cloth – To wipe down the exterior and interior.
- Timer or phone reminder – Set a filter replacement alert for next time (I use a sticky note on the fridge).
Pro tip: Buy filters in bulk (Honeywell sells 2- or 3-packs). It’s cheaper and means you won’t panic when one’s due. Just store extras in a cool, dry spot.
Step-by-Step Guide to How to Install Honeywell Air Purifier Filters in 2026 Easy Steps
Now, the main event. These steps work for most Honeywell models, including the AirGenius 6, True HEPA Allergen Remover, and QuietClean Tower. I’ll flag any differences as we go.
Visual guide about how to install honeywell air purifier filters
Image source: honeywellstore.com
Step 1: Power Down & Unplug the Unit
First, turn off and unplug your purifier. I know it sounds obvious, but I’ve rushed this step once and accidentally hit the power button while cleaning—yikes. A quick unplug prevents accidental starts and keeps you safe.
Wait about 30 seconds after unplugging. This gives any residual charge time to drain (especially important for models with ionizers).
Step 2: Locate the Filter Access Panel
Honeywell units have different access points. Here’s how to find yours:
- Tower models (e.g., HPA300): Look for a latch or button on the back or side. Press it—the panel pops open like a drawer.
- Console models (e.g., HPA200): The front grille usually lifts up or slides off. Gently pull it straight out.
- Compact models (e.g., HPA100): Some have a top cover you twist counterclockwise. Others use a side latch.
Warning: Don’t force anything. If the panel won’t budge, check the manual. Some models need you to slide, not pull. Forcing it cracks plastic—ask me how I know.
Step 3: Remove the Old Filter(s)
Once the panel’s open, you’ll see the filter(s). Most Honeywell purifiers use a combo:
- Pre-filter (outer layer) – A foam or mesh screen that catches large particles.
- Main HEPA filter (inner layer) – The dense white or blue pleated filter that traps tiny allergens.
Grab the pre-filter first. It usually has a fabric tab or edge. Pull it straight out. Then, remove the HEPA filter by gripping the cardboard frame. Don’t grab the pleats—they’re fragile.
Pro tip: Take a photo of the filters before removing them. This helps you remember their order and airflow direction (more on that below).
Step 4: Clean the Filter Chamber
With the filters out, inspect the chamber. You’ll likely see dust, hair, or even a rogue paperclip (true story). Use your vacuum’s brush attachment to gently suck up debris. Wipe the chamber walls with a microfiber cloth.
Why do this? A dirty chamber means new filters get clogged faster. Plus, it prevents dust from blowing back into your room. I do this every other filter change—it’s a small step that makes a big difference.
Step 5: Check Airflow Direction on the New Filter
This is critical. Every Honeywell HEPA filter has an airflow arrow on the frame. It must point into the purifier (toward the motor), not toward you. If it’s backward, the filter won’t seal properly, and air will leak around it.
For pre-filters, look for a “Front” or “Face” label. It should face outward (toward you when installed).
Common mistake: I once installed a HEPA filter backward and wondered why my air still smelled like cat litter. Took me a week to figure it out. Don’t be me.
Step 6: Install the New Pre-Filter
Slide the new pre-filter into the outer slot. Make sure it sits flat and covers the entire opening. If it’s a foam pre-filter, press it gently to fit. For mesh pre-filters, align the edges with the frame.
Some models (like the HPA300) have a pre-filter that snaps into a plastic tray. If yours does, ensure it clicks in securely. A loose pre-filter rattles and reduces efficiency.
Step 7: Insert the New HEPA Filter
Now, place the HEPA filter in the inner slot. Align the airflow arrow so it points into the unit. Press the frame gently until it’s flush with the chamber. Don’t force it—if it doesn’t slide in, double-check the direction.
For models with a HEPA filter tray (e.g., HPA200), slide the tray back in until it clicks. On others, the frame should sit snugly without gaps.
Step 8: Reattach the Access Panel
Close the panel or reinsert the grille. For latched models, press until you hear a click. For sliding grilles, push it straight in—don’t tilt. If it doesn’t close, check that the filters are seated correctly. A misaligned filter often blocks the panel.
Once closed, give the panel a light tug to confirm it’s secure. You don’t want it popping open during use.
Step 9: Reset the Filter Indicator (If Your Model Has One)
Many Honeywell purifiers have a filter reset button or light. After installing new filters, press and hold the reset button (usually for 3–5 seconds) until the light turns off or changes color.
If your model uses a manual timer (like the HPA100), set it for 6–12 months, depending on usage. I reset mine every 6 months—even if the light hasn’t come on—because I have pets and a dusty home.
Step 10: Power Up & Test
Plug the purifier back in and turn it on. Run it on high for 10–15 minutes. Listen for smooth operation—no grinding or rattling. If you hear noise, power off and recheck the filters.
Smell the airflow. It should be fresh, not musty. If it smells off, the HEPA filter might be damaged or expired (check the date on the box).
Pro Tips & Common Mistakes to Avoid
After years of swapping filters, I’ve learned a few tricks—and made plenty of blunders. Here’s what to keep in mind for how to install Honeywell air purifier filters in 2026 easy steps.
Visual guide about how to install honeywell air purifier filters
Image source: m.media-amazon.com
Tip 1: Label Your Filters
Use a marker to write the install date on the HEPA filter’s frame. I use a tiny “1/2026” on mine. This helps track lifespan, especially if you have multiple units.
Tip 2: Don’t Skip the Pre-Filter
The pre-filter is cheap but vital. It extends the HEPA filter’s life by catching large particles. I clean mine every month with a vacuum or damp cloth (if it’s washable). Never install a HEPA filter without a pre-filter—it’ll clog in weeks.
Tip 3: Store Spare Filters Properly
Keep extra filters in their original packaging, in a dry, dark place. Humidity warps the cardboard frame, and sunlight degrades the filter media. I store mine in a sealed plastic bin under the sink.
Tip 4: Watch for Counterfeit Filters
Third-party filters are tempting (they’re cheaper!), but they rarely meet Honeywell’s standards. I tried a knockoff once—the pleats were uneven, and it leaked air. Stick to genuine Honeywell or certified replacements (look for “Honeywell Compatible” with HEPA H13 rating).
Tip 5: Replace Filters Sooner in High-Use Areas
The 6–12 month rule is a baseline. If you have pets, smoke, or live in a dusty city, change filters every 3–6 months. I replace mine every 4 months because my cat sheds like a wool sweater.
Common Mistakes
- Ignoring the airflow arrow – This is the #1 error. Double-check it!
- Forgetting to reset the timer – Without a reset, the indicator stays on, causing confusion.
- Installing a wet pre-filter – If you wash it, dry it completely first. Dampness breeds mold.
- Overtightening the panel – Snug is good; forced is bad. It can crack the plastic.
- Using expired filters – Check the date on the box. Expired filters lose efficiency.
FAQs About How to Install Honeywell Air Purifier Filters in 2026 Easy Steps
Let’s tackle the questions I hear most often from friends and readers.
Q: How do I know which Honeywell filter I need?
A: Check your purifier’s model number (on the back or bottom). Honeywell’s website has a Filter Finder tool—just type in your model, and it’ll show the exact filter (e.g., HRF-R3 for HPA300). If you’re unsure, snap a photo of the old filter and compare it to the website images.
Q: Can I wash the HEPA filter?
A: No. HEPA filters are paper-based—water destroys them. The pre-filter, however, is often washable. If it’s labeled “washable,” rinse it gently in cold water, then air-dry for 24 hours before reinstalling.
Q: My purifier still shows a red light after replacing the filter. What’s wrong?
A: First, reset the filter indicator (Step 9 above). If the light stays on, the sensor might be dusty. Unplug the unit, clean the sensor with a dry cotton swab, then reset again. Still no luck? Call Honeywell support—the sensor might be faulty.
Q: Are Honeywell filters recyclable?
A: Unfortunately, no. The HEPA media is a mix of glass and plastic that most recyclers can’t process. Some local e-waste facilities accept them, so check with your municipality. For now, landfill is the only option—but Honeywell is working on a recycling program (fingers crossed for 2026!).
Q: What if my model doesn’t have a reset button?
A: Use a manual tracker. I mark the install date on my calendar and set a phone reminder. For models with a timer dial (like the HPA100), twist it to the “0” position after installing new filters.
Q: How often should I clean the purifier’s exterior?
A: Wipe it down monthly with a damp microfiber cloth. Avoid harsh cleaners—they can damage the plastic. For grilles, use a vacuum brush to remove dust buildup. A clean exterior means better airflow.
Q: My new filter smells like plastic. Is that normal?
A: Slight odor is normal for the first 24–48 hours. Run the purifier on high in a well-ventilated room. If the smell persists, the filter might be defective—contact the seller for a replacement.
Final Thoughts
There you have it—a simple, stress-free way to master how to install Honeywell air purifier filters in 2026 easy steps. It’s not rocket science, but it does pay off. Fresh filters mean cleaner air, fewer allergies, and a purifier that lasts longer.
Remember: Take your time, follow the airflow arrows, and reset that timer. And if you’re ever in doubt, grab the manual. It’s your best friend.
Now, go swap those filters! Your lungs (and your pet) will thank you. And hey—once you’ve done it once, the next time will take you half the time. You’ve got this.
“`