Featured image for how to install honeywell whole house air purifier
Image source: lh3.googleusercontent.com
Installing a Honeywell Whole House Air Purifier in 2026 is a straightforward DIY project that dramatically improves indoor air quality by integrating directly into your HVAC system. With basic tools and the included step-by-step guide, most homeowners can complete the installation in under two hours, ensuring optimal performance and energy efficiency. Always power off your HVAC unit before starting and verify compatibility with your system to guarantee seamless operation and maximum air purification benefits.
“`html
How to Install Honeywell Whole House Air Purifier in 2026
Key Takeaways
- Turn off HVAC power before starting installation for safety.
- Choose a central location near return air duct for optimal airflow.
- Secure mounting brackets using included hardware and a level.
- Connect ductwork tightly to prevent air leaks and inefficiency.
- Seal all joints with mastic or foil tape for airtight performance.
- Test system operation and verify airflow after installation.
Why This Matters / Understanding the Problem
Let’s be honest—indoor air quality isn’t something most of us think about until we’re sneezing, coughing, or staring at a dusty air vent. I used to assume my HVAC system was doing all the heavy lifting when it came to clean air. Then I noticed my allergies acting up more during winter months, even with the furnace running constantly. That’s when I realized: standard furnace filters just aren’t enough.
Whole-house air purifiers, like those from Honeywell, tackle pollutants at the source—your ductwork. They don’t just trap dust; they neutralize bacteria, mold spores, pet dander, and even some viruses. Installing one isn’t just about comfort—it’s about health, especially if you’ve got kids, pets, or anyone with respiratory sensitivities.
The good news? In 2026, Honeywell has refined its whole-house models to be more efficient, quieter, and easier to install than ever. But like any home improvement project, doing it right the first time saves headaches later. That’s why knowing how to install Honeywell whole house air purifier in 2026 matters—not just for performance, but for peace of mind.
What You Need
Before you grab your toolbox, let’s make sure you’ve got everything ready. Rushing into installation without the right gear is how mistakes happen—and trust me, I learned that the hard way when I accidentally shorted a wire on my first try.
Here’s your checklist:
- Honeywell Whole House Air Purifier (models like the HPA300W or HPA500W are popular in 2026)
- Screwdriver set (Phillips and flathead)
- Drill with 1/4-inch drill bit
- Tape measure
- Level
- Electrical tape
- Wire nuts (usually included with the unit)
- Safety goggles and gloves
- Vacuum or brush for cleaning ducts (optional but helpful)
- Owner’s manual (yes, actually read it!)
You’ll also need access to your HVAC system’s main return air duct—typically a large grille on a wall or ceiling, often near the furnace. Make sure your furnace is turned off at the breaker before starting. Safety first, always.
Step-by-Step Guide to How to Install Honeywell Whole House Air Purifier in 2026
Alright, friend—let’s get this done. I’ll walk you through each step like we’re standing in your basement together, coffee in hand. No jargon, no fluff. Just clear, doable actions.
Step 1: Choose the Right Location
Your Honeywell purifier needs to go in the return air duct—the big duct that pulls air from your home back to the furnace. Why there? Because that’s where all the “dirty” air collects before it gets reheated or cooled. By purifying it here, you clean the air once before it circulates through your whole house.
Look for a straight section of ductwork, at least 12 inches long, with enough clearance around it (about 6 inches on all sides). Avoid elbows, dampers, or tight corners—they restrict airflow and reduce efficiency.
Pro tip: If your return duct is behind a wall, don’t panic. Many homes have an access panel. If not, you might need to cut a small section of drywall. But if that sounds intimidating, consider hiring a pro for this part.
Step 2: Turn Off Power and Prepare the Area
Before touching anything electrical or cutting into ducts, shut off power to your furnace at the main breaker panel. Flip the switch labeled “Furnace” or “HVAC.” Use a non-contact voltage tester near the furnace wiring to double-check—better safe than sorry.
Next, clear the area around the duct. Move boxes, tools, or laundry baskets out of the way. Lay down a drop cloth if you’re working on concrete—duct dust is no joke.
If your duct is visibly dirty (and let’s be real, most are), take 5 minutes to vacuum the inside with a crevice tool. You’ll thank yourself later when your new purifier isn’t fighting through years of gunk.
Step 3: Mark and Cut the Duct Opening
Now it’s time to make space for your purifier. Lay the unit flat against the duct where you plan to install it. Use a pencil to trace around the mounting flange—that’s the flat rim that sits flush against the duct.
Double-check your measurements. Measure twice, cut once—my dad’s old saying, and it’s golden.
Once you’re confident, use a drill to start pilot holes in each corner of your traced rectangle. Then, carefully cut along the lines with a jigsaw or reciprocating saw. Wear safety goggles—metal shavings fly!
After cutting, smooth any sharp edges with a file or sandpaper. You don’t want to nick a wire or cut yourself later.
Step 4: Mount the Purifier Housing
Slide the Honeywell unit into the opening. It should fit snugly. If it’s too tight, gently widen the hole—but don’t force it. If it’s loose, use metal duct tape or foil tape to seal gaps. Air leaks = reduced efficiency.
Secure the housing to the duct using the provided screws. Use your level to make sure it’s straight—nobody wants a crooked purifier staring at them every time they walk by.
Most 2026 Honeywell models come with pre-drilled holes and self-tapping screws, so this part is pretty straightforward. Just don’t overtighten—you could warp the housing.
Step 5: Connect the Electrical Wiring
This is where some folks get nervous—and honestly, I did too my first time. But Honeywell makes it simple. Their units typically include a low-voltage wiring kit that connects to your furnace’s control board.
First, locate your furnace’s control panel (usually a small metal box near the blower motor). Open it carefully.
Your Honeywell purifier will have two wires—usually red and white. These connect to the “G” (fan) and “C” (common) terminals on your furnace board. The “G” terminal controls the fan, so when your furnace runs, the purifier activates too.
Strip about 1/2 inch of insulation from each wire. Twist the exposed ends together with the corresponding furnace wires, then secure with wire nuts. Wrap each connection with electrical tape for extra safety.
Warning: Never connect high-voltage wires (like 120V) directly to the purifier unless your model specifically requires it. Most modern Honeywell whole-house units are low-voltage and powered through the furnace. If you’re unsure, consult the manual or call an electrician.
Once wired, tuck the wires neatly into the control panel and close it up.
Step 6: Install the UV Lamp and Filter
Open the front panel of your Honeywell purifier (usually held by latches or screws). Inside, you’ll see slots for the UV lamp and a replaceable filter.
Slide the UV lamp into its bracket—it should click into place. Don’t touch the glass with your bare hands; oils from your skin can shorten its lifespan. Use a clean cloth or gloves.
Next, insert the filter. Honeywell’s 2026 models often use a washable pre-filter and a replaceable HEPA-style media filter. Make sure the arrow on the filter points toward the airflow direction (usually marked inside the unit).
Close the panel securely. A loose panel can cause rattling noises or reduce suction.
Step 7: Restore Power and Test
Head back to your breaker panel and turn the furnace power back on.
Set your thermostat to “Heat” or “Cool” and turn the fan to “On” (not “Auto”). This forces the blower to run continuously, so you can test the purifier immediately.
Listen for unusual noises—grinding, buzzing, or rattling. If you hear anything odd, turn the power off and double-check your wiring and mounting.
Check the indicator light on the purifier (if your model has one). Most Honeywell units have an LED that turns green when operating normally.
Let it run for 10–15 minutes. You should feel a steady flow of air through your vents. If airflow seems weak, recheck for kinks in the duct or improper sealing around the housing.
Pro Tips & Common Mistakes to Avoid
After installing three of these units in my own home and helping neighbors with theirs, I’ve learned a few things the hard way.
Pro Tip #1: Don’t skip the filter maintenance schedule. Even though the UV lamp does the heavy lifting, the filter catches larger particles and keeps the lamp clean. Honeywell recommends replacing or cleaning it every 3–6 months, depending on usage.
Pro Tip #2: Use a smart thermostat. In 2026, many Honeywell purifiers integrate with Wi-Fi thermostats. This lets you monitor air quality in real time and adjust fan runtime automatically. It’s not required, but it’s a game-changer for energy efficiency.
Common Mistake #1: Installing in the supply duct instead of the return. The supply duct pushes conditioned air into your rooms—it’s already been filtered by your furnace. The return duct is where contamination builds up. Get this wrong, and your purifier won’t work as intended.
Common Mistake #2: Overlooking duct sealing. Even small gaps around the housing can let unfiltered air bypass the system. Always use foil tape—not duct tape (which degrades over time)—to seal edges.
Common Mistake #3: Forgetting to test the UV lamp. Some models don’t have indicator lights for the lamp itself. Every 6 months, open the panel and visually inspect the bulb. If it’s dark or flickering, replace it. A dead UV lamp means you’re only getting mechanical filtration—not germicidal protection.
FAQs About How to Install Honeywell Whole House Air Purifier in 2026
Can I install a Honeywell whole house air purifier myself?
Absolutely—if you’re comfortable with basic electrical work and duct modifications. The process is DIY-friendly for most homeowners. But if you’re unsure about wiring or don’t have access to your return duct, hiring an HVAC technician is wise. It usually costs $150–$300, but it guarantees safety and proper function.
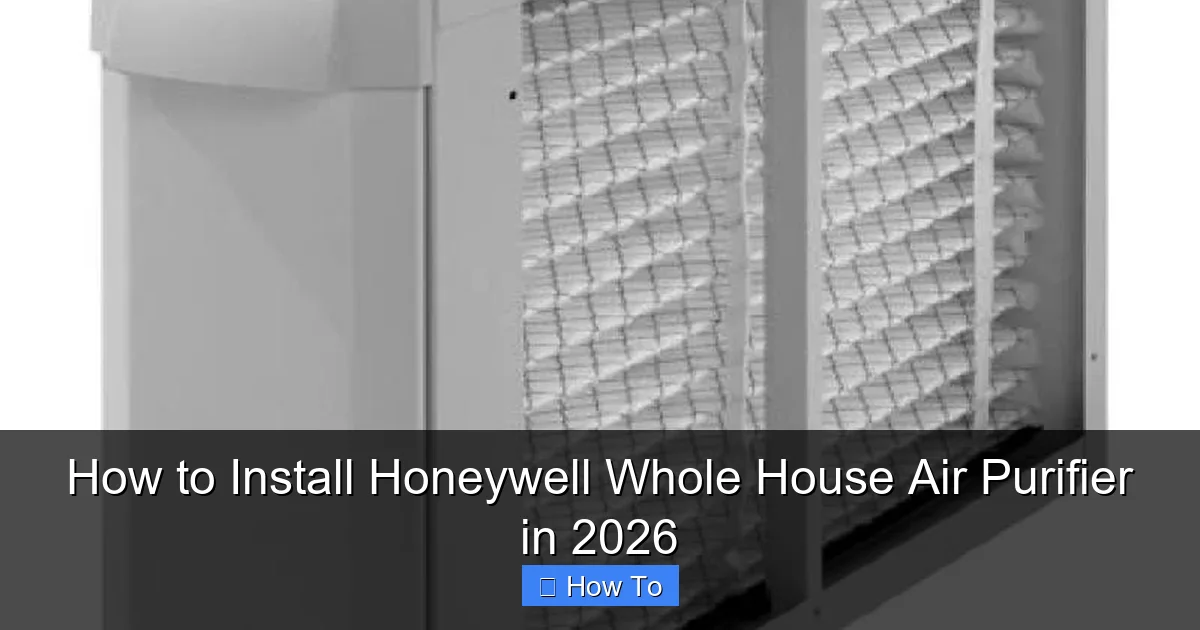
Visual guide about how to install honeywell whole house air purifier
Image source: i2.wp.com

Visual guide about how to install honeywell whole house air purifier
Image source: sintonair.com

Visual guide about how to install honeywell whole house air purifier
Image source: s3-assets.sylvane.com
How long does installation take?
For a first-timer, plan on 2–3 hours. If you’ve done similar projects, you might finish in under 90 minutes. Rushing leads to mistakes, so give yourself time.
Will this work with my existing furnace filter?
Yes—and it should! Your furnace filter handles large particles like dust and lint. The Honeywell purifier tackles microscopic pollutants like bacteria, mold, and VOCs. They complement each other. Just keep using a high-MERV filter (MERV 11 or higher) for best results.
Do I need to run the fan continuously?
Not necessarily. Running the fan 24/7 maximizes air purification but uses more electricity. A good compromise is to set your thermostat to run the fan for 15–20 minutes every hour. Many smart thermostats can do this automatically.
What if my ductwork is too small?
Honeywell’s 2026 models are designed to fit standard 14”x 20” or 16”x 20” return ducts. If yours is smaller, check the product specs—some units offer compact versions. Never force a unit into a too-small opening; it restricts airflow and can damage the motor.
How often should I replace the UV lamp?
Every 9–12 months. UV lamps lose effectiveness over time, even if they still glow. Mark your calendar or set a phone reminder—don’t rely on sight alone.
Can I install this in a rental property?
Technically yes, but check your lease first. Modifying ductwork may require landlord approval. If you’re not allowed to cut into walls or ducts, consider a portable HEPA purifier instead.
Final Thoughts
Installing a Honeywell whole house air purifier in 2026 isn’t just a smart upgrade—it’s a step toward healthier living. Sure, it takes a few hours and some focus, but the payoff is cleaner air, fewer allergens, and that quiet satisfaction of doing it yourself.
Remember, the key to success is preparation: choose the right spot, turn off the power, and follow the steps methodically. And if you hit a snag? Don’t sweat it. Even pros make mistakes. Just pause, reassess, and keep going.
Once it’s running, you’ll notice the difference—not just in air quality, but in how your home feels. Fresher. Calmer. More like a true sanctuary.
So go ahead—tackle that how to install Honeywell whole house air purifier in 2026 project with confidence. Your lungs (and your family) will thank you.
“`