
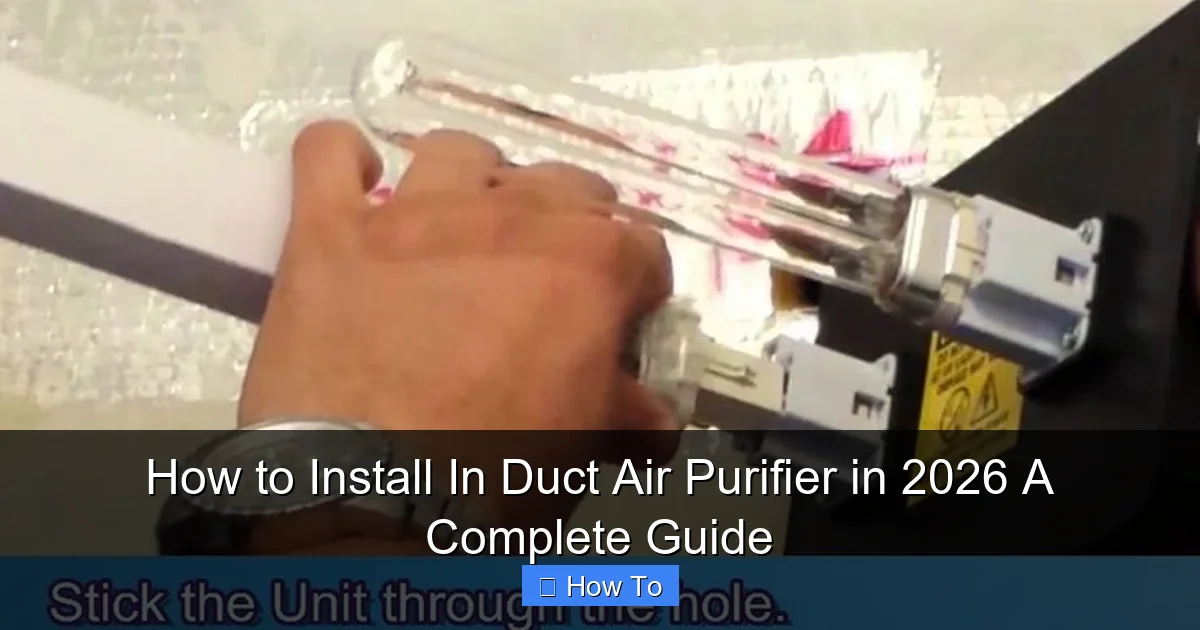
Featured image for how to install in duct air purifier
Image source: reliablehoustonairductcleaning.com
Installing an in-duct air purifier in 2026 is a straightforward process that significantly boosts indoor air quality when done correctly. This complete guide walks you through selecting the right system, locating your HVAC ductwork, and securely mounting the purifier for optimal performance. With clear steps and expert tips, you’ll ensure seamless integration into your home’s ventilation system for cleaner, healthier air year-round.
“`html
How to Install In Duct Air Purifier in 2026: A Complete Guide
Key Takeaways
- Turn off power to the HVAC system before starting installation.
- Choose the right location near the air handler for optimal airflow.
- Follow manufacturer instructions precisely for safe and effective setup.
- Seal all duct connections to prevent air leaks and maintain efficiency.
- Test the system after installation to ensure proper operation.
- Schedule regular maintenance to keep the purifier performing at peak levels.
Why This Matters / Understanding the Problem
Let’s be honest—nobody wants to breathe in dust, pollen, pet dander, or invisible pollutants floating around their home. I learned this the hard way last spring when my allergies went into overdrive. No matter how much I cleaned, I’d wake up sneezing and congested. That’s when I realized my HVAC system wasn’t doing enough to filter the air I was breathing.
That’s when I started researching how to install in duct air purifier in 2026: a complete guide. Turns out, whole-home air purifiers that connect directly to your HVAC ducts can make a huge difference. Unlike portable units that only clean one room, in-duct systems purify the air throughout your entire house—every time your furnace or AC kicks on.
But here’s the catch: installing one isn’t as simple as plugging in a box. It requires planning, the right tools, and a bit of know-how. If you’ve been thinking about upgrading your indoor air quality but feel overwhelmed by the process, you’re not alone. This guide walks you through everything step by step—based on real experience, not just theory.
What You Need
Before you start, gather these essentials. Trust me, having everything ready saves time and frustration.
Visual guide about how to install in duct air purifier
Image source: i.pinimg.com
- Compatible in-duct air purifier – Look for models designed for your HVAC system type (e.g., electric, gas, heat pump). Popular brands include AprilAire, Honeywell, and Lennox.
- Measuring tape – You’ll need precise duct dimensions.
- Screwdriver set – Phillips and flathead, depending on your ductwork.
- Drill with metal-cutting bits – Most ducts are galvanized steel; regular wood bits won’t cut it.
- Safety gear – Gloves, safety glasses, and a dust mask (ducts can be dusty!).
- Electrical tester – To confirm power is off before wiring.
- Wire strippers and electrical tape – For connecting the purifier to your HVAC’s control circuit.
- Duct sealant or foil tape – To prevent air leaks after installation.
- Owner’s manual – Every model is slightly different; don’t skip this!
Optional but helpful: a helper (for holding parts), a flashlight (ducts are dark), and a smartphone to take reference photos before you start.
Step-by-Step Guide to How to Install In Duct Air Purifier in 2026: A Complete Guide
Step 1: Choose the Right Location in Your Ductwork
Not all spots in your duct system are created equal. You want to install the purifier where it can do the most good—typically in the main supply or return duct, near your furnace or air handler.
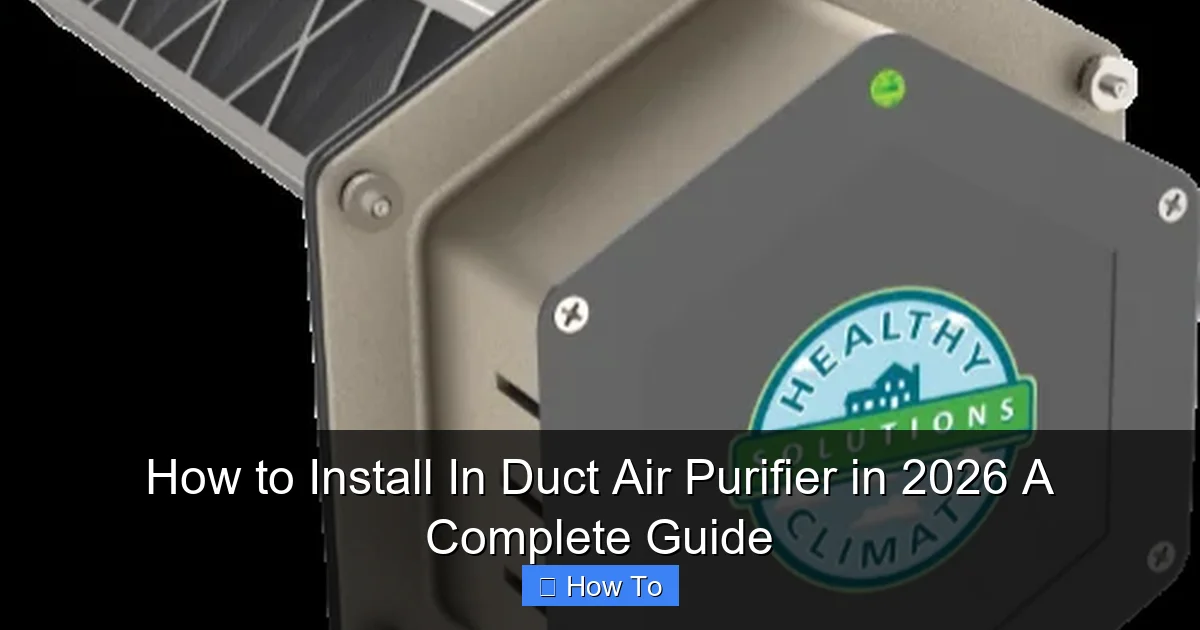
Visual guide about how to install in duct air purifier
Image source: i-airsolutions.com
I made the mistake of choosing a cramped corner behind my furnace the first time. Big error. It was hard to reach, and airflow was restricted. Now I always pick a spot with at least 12 inches of clearance on all sides.
Pro tip: Avoid placing the unit right after a bend or elbow in the duct. Turbulent airflow reduces efficiency. Also, keep it away from moisture sources like humidifiers or condensate drains.
Once you’ve picked the spot, measure the duct’s width and height. Most purifiers need a rectangular opening—usually 6″ x 6″ or 8″ x 8″. Double-check your model’s specs.
Step 2: Turn Off Power and Prepare the Area
Safety first! Before touching anything, shut off power to your HVAC system at the main breaker. Don’t just rely on the thermostat—go to the breaker box and flip the switch for your furnace or air handler.
Use your electrical tester to confirm there’s no live current near the installation area. I learned this the hard way when I got a mild shock from a mislabeled circuit. Better safe than sorry.
Next, clear the workspace. Move boxes, tools, or stored items away from the duct. Lay down a drop cloth if needed—cutting metal creates sharp edges and fine dust.
If your duct is insulated, gently peel back the insulation and secure it with tape. You’ll reattach it later, so don’t tear it.
Step 3: Mark and Cut the Opening
Now it’s time to make the hole. Place the purifier’s mounting template (included in the box) against the duct and trace the outline with a permanent marker. Double-check alignment—once you cut, there’s no going back.
Put on your safety glasses and gloves. Use a drill with a metal-cutting bit to start pilot holes in each corner. Then, carefully cut along the lines using aviation snips or a reciprocating saw with a metal blade.
I recommend cutting slightly inside the marked line first, then filing the edges smooth. Sharp metal shards can damage the purifier or hurt you later.
Once the piece is removed, vacuum out any metal shavings. You don’t want debris blowing into your home the next time the system runs.
Step 4: Install the Mounting Frame (If Required)
Some in-duct purifiers come with a separate mounting frame that gets bolted or screwed into the duct. Others slide directly into the opening. Follow your manual closely—this step varies by brand.
For framed models, align the frame with the opening and secure it using self-tapping sheet metal screws. Space them every 4–6 inches around the perimeter. Make sure it’s snug but not warped—air leaks reduce performance.
If your model doesn’t use a frame, you’ll likely attach mounting brackets directly to the duct. Again, check for squareness and tight seals.
Use duct sealant or high-quality foil tape to seal any gaps between the frame and duct. I’ve seen homeowners skip this step and wonder why their energy bills went up—unsealed ducts let conditioned air escape.
Step 5: Connect the Air Purifier Unit
Now comes the fun part—installing the actual purifier. Slide or mount the unit into the opening according to the manufacturer’s instructions. Most models click or lock into place.
Make sure the airflow direction matches the duct’s flow. Look for arrows on the purifier housing—they should point toward the vents, not the furnace.
If your model uses UV-C lights or ionizers, ensure the lamp compartment is accessible for future bulb replacements. I once installed a unit backward and had to take it all apart just to change a bulb six months later. Learn from my mistake!
Secure the unit with the provided screws or clips. Don’t overtighten—you could crack the housing or warp the duct.
Step 6: Wire the Purifier to Your HVAC System
This is where things get technical—but don’t panic. Most in-duct purifiers tap into your HVAC’s low-voltage control circuit (usually 24V), so they only run when the fan is on.
Locate the furnace’s control board. You’re looking for terminal strips labeled “R” (power), “C” (common), and “G” (fan). Your purifier’s manual will show exactly which wires to connect.
Turn off power again before wiring. Strip about ½ inch of insulation from the purifier’s wires and connect them to the appropriate terminals. Use wire nuts or terminal screws—whatever your model specifies.
I always label my wires with tape before disconnecting anything. It saves confusion later. Also, avoid running wires near moving parts or hot surfaces.
Once connected, tuck excess wire neatly into the furnace cabinet and secure it with zip ties. Close the panel and restore power.
Step 7: Test the System and Seal Everything Up
Turn the breaker back on and set your thermostat to “Fan On” (not “Auto”). Listen for the purifier to activate—you might hear a soft hum or see indicator lights.
Check for unusual noises, vibrations, or smells. If something seems off, turn everything off and double-check your wiring and installation.
If all looks good, reattach any removed insulation and seal all joints with foil tape. Pay special attention to the area around the purifier—even small leaks can reduce efficiency by 10–15%.
Finally, replace any access panels and clean up your tools. You’re done!
Pro Tips & Common Mistakes to Avoid
Pro Tip: Schedule your installation during mild weather. If your HVAC isn’t running much (like in spring or fall), you’ll have more time to troubleshoot without discomfort.
Warning: Never install an in-duct purifier without checking compatibility with your HVAC system. Some high-efficiency furnaces have sensitive controls that can be damaged by improper wiring.
One common mistake? Installing the purifier too close to the furnace. The heat can degrade UV lamps or electronic components over time. Aim for at least 3–5 feet away.
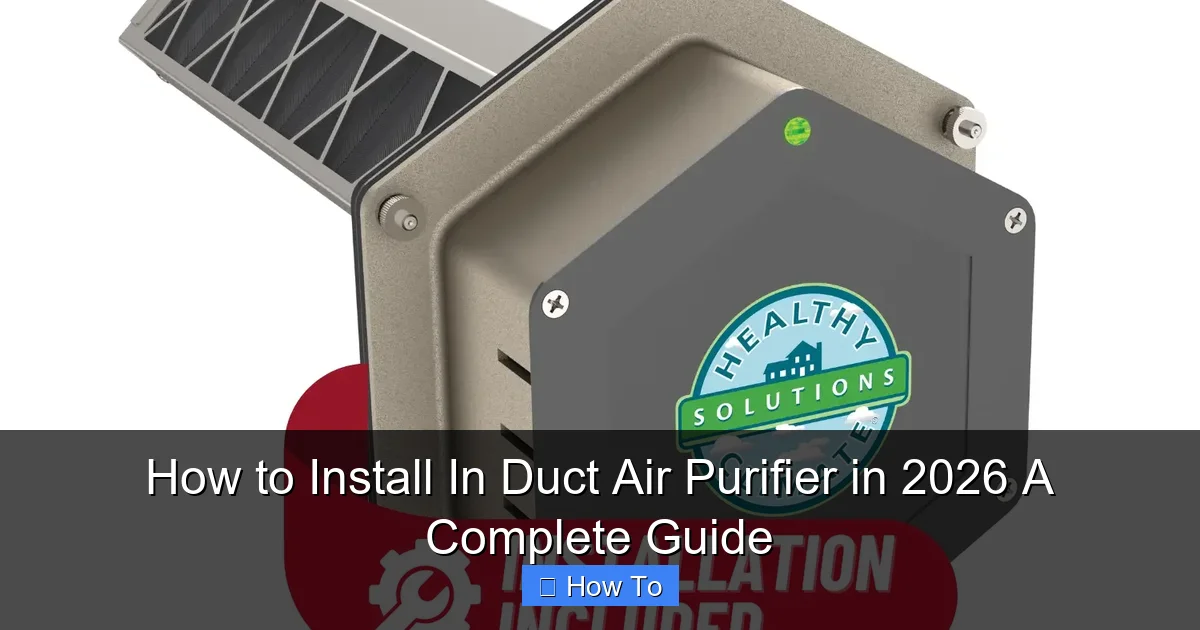
Visual guide about how to install in duct air purifier
Image source: vmphome.com
Another rookie error: skipping the manual. I thought I could wing it based on online videos—until I realized my model had a unique grounding requirement. Always read the instructions!
Also, don’t forget maintenance. Most purifiers need filter replacements every 6–12 months and UV bulb changes every 1–2 years. Set calendar reminders so you don’t forget.
Lastly, if you’re not comfortable working with electrical components, hire a licensed HVAC technician. It’s worth the $100–$200 to avoid fire hazards or system damage.
FAQs About How to Install In Duct Air Purifier in 2026: A Complete Guide
Q: Can I install an in-duct air purifier myself, or do I need a professional?
A: Many homeowners can handle the job if they’re handy and follow instructions carefully. However, if your system is complex (like a zoned HVAC or heat pump), or if you’re unsure about wiring, it’s smarter to call a pro. Safety and system integrity come first.
Q: Will an in-duct purifier increase my energy bills?
A: Not significantly. Most models use less power than a 60-watt light bulb. In fact, by improving airflow and reducing dust buildup on coils, they can actually help your HVAC run more efficiently over time.
Q: How often do I need to maintain the purifier?
A: It depends on the type. Filter-based models need new filters every 6–12 months. UV purifiers require bulb replacements every 9,000–12,000 hours (about 1–2 years). Check your manual for specifics.
Q: Can I install the purifier in a return duct instead of a supply duct?
A: Yes—in fact, many experts recommend the return duct because it captures pollutants before they reach your furnace or AC coil. Just ensure there’s enough space and airflow.
Q: What if my ducts are too small for the purifier?
A: You may need to install a transition piece or choose a compact model. Some brands offer slimline versions for tight spaces. Measure carefully before buying!
Q: Do in-duct purifiers remove odors and VOCs?
A: It depends on the technology. Standard HEPA or media filters capture particles but not gases. For odors and volatile organic compounds (VOCs), look for models with activated carbon filters or photocatalytic oxidation (PCO).
Q: Will this work with my smart thermostat?
A: Absolutely. In-duct purifiers operate independently of thermostats but sync with your fan settings. If your thermostat has a “Fan On” mode, the purifier will run continuously when selected.
Final Thoughts
Installing an in-duct air purifier isn’t just about cleaner air—it’s about peace of mind. Since I followed this how to install in duct air purifier in 2026: a complete guide, my allergy symptoms have dropped dramatically, and my home feels fresher, even on high-pollen days.
Yes, it takes a few hours and some elbow grease. But the long-term benefits—better health, longer HVAC life, and reduced dust—are totally worth it. Just remember: plan carefully, follow safety steps, and don’t rush the wiring.
If you’re ready to breathe easier, start by measuring your ducts and choosing a compatible model. And if you hit a snag? Don’t hesitate to consult a professional. Your lungs (and your furnace) will thank you.
Now go enjoy that clean, crisp air—you’ve earned it.
“`