Featured image for how to install levoit air purifier filter
Image source: hvacseer.com
Installing a Levoit air purifier filter in 2026 is quick and simple with these easy steps. Start by turning off and unplugging the unit, then remove the front panel to access the old filter. Replace it with a compatible Levoit filter, ensuring it’s properly aligned before reassembling and powering the purifier back on for clean, fresh air.
“`html
How to Install Levoit Air Purifier Filter in 2026 Easy Steps
Key Takeaways
- Turn off and unplug the purifier before starting installation.
- Remove the old filter by opening the front or side panel.
- Check filter type to ensure you’re installing the correct Levoit model.
- Align arrows and labels when placing the new filter correctly.
- Secure the panel tightly to prevent air leaks and ensure efficiency.
- Reset the filter indicator via the control panel after installation.
- Run a test cycle to confirm proper operation and airflow.
Why This Matters / Understanding the Problem
Let’s be real—your Levoit air purifier is only as good as its filter. I learned this the hard way last winter when my allergies flared up worse than ever, even though my purifier was running nonstop. Turns out, I hadn’t changed the filter in over a year. Oops.
Air purifiers work by pulling in dirty air, trapping pollutants like dust, pet dander, and pollen in the filter, and pushing clean air back into your room. But if that filter is clogged or installed incorrectly? You’re basically just moving stale air around with extra noise.
That’s why knowing how to install Levoit air purifier filter in 2026 easy steps isn’t just helpful—it’s essential for keeping your indoor air truly clean. Whether you’re dealing with seasonal allergies, pets, or just want to breathe easier at home, a properly installed filter makes all the difference.
And don’t worry—you don’t need to be a tech whiz or DIY expert. With the right guidance (and maybe a cup of coffee), you’ll have your Levoit purifier working like new in under 10 minutes.
What You Need
Before we dive in, let’s make sure you’ve got everything ready. Trust me, there’s nothing worse than getting halfway through and realizing you’re missing a key piece.
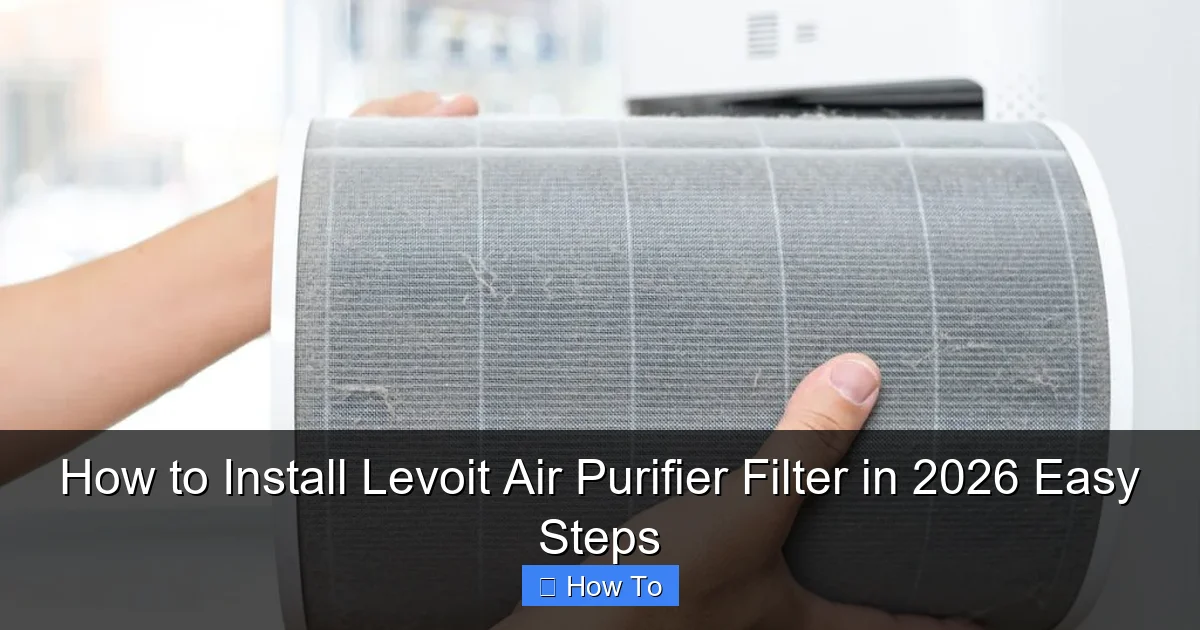
Visual guide about how to install levoit air purifier filter
Image source: hvacseer.com
- A compatible Levoit replacement filter – Check your model number (usually on the bottom or back of the unit). Common models include the LV-H132, Core 300, or Vibe models. Using the wrong filter? Big no-no.
- Your Levoit air purifier – Obviously! Make sure it’s unplugged before you start.
- A clean, flat workspace – A kitchen counter or table works great. You’ll want room to lay out parts without losing anything.
- A soft cloth or paper towel – For wiping down the inside of the purifier (optional but recommended).
- About 5–10 minutes of your time – Yes, it’s that quick!
Pro tip: If you’re not sure which filter you need, snap a photo of your current one or check the user manual. Levoit’s website also has a handy filter finder tool based on your model.
Step-by-Step Guide to How to Install Levoit Air Purifier Filter in 2026 Easy Steps
Step 1: Turn Off and Unplug Your Air Purifier
Safety first—always! Even though Levoit purifiers are low-voltage devices, it’s best practice to unplug them before handling internal components. I once forgot this step and got a tiny shock (embarrassing, but harmless). Don’t be like me.
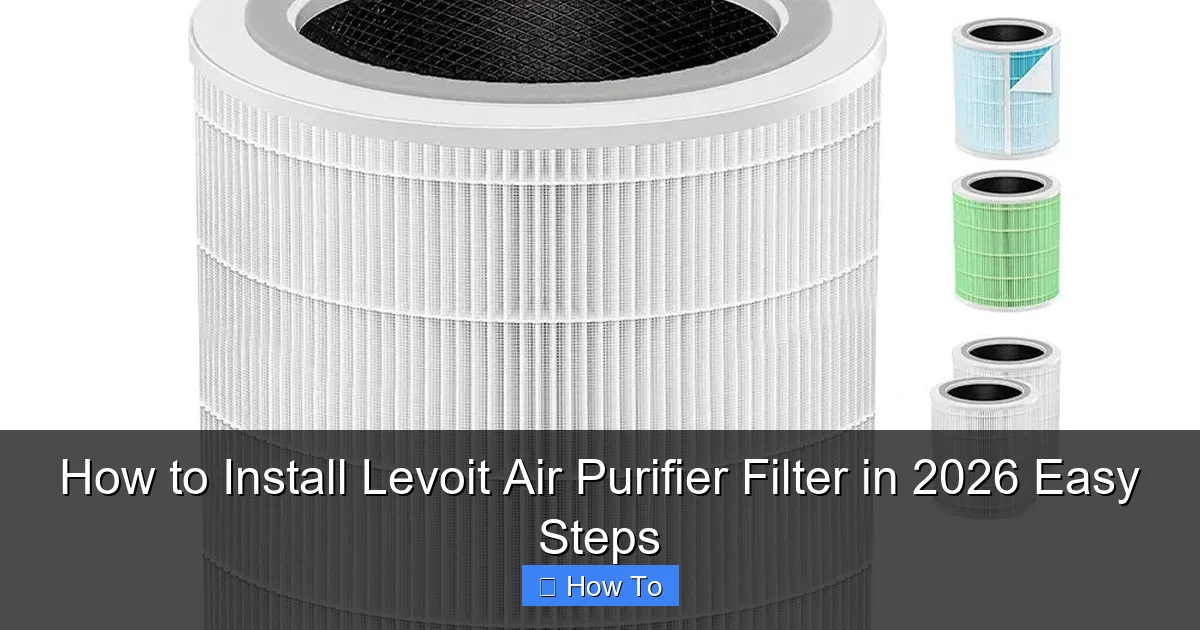
Visual guide about how to install levoit air purifier filter
Image source: airpurifierfaqs.com
Once unplugged, give the unit a moment to cool down if it’s been running. Then, place it on your clean workspace with the front or top facing you, depending on your model.
Step 2: Locate and Open the Filter Cover
Now, find the filter access panel. On most Levoit models—like the Core series or LV-H132—this is a front-facing door that snaps open. Look for a small latch or indentation near the bottom or center.
Gently press or pull the latch to release the cover. It should swing open smoothly. If it feels stuck, don’t force it! Double-check that you’re pressing the right spot. Some older models have a twist-lock mechanism instead—just rotate the cover counterclockwise until it pops off.
Once open, you’ll see the old filter sitting inside. Take a quick peek: if it’s gray, dusty, or smells musty, it’s definitely time for a replacement.
Step 3: Remove the Old Filter
Carefully lift out the used filter. Most Levoit filters are rectangular and fit snugly, so wiggle it slightly if needed. Avoid shaking it too much—you don’t want to release trapped dust back into your clean space!
If your model uses a pre-filter (a thin mesh layer wrapped around the main filter), note how it’s positioned. Some users reuse the pre-filter if it’s still clean, but I recommend replacing it every few cycles for optimal performance.
Dispose of the old filter in a sealed bag—especially if you have allergies or pets. You don’t want those captured pollutants escaping into your trash can.
Step 4: Unpack and Prepare the New Filter
Grab your new Levoit filter from its packaging. Important: remove all plastic wrapping before installing. I’ve seen so many people skip this step and wonder why their purifier isn’t working! The filter needs direct airflow to function.
Check the arrow markings on the filter frame—they indicate airflow direction. Usually, the arrow points toward the unit’s interior (away from the cover). This ensures air flows through the filter correctly, not around it.
If your new filter includes a pre-filter wrap, make sure it’s securely attached. Some models come with a reusable fabric pre-filter that you can wash and reuse, while others include a disposable one.
Step 5: Insert the New Filter
Now, gently slide the new filter into the compartment. Align it with the grooves or guides inside the purifier. It should sit flat and level—no bending or forcing.
Double-check the airflow arrow direction. If it’s pointing the wrong way, your purifier will struggle to pull air through, reducing efficiency and potentially triggering error codes on smart models.
For models with a separate pre-filter (like the Core 400S), wrap it around the main filter now, ensuring it’s snug but not stretched. The Velcro or elastic band should hold it in place.
Step 6: Close the Filter Cover Securely
Once the filter is in place, carefully close the access door or twist the cover back into position. You should hear a soft click or feel it lock into place.
Give it a gentle tug to confirm it’s secure. A loose cover can cause air leaks, which defeats the whole purpose of having a purifier. Plus, some models won’t turn on if the door isn’t fully closed—annoying, but a good safety feature.
Step 7: Plug In and Power On
Reconnect your purifier to power and turn it on. Most Levoit models will display a filter reset indicator (like a blinking light) after a new filter is installed.
If yours has a filter life monitor, press and hold the “Filter” or “Reset” button for 3–5 seconds to reset the timer. This tells the unit you’ve installed a fresh filter and starts the countdown for the next replacement (usually 6–12 months).
Listen for smooth airflow—no rattling or unusual noises. If everything sounds normal, congratulations! You’ve successfully completed how to install Levoit air purifier filter in 2026 easy steps.
Pro Tips & Common Mistakes to Avoid
After helping dozens of friends and family members swap out their filters, I’ve spotted a few recurring blunders. Let’s save you the headache:
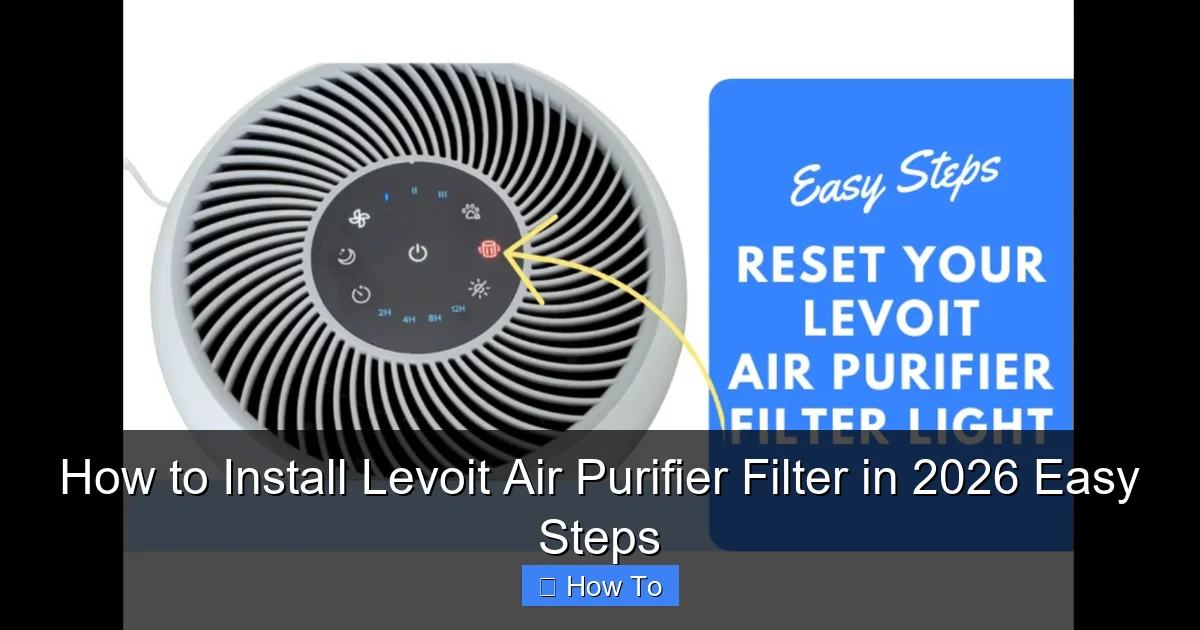
Visual guide about how to install levoit air purifier filter
Image source: 5lrorwxhklprrij.leadongcdn.com
Warning: Never run your purifier without a filter—even for a minute. Dust and debris can damage the internal fan or motor, leading to costly repairs.
- Don’t ignore the filter indicator light. Yes, it’s easy to dismiss, but that little icon exists for a reason. Waiting too long between changes reduces efficiency and can shorten your purifier’s lifespan.
- Avoid third-party “compatible” filters unless verified. I tried a cheap off-brand once—it fit, but the airflow was weak and it started smelling weird after two weeks. Stick with genuine Levoit filters for best results.
- Clean the exterior and vents monthly. While you’re at it, wipe down the outside with a damp cloth. Dust buildup on the intake vents forces the fan to work harder.
- Store spare filters properly. Keep unused filters in their original packaging in a cool, dry place. Humidity can degrade the filter media over time.
One last personal note: I used to think “installing a filter” meant just popping it in. But taking those extra seconds to align arrows, reset the timer, and secure the cover? That’s what turns a mediocre air-cleaning experience into a truly effective one.
FAQs About How to Install Levoit Air Purifier Filter in 2026 Easy Steps
Q: How often should I replace my Levoit filter?
A: It depends on usage, but most Levoit filters last 6–12 months. If you have pets, smoke, or live in a dusty area, check it every 3–4 months. The built-in filter life indicator is your best guide—don’t ignore it!
Q: Can I wash and reuse my Levoit filter?
A: Only the pre-filter (if your model has one) is washable. The main HEPA filter is not—it’s designed for single use. Washing it ruins the delicate fibers and voids any warranty.
Q: My purifier won’t turn on after installing the new filter. What’s wrong?
A: First, double-check that the filter cover is fully closed and latched. Many models have a safety switch that prevents operation if the door is open. Also, ensure the filter is inserted correctly with the airflow arrow pointing inward.
Q: Do I need to reset the filter timer every time?
A: Yes! Even if the light isn’t blinking, resetting the timer ensures accurate tracking. Just hold the “Filter” button for a few seconds after installation.
Q: Are Levoit filters recyclable?
A: Unfortunately, most HEPA filters can’t be recycled due to trapped contaminants. Dispose of them in regular trash, but seal them in a plastic bag first to contain dust.
Q: What if my filter doesn’t fit perfectly?
A: Double-check your model number. Levoit has many similar-looking purifiers with different filter sizes. If it’s still not fitting, contact Levoit support—they’re surprisingly helpful and may send a replacement.
Q: Can I install the filter upside down?
A: Technically yes, but it’s not recommended. The airflow arrow ensures optimal performance. Installing it backward reduces efficiency and may cause the unit to overwork.
Final Thoughts
Installing a new filter in your Levoit air purifier isn’t just a chore—it’s a small act of self-care. Clean air means better sleep, fewer allergies, and peace of mind, especially during wildfire season or high-pollen days.
Now that you know how to install Levoit air purifier filter in 2026 easy steps, make it a habit. Set a calendar reminder for every 6 months, or better yet, subscribe to Levoit’s filter replacement program so fresh filters arrive just when you need them.
Remember: your purifier works hard for you. Show it some love with a properly installed filter, and it’ll keep your home’s air crisp, clean, and truly breathable—year after year.
“`