
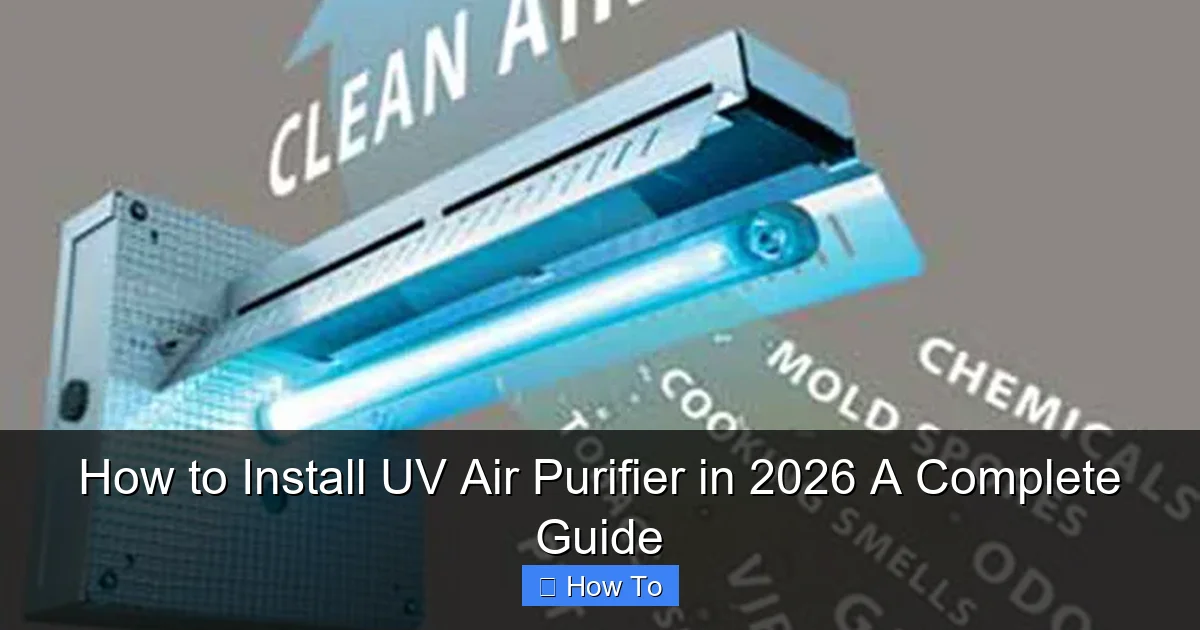
Featured image for how to install uv air purifier
Image source: theawesomer.com
Installing a UV air purifier in 2026 is simpler than ever with modern plug-and-play systems and smart compatibility features. This guide walks you through selecting the right unit, securing it near your HVAC system or in ductwork, and ensuring proper electrical connections for optimal germ-killing performance. With step-by-step instructions and safety tips, you’ll boost indoor air quality efficiently and confidently.
“`html
How to Install UV Air Purifier in 2026: A Complete Guide
Key Takeaways
- Turn off power before installation to ensure safety.
- Choose optimal location near air return for maximum efficiency.
- Follow manufacturer instructions for correct UV lamp placement.
- Secure mounting brackets tightly to prevent vibrations.
- Connect to HVAC system only if compatible with UV purifier.
- Test system after install to confirm proper airflow and operation.
- Schedule regular maintenance to keep UV light effective over time.
Why This Matters / Understanding the Problem
Let’s be honest—air quality isn’t something we think about until someone sneezes in a meeting or our allergies flare up. But in 2026, with more time spent indoors and rising concerns about airborne viruses, mold, and allergens, people are turning to UV air purifiers as a smart, science-backed solution.
I remember the first time I noticed my HVAC system kicking on and the faint smell of mildew. That’s when I started researching how to install UV air purifier in 2026. I didn’t want to rely on just HEPA filters. I wanted something that could kill mold spores, bacteria, and viruses at the source—before they even had a chance to circulate.
UV air purifiers use ultraviolet light (specifically UVC) to disrupt the DNA of microorganisms, rendering them harmless. Unlike filters that trap particles, UV systems neutralize them. And the best part? Once installed, they’re low maintenance and work silently in the background.
If you’re considering a UV air purifier, you’re not alone. More homeowners and renters are realizing that clean air isn’t a luxury—it’s a necessity. This guide on how to install UV air purifier in 2026 will walk you through everything you need, from choosing the right unit to wiring it safely—without calling an electrician every step of the way.
Whether you’re a DIYer, a concerned parent, or just someone who wants to breathe easier, this guide has your back.
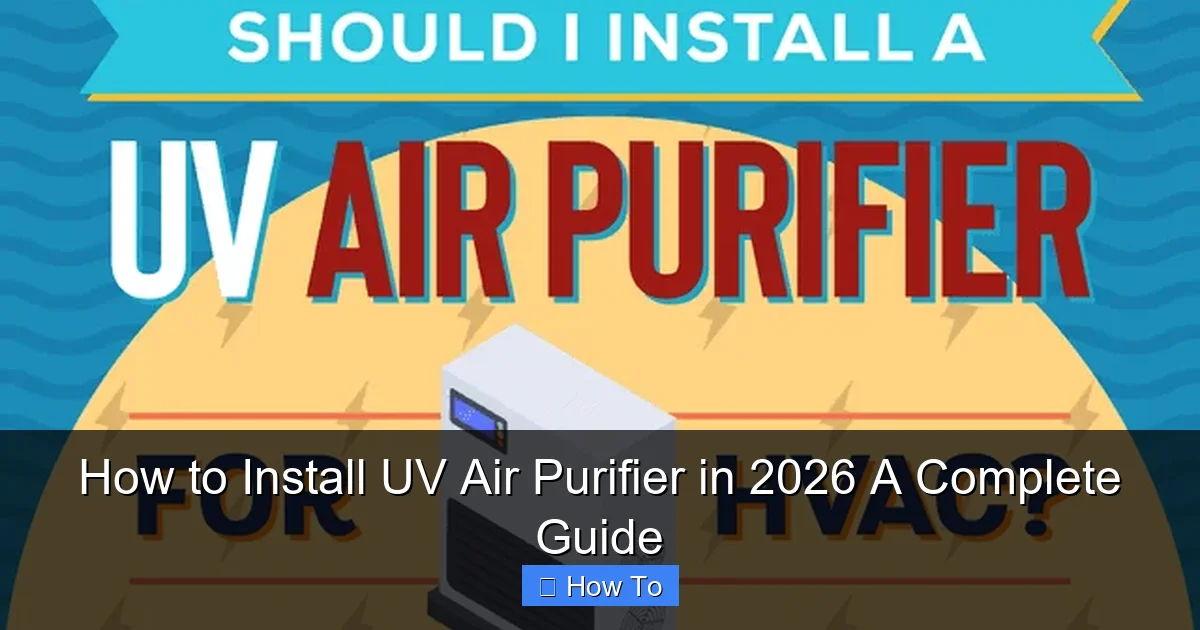
What You Need
Before we jump into the steps, let’s get real: you don’t need a PhD in HVAC to install a UV air purifier. But you do need the right tools and a clear plan. Here’s what I used when I installed mine last year—and what I wish I’d known beforehand.
Visual guide about how to install uv air purifier
Image source: honesthvacva.com
Tools & Materials
- UV air purifier kit (choose between coil-mounted, air stream, or dual-lamp models)
- Voltage tester (non-contact is best for safety)
- Drill with metal bits (for ductwork—don’t use wood bits!)
- Measuring tape (precision matters for placement)
- Wrench or socket set (for securing brackets)
- Wire strippers and connectors (if wiring to HVAC control board)
- Safety gloves and goggles (UVC light can damage eyes and skin—even during install)
- Marker or pencil (for marking drill points)
- Silicone sealant or duct tape (to seal gaps and prevent light leaks)
- Access panel key or screwdriver (to open your HVAC unit)
Choosing the Right UV Air Purifier
Not all UV purifiers are created equal. Here’s what I learned the hard way:
- Coil-mounted units attach near the evaporator coil. They prevent mold buildup but don’t treat air directly. Great for humid climates.
- Air stream units install in the return duct. They expose moving air to UVC, making them ideal for whole-home disinfection.
- Dual-lamp systems do both. They’re pricier but offer the best protection.
For most homes, I recommend an air stream model with a 24V plug-in transformer or HVAC board wiring. Look for UVC wavelength between 254–265 nm—this is the sweet spot for germicidal effectiveness.
Pro insight: I skipped a model with a “light shield” feature and ended up with a faint glow in my basement. Not dangerous, but annoying. Always check for a light-blocking shroud or reflective interior to contain UVC exposure.
Step-by-Step Guide to How to Install UV Air Purifier in 2026: A Complete Guide
Now let’s get into the nitty-gritty. I’ll walk you through the process I followed—with the mistakes I made and the shortcuts that saved me time. This is your how to install UV air purifier in 2026 playbook, straight from my garage to yours.
Visual guide about how to install uv air purifier
Image source: ecmservice.com
Step 1: Turn Off Power to the HVAC System
First rule of HVAC DIY: Never work on a live system. Even if you’re just drilling, a loose wire can short the board.
- Locate your HVAC’s main power switch (usually a red switch near the unit).
- Flip it off.
- Use a non-contact voltage tester on the control board and power lines to confirm zero voltage.
Yes, this adds 10 minutes. But it’s better than frying your system or, worse, getting shocked.
Warning: Some UV kits connect to the 24V control circuit. Even if the main power is off, that circuit might still be live. Double-check with your tester!
Step 2: Choose the Right Installation Location
Placement is everything. I once installed a unit too close to a bend in the duct—airflow was turbulent, and the UV exposure was uneven.
- For air stream models, pick a straight section of the return air duct, at least 12 inches from bends, filters, or coils.
- For coil-mounted units, open the access panel near the evaporator coil. You want the UV light to bathe the coil without shadows.
- Ensure you have 12–18 inches of clearance around the unit for access and wiring.
Use your measuring tape. Mark the center point with a pencil.
Bonus: If your duct is insulated, make sure the insulation doesn’t block airflow or absorb UVC light. I removed a small section of insulation to ensure maximum exposure.
Step 3: Mark and Drill the Mounting Holes
Most UV purifiers come with a template. If not, use the unit itself to trace the mounting points.
- Hold the unit or template against the duct.
- Mark the screw holes and the large center hole for the UV lamp.
- Drill a small pilot hole first, then enlarge it with the correct metal bit.
I used a 1/4-inch bit for the mounting screws and a 1.5-inch hole saw for the lamp opening. Take your time—rushing leads to jagged edges and light leaks.
Pro tip: Place a piece of cardboard behind the duct as a backstop. It prevents metal shards from falling into your HVAC system.
Step 4: Install the Mounting Bracket
This step is simple but crucial. The bracket keeps the UV lamp stable and aligned.
- Align the bracket with the drilled holes.
- Secure it with the provided screws or bolts.
- Double-check that it’s level and snug.
I tightened mine too much and cracked the plastic housing. Lesson learned: hand-tighten first, then use a wrench for the final quarter-turn.
Step 5: Insert the UV Lamp and Connect the Ballast
Now the fun part—adding the UV lamp. Handle it with gloves. Oils from your skin can degrade the quartz glass over time.
- Insert the lamp into the mounting bracket.
- Snap the connectors into the ballast unit (usually a small box that powers the lamp).
- Route the ballast wire along the duct, using zip ties or clips to keep it tidy.
My kit had a magnetic ballast mount—genius. It stuck to the metal duct, saving me from drilling more holes.
Step 6: Wire the Power Supply
This is where many people hesitate. But it’s simpler than it sounds. Most kits offer two options:
- Plug-in transformer: Connects to a nearby outlet. Easy, but less integrated.
- HVAC board wiring: Taps into the 24V control circuit. More professional, but requires care.
I went with the board wiring. Here’s how:
- Locate the “C” (common) and “R” (24V) terminals on your HVAC control board.
- Strip the ends of the UV kit’s power wires.
- Connect the black (hot) wire to “R” and the white (common) wire to “C”.
- Secure with wire nuts and wrap in electrical tape.
Double-check your connections. A reversed wire can burn out the ballast.
Warning: If you’re not 100% confident, use the plug-in option. It’s perfectly effective and avoids risking your HVAC control board.
Step 7: Test the System
Power on the HVAC. The UV lamp should glow faintly—usually a soft purple or blue.
- Use your voltage tester to confirm the ballast is receiving 24V.
- Check that the lamp lights up consistently.
- Inspect for light leaks around the duct hole.
If the lamp flickers or doesn’t turn on, turn off the power and recheck the wiring. I once had a loose wire nut—fixed it in two minutes.
Step 8: Seal and Insulate
UVC light is invisible but powerful. You don’t want it leaking into your living space or reflecting off duct walls.
- Apply silicone sealant around the mounting bracket.
- For air stream models, install a reflective liner (like aluminum tape) on the duct walls near the lamp.
- Replace any removed insulation.
I used high-temp silicone rated for HVAC. It’s flexible and won’t crack from temperature changes.
Step 9: Set Up Maintenance Alerts (If Applicable)
Many modern UV purifiers have a lamp life indicator (usually 9,000–12,000 hours). Some even connect to your home Wi-Fi.
- Check your manual for resetting the timer.
- Set a phone reminder for lamp replacement (typically every 12–18 months).
I use a Google Calendar alert. It reminds me to check the lamp and clean the duct around it.
Pro Tips & Common Mistakes to Avoid
After installing two UV purifiers and helping three friends with theirs, here’s what I wish I’d known from the start.
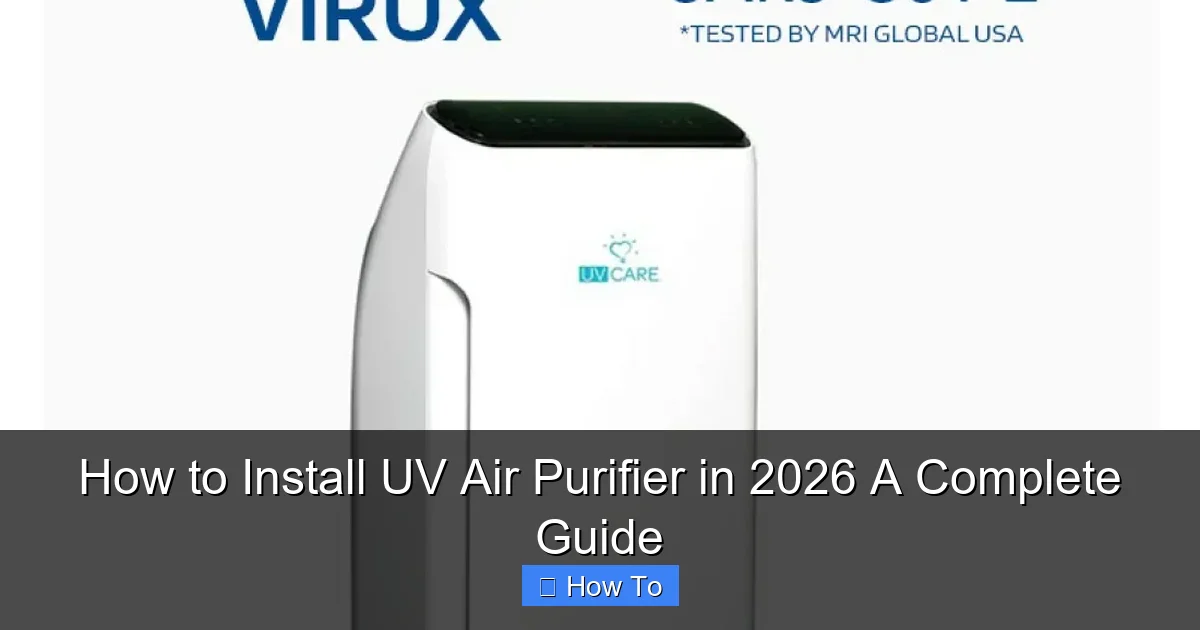
Visual guide about how to install uv air purifier
Image source: cdn.shopify.com
1. Don’t Install in High-Humidity Areas Without Protection
UVC lamps are sensitive to condensation. I once installed a unit near a humidifier line—the lamp failed in 3 months due to moisture.
- Use a moisture-resistant housing or install a drip shield.
- Keep the lamp at least 6 inches from water sources.
2. Avoid Over-Tightening Screws
Metal ductwork is thin. Too much torque can strip the threads or warp the duct.
- Use a torque screwdriver or hand-tighten with a small wrench.
3. Don’t Ignore Airflow Patterns
UV light only works on what it touches. If air moves too fast or swirls around the lamp, effectiveness drops.
- Install in a straight duct section.
- Use a laminar flow diffuser if your duct has turbulence.
4. Never Look Directly at the Lamp
UVC light can damage your eyes and skin—even through clothing.
- Always wear UV-blocking goggles when working near the lamp.
- Cover exposed skin.
5. Skip the Cheap “No-Wire” Kits
I bought a $40 UV stick that claimed to plug into a duct vent. It barely lit up and fell off in a week.
- Invest in a professional-grade system with a ballast and proper mounting.
- Look for certifications like UL or AHRI.
Real talk: A good UV purifier costs $150–$300. It’s not a one-time expense—it’s an investment in your health.
FAQs About How to Install UV Air Purifier in 2026: A Complete Guide
Let’s tackle the questions I get most often—straight from my inbox and Reddit threads.
1. Can I install a UV air purifier myself, or do I need an HVAC pro?
You can absolutely do it yourself—if you’re comfortable with basic wiring and tools. This guide on how to install UV air purifier in 2026 is designed for DIYers. But if your HVAC system is complex (like a multi-zone setup), or you’re unsure about wiring, call a pro. Safety first.
2. How long does installation take?
For a first-timer, plan on 2–3 hours. I did mine in 2.5 hours, including a coffee break and a trip to the hardware store for extra sealant. Once you’ve done it once, you can do it in under 90 minutes.
3. Will a UV air purifier make my home smell better?
Not directly. UV light kills microbes, but it doesn’t remove odors from pets, cooking, or chemicals. Pair it with a carbon filter for best results. I run a HEPA + carbon filter alongside my UV system, and my home smells noticeably fresher.
4. Are UV air purifiers safe for pets and kids?
Yes—when installed correctly. The UVC light is contained inside the duct. No exposure to people or pets. Just don’t let kids play near the HVAC access panel. And never open the panel while the system is running.
5. How often do I need to replace the UV lamp?
Every 12–18 months, depending on usage. The lamp degrades over time—even if it still glows. I set a reminder for 14 months. When I replaced mine, the old lamp was dim and barely effective.
6. Can I install a UV purifier in a rental?
Only if you have permission. Some landlords won’t allow modifications to HVAC systems. Consider a portable UV air purifier instead. It’s not as effective as a whole-home system, but it’s a good compromise.
7. Do UV purifiers work on viruses like COVID-19?
Yes—UVC light is proven to inactivate coronaviruses and other enveloped viruses. But it only works on air that passes through the UV zone. It won’t kill viruses on surfaces or in still air. Think of it as one layer of defense, not a silver bullet.
Final Thoughts
Installing a UV air purifier isn’t just about cleaner air—it’s about peace of mind. After I installed mine, I noticed fewer allergy flare-ups, less musty smell, and a general sense of “freshness” in my home. And honestly? It felt good to do it myself.
This guide on how to install UV air purifier in 2026 is your roadmap. You don’t need to be a handyman. You just need patience, the right tools, and the willingness to learn.
Start by choosing the right unit for your needs. Take your time with wiring. Test the system before sealing everything up. And remember: maintenance is part of the process. A UV lamp that’s 18 months old is like a filter that’s never been changed—ineffective.
So go ahead. Turn off the power. Drill that hole. Connect those wires. Breathe easier.
And if you hit a snag? Don’t panic. I’ve been there. Take a break, check the manual, or ask a friend. Clean air is worth the effort.
You’ve got this.
“`