
Featured image for how to load air filter purifier
Image source: cdn.slidesharecdn.com
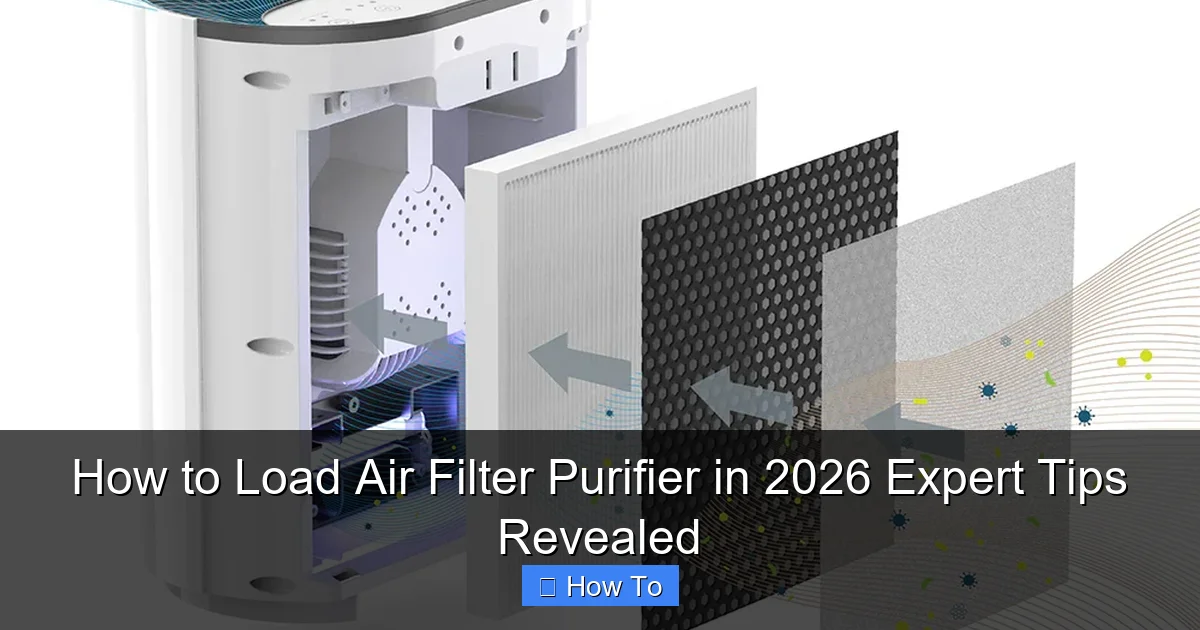
Loading an air filter purifier correctly is essential for peak performance and longevity. In 2026, experts recommend turning off the unit, removing the old filter with care, and ensuring the new filter matches the model’s specifications before securely installing it in the correct orientation. Always check the airflow direction arrows and reassemble the unit properly to avoid reduced efficiency or damage.
“`html
How to Load Air Filter Purifier in 2026 – Expert Tips Revealed
Let’s be honest—air purifiers are one of those things you don’t think about… until they stop working. I remember the first time my purifier started making a weird grinding noise. I opened it up, pulled out the filter, and realized I had no idea how to put it back in correctly. Spoiler: I didn’t. The machine ran inefficiently for weeks, and my allergies flared up like crazy.
That’s when I learned: loading an air filter purifier isn’t just about sliding a filter into a slot. It’s about doing it right—especially as we head into 2026, when newer models come with smarter designs, tighter seals, and more complex filtration layers. Whether you’re dealing with a HEPA filter, activated carbon, or a washable pre-filter, getting it right ensures cleaner air, better performance, and longer equipment life.
In this guide, I’ll walk you through exactly how to load air filter purifier in 2026—with real-world tips, common pitfalls, and answers to questions I wish someone had answered for me years ago. No jargon. No fluff. Just clear, practical advice from someone who’s been there.
Key Takeaways
- Power off first: Always unplug the purifier before loading a new filter.
- Match filter type: Use manufacturer-recommended filters for optimal performance.
- Align arrows correctly: Ensure filter orientation matches the housing guide marks.
- Seal tightly: Check gaskets and latches to prevent air leaks.
- Reset filter timer: Activate the reset function after installing the new filter.
- Inspect pre-filters: Clean reusable pre-filters monthly to extend main filter life.
- Track replacement dates: Log changes in the app or on a calendar.
Why This Matters / Understanding the Problem
Air purifiers are only as good as their filters—and how well those filters are installed. Think of it like wearing a mask backward: it might cover your face, but it won’t protect you the way it should.
In 2026, air quality challenges are evolving. Wildfire smoke, urban pollution, and indoor allergens (hello, pet dander and dust mites) are more persistent than ever. Modern purifiers are designed to handle these threats, but only if the filter is loaded correctly. A misaligned filter can cause air leaks, reduced efficiency, and even damage to the motor over time.
Plus, many newer models now include multi-stage filtration systems—pre-filters, HEPA, carbon, even UV-C light chambers. Each layer has a specific order and orientation. Skip a step or flip a filter, and you’re basically running a half-powered machine.
And let’s not forget cost. High-performance filters aren’t cheap. If you load them incorrectly, you might shorten their lifespan or void your warranty. So yes—this matters. A lot.
What You Need
Before we dive into the steps, let’s make sure you’re set up for success. Here’s what you’ll need to load your air filter purifier properly in 2026:
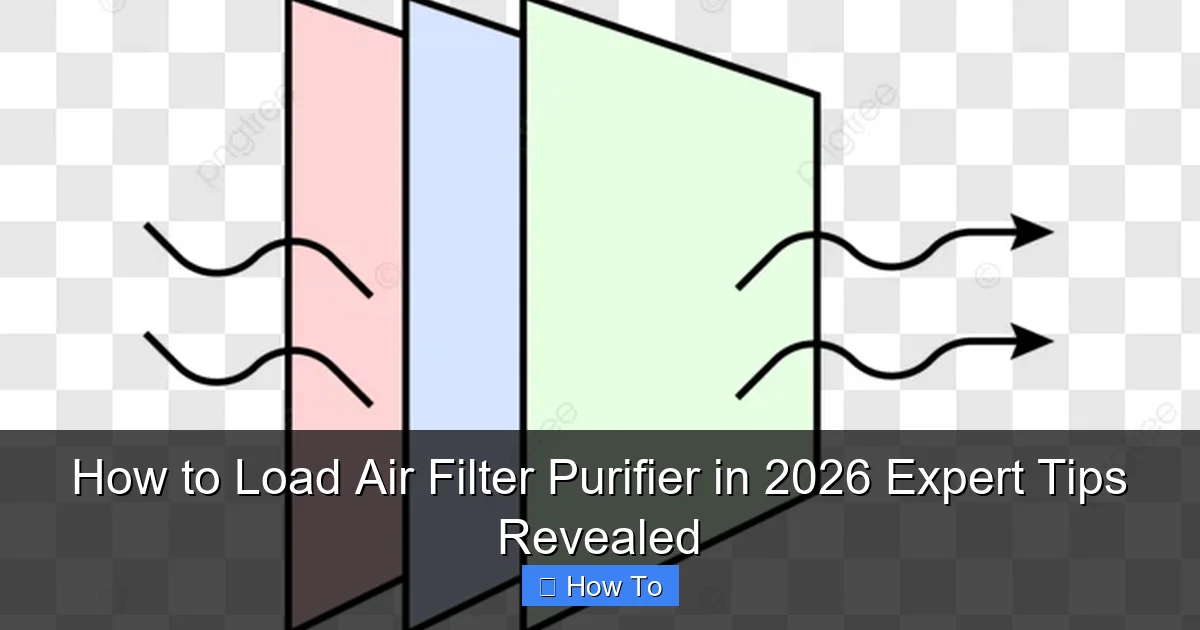
Visual guide about how to load air filter purifier
Image source: cdn.shopify.com
- Your air purifier model’s user manual – Even if you’ve lost the paper copy, most brands have PDFs online. This is your blueprint.
- The correct replacement filter(s) – Check the model number (usually on the bottom or back of the unit). Using the wrong filter is a common mistake.
- A clean, flat workspace – A table or countertop where you can lay out parts without losing small components.
- A soft cloth or microfiber towel – For wiping down the interior and handling filters without leaving lint.
- Optional: gloves – Especially if you’re sensitive to dust or chemicals in carbon filters.
- Optional: flashlight – Some purifiers have tight compartments where visibility is low.
Pro tip: Take a photo of the old filter setup before removing anything. It’s a simple trick that saves hours of frustration later.
Step-by-Step Guide to How to Load Air Filter Purifier in 2026 – Expert Tips Revealed
Now, let’s get into the nitty-gritty. These steps work for most modern air purifiers in 2026, whether you’ve got a sleek tower model, a compact desktop unit, or a whole-home system. I’ll keep it simple, visual, and grounded in real experience.
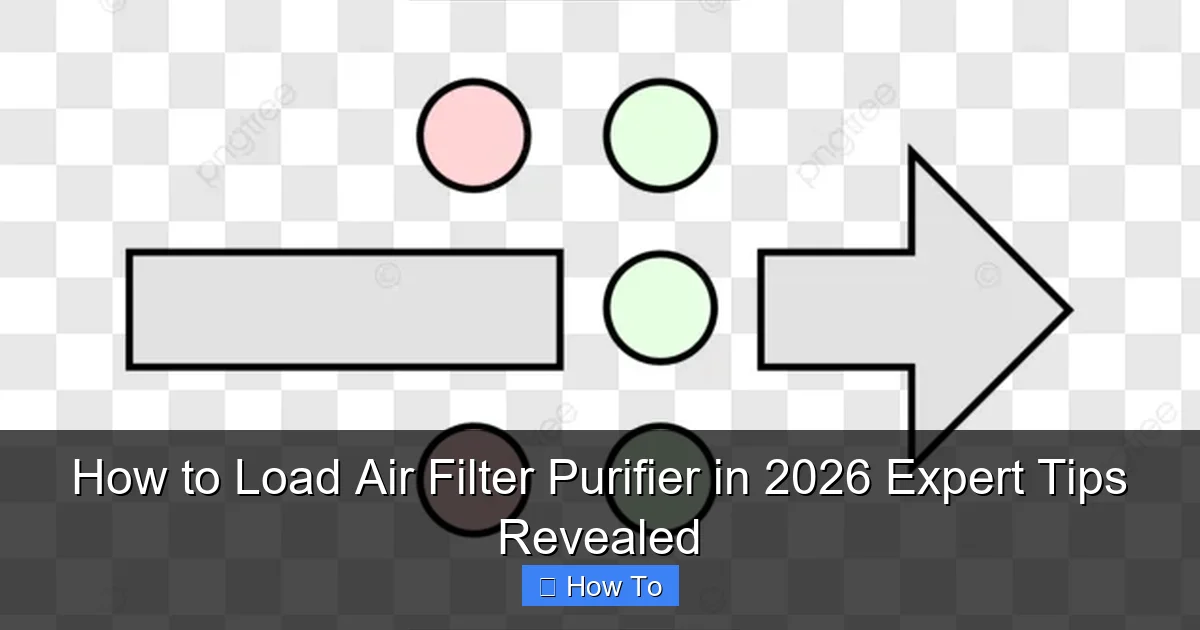
Visual guide about how to load air filter purifier
Image source: png.pngtree.com
Step 1: Turn Off and Unplug the Unit
First things first: safety. Always turn off your air purifier and unplug it from the wall before handling any internal components. I learned this the hard way when I once got a mild shock from a unit that was still plugged in (don’t ask).
Even if the machine is off, residual power can linger in some models. Unplugging eliminates all risk. Plus, it gives you peace of mind while you work.
While you’re at it, check the indicator lights. Many 2026 models have smart sensors that alert you when it’s time to replace the filter. If the light is red or blinking, that’s your cue—but don’t rush. Follow the steps carefully.
Step 2: Locate and Open the Filter Access Panel
Now, find the filter compartment. This varies by model, but here’s what to look for:
- Front panel – Common on tower-style purifiers. Usually snaps open with a gentle pull or has a latch.
- Side door – Found on some compact or cylindrical units. May require twisting or sliding.
- Bottom hatch – Less common, but used in certain floor-standing models. Lift the unit slightly to access.
If you’re unsure, refer to your manual. Some panels have hidden release buttons or magnetic seals. Don’t force anything—modern designs are precise, and prying can break clips or hinges.
Once open, you’ll likely see one or more filters stacked inside. Take a moment to observe the order. Are there labels? Arrows? Color-coded edges? These clues matter.
Step 3: Remove the Old Filter(s)
Gently pull out the old filter(s). Most slide out horizontally, but some may lift vertically or require a slight twist.
Be careful—old filters can be dusty or saturated with pollutants. If it’s a HEPA filter, avoid shaking it. You don’t want to release trapped particles back into your home.
For multi-stage systems, remove filters in the reverse order they were installed. For example:
- Pre-filter (often washable and on the outside)
- HEPA filter (main particle catcher)
- Carbon filter (odor and gas absorber)
Set each one aside on your clean towel. If the pre-filter is washable, rinse it under cool water and let it dry completely before reuse. Never reinstall a wet filter—it can grow mold or damage the motor.
Step 4: Inspect the Interior and Clean if Needed
Before inserting the new filter, take a quick look inside the compartment. Dust, pet hair, or debris can accumulate around the fan or sensors.
Use your soft cloth to wipe down the interior. Avoid using water or cleaning sprays unless the manual specifically allows it. Some units have delicate electronics that don’t mix well with moisture.
If you see buildup on the fan blades, use a dry brush or compressed air (held at a distance) to gently remove it. A clean interior ensures optimal airflow and prevents strain on the motor.
Step 5: Prepare the New Filter
Now, unbox your new filter. Most come sealed in plastic to preserve freshness. Remove the packaging carefully—don’t tear the filter material.
Check for arrows or labels. Many filters have directional indicators showing which way they should face. For example:
- “Air In” or “This Side Faces Fan”
- Arrows pointing toward the interior of the unit
- Color-coded edges (e.g., blue side in, white side out)
If there’s no label, look at the frame. The denser, pleated side usually faces inward, toward the fan. The smoother side faces outward.
Also, make sure the filter isn’t damaged. Cracks, tears, or compressed pleats can reduce efficiency. If something looks off, contact the manufacturer before installing.
Step 6: Load the Filter Correctly
This is the most critical step—and where most people go wrong.
Start with the innermost filter (usually the HEPA or main filter). Slide it into the compartment, aligning it with the guide rails or slots. Don’t force it. If it doesn’t slide in smoothly, double-check the orientation.
For multi-stage systems, follow the correct order:
- Insert the HEPA filter first (if it’s the base layer)
- Add the carbon filter on top or beside it, depending on design
- Finish with the pre-filter, which often snaps into place last
Some 2026 models use magnetic seals or locking mechanisms. Listen for a soft click or feel for resistance when it’s seated properly. If your unit has a filter lock tab, make sure it’s engaged.
Never skip a layer. Even if a filter looks similar to the last one, each stage plays a unique role. Missing the carbon filter, for example, means odors and VOCs won’t be captured.
Step 7: Close the Panel Securely
Once all filters are in place, close the access panel. Make sure it’s fully sealed—no gaps or misalignments.
Some models have alignment pins or grooves. Line them up carefully before pressing shut. If it doesn’t close flush, don’t force it. Recheck the filter placement.
After closing, give the panel a gentle tug to confirm it’s secure. A loose panel can cause air leaks, reducing purification efficiency by up to 30%.
Step 8: Plug In and Reset the Filter Indicator
Now, plug the unit back in and turn it on. Most 2026 models will run a brief self-check. Listen for unusual noises—grinding, rattling, or high-pitched whines could mean something’s wrong.
If your purifier has a filter life indicator, reset it. This is usually done by holding a button for 3–5 seconds or via a mobile app. Resetting ensures accurate tracking for next time.
Let the unit run on high for 10–15 minutes to circulate air and confirm everything is working. You should feel a steady stream of clean air from the vents.
Pro Tips & Common Mistakes to Avoid
Even with the best intentions, mistakes happen. Here’s what I’ve learned from years of troubleshooting air purifiers—both mine and my friends’.
Visual guide about how to load air filter purifier
Image source: png.pngtree.com
Pro Tip: Always check the filter’s expiration date. Some carbon filters lose effectiveness after 6–12 months, even if they look fine. Don’t assume “new in box” means “ready to use.”
Warning: Never use a vacuum to clean a HEPA filter. It can damage the delicate fibers and reduce filtration efficiency. Stick to gentle tapping or replacement.
Common Mistake #1: Installing the filter backward. I’ve done this more times than I’d like to admit. Always look for arrows or labels. If there are none, remember: the side with the most texture usually faces the fan.
Common Mistake #2: Overlooking the pre-filter. Some people skip reinstalling the washable pre-filter because it “doesn’t look dirty.” Big mistake. It protects the main filter and extends its life. Always put it back.
Common Mistake #3: Forcing the filter into place. If it doesn’t slide in easily, stop. Check the size, orientation, and compartment alignment. Forcing it can warp the frame or damage the unit.
Common Mistake #4: Ignoring the manual. Every model is different. What works for your friend’s purifier might not work for yours. The manual is your best friend—especially for 2026 models with smart features.
Pro Tip: Set a calendar reminder for filter replacement. Most HEPA filters last 6–12 months, but high-pollution environments may require more frequent changes. Don’t wait for the indicator light—be proactive.
FAQs About How to Load Air Filter Purifier in 2026 – Expert Tips Revealed
Got questions? I’ve got answers—based on real experience and common searches.
Q: Can I reuse a HEPA filter if it looks clean?
A: No. HEPA filters trap microscopic particles that you can’t see. Even if it looks fine, it’s likely saturated. Reusing it reduces airflow and efficiency. Replace it as recommended.
Q: What if my filter doesn’t have arrows or labels?
A: Check the frame. The side with tighter pleats or a mesh backing usually faces inward. When in doubt, refer to the manual or contact the manufacturer. Some brands have online guides with photos.
Q: How often should I replace my air filter in 2026?
A: It depends. Standard HEPA filters last 6–12 months. In high-pollution areas or homes with pets, replace every 3–6 months. Smart models may alert you based on usage and air quality.
Q: Can I wash a HEPA filter to save money?
A: Only if it’s labeled “washable.” Most HEPA filters are not washable and will be ruined by water. Washing a non-washable filter voids warranties and damages the material.
Q: My purifier is still noisy after loading the filter. What’s wrong?
A: Double-check the filter placement. A misaligned filter can cause vibrations. Also, ensure the panel is fully closed. If the noise persists, inspect the fan for debris or contact support.
Q: Do I need to replace all filters at once?
A: Not necessarily. Pre-filters can often be washed and reused. Carbon filters may last longer than HEPA filters. Replace each based on its lifespan and condition—but always follow the manufacturer’s guidance.
Q: Can I use a third-party filter to save money?
A: It’s risky. Cheap knockoffs may not fit properly or meet safety standards. They can cause air leaks, damage your unit, or even pose a fire hazard. Stick to OEM (original equipment manufacturer) filters for best results.
Final Thoughts
Loading an air filter purifier in 2026 doesn’t have to be confusing—or stressful. With the right approach, it’s a quick, straightforward task that pays off in cleaner air, better health, and longer equipment life.
Remember: how to load air filter purifier in 2026 isn’t just about mechanics. It’s about understanding your machine, respecting the filtration process, and staying consistent with maintenance.
Start by turning off the unit, follow the steps in order, and don’t skip the small details—like checking arrows or resetting the indicator. Your lungs (and your purifier) will thank you.
And if you’re ever unsure? Take a photo, check the manual, or reach out to customer support. There’s no shame in asking for help. After all, we’re all just trying to breathe a little easier.
Now go load that filter like a pro. Your home’s air quality is counting on it.
“`