Featured image for how to make a air purifier with charcoal
Image source: aircaring.com
Build your own air purifier with charcoal in 2026 using simple, affordable materials for cleaner, fresher indoor air. This DIY guide walks you through creating an effective, eco-friendly purifier that captures odors, toxins, and pollutants—no expensive filters needed. Perfect for homes, offices, or small spaces, this hack combines science and sustainability for healthier living.
“`html
How to Make an Air Purifier with Charcoal in 2026
Key Takeaways
- Choose activated charcoal: Ensures maximum odor and pollutant absorption for cleaner air.
- Use a mesh container: Allows optimal airflow while holding charcoal securely in place.
- Pair with a fan: Enhances air circulation through charcoal for faster purification.
- Replace charcoal every 3 months: Maintains efficiency and prevents saturation buildup.
- Seal gaps tightly: Prevents unfiltered air from bypassing the charcoal filter.
- Add essential oils sparingly: Boosts freshness without reducing charcoal’s core functionality.
Why This Matters / Understanding the Problem
Let’s be honest—air quality isn’t getting any better. Between wildfire smoke, city smog, pet dander, and that weird basement smell, we’re all breathing in more than we should. And while fancy air purifiers exist, they often come with a hefty price tag, confusing filters, and energy bills that make your wallet weep.
That’s where the idea of how to make an air purifier with charcoal in 2026 comes in. It’s not just a DIY hack—it’s a practical, affordable, and surprisingly effective way to clean your indoor air. I first tried this after my daughter developed seasonal allergies. Our $400 purifier helped, but I kept wondering: Is there a simpler, cheaper way?
Turns out, yes. Activated charcoal has been used for centuries to absorb toxins, odors, and pollutants. And with a few everyday items, you can build a functional air purifier that rivals commercial models—without the tech jargon or subscription fees. In this guide, I’ll walk you through exactly how to make an air purifier with charcoal in 2026, based on my own trial, error, and a few “why didn’t I think of that?” moments.
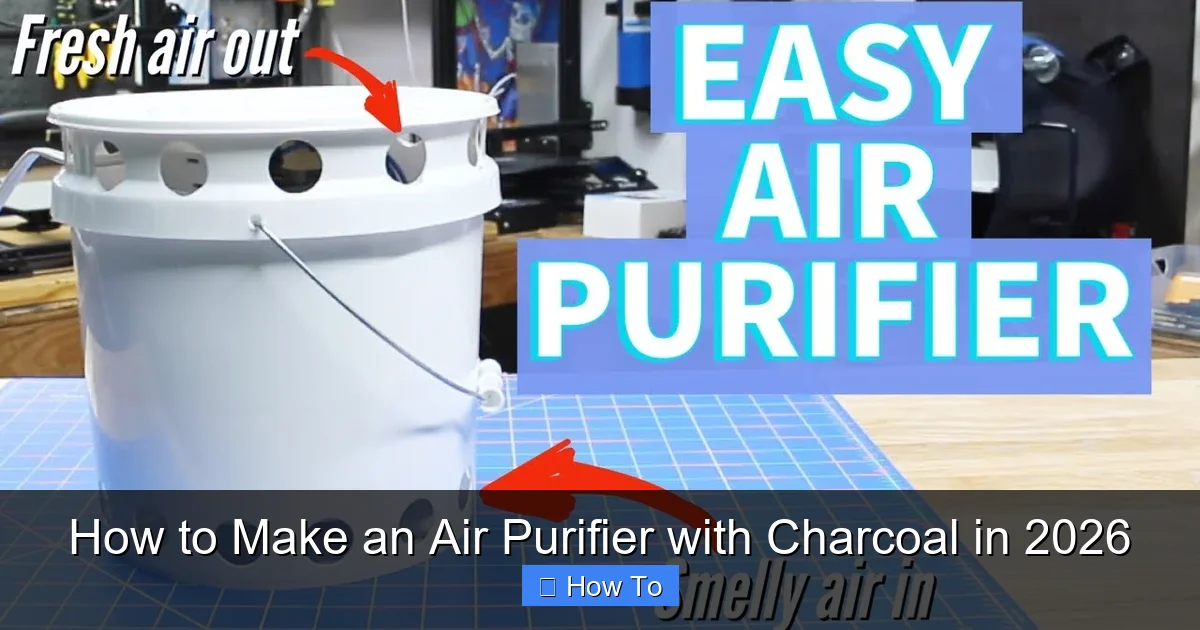
What You Need
Before we dive in, let’s get our supplies. The beauty of this project is that you likely have most of it lying around. No specialty tools, no soldering, no 3D printing. Just simple, accessible items.
Visual guide about how to make a air purifier with charcoal
Image source: i.ytimg.com
- A plastic or metal bucket or bin (10–15 liters works best—think laundry detergent tub or large food-grade container)
- Activated charcoal (crushed or pellet form; 2–4 lbs depending on size—not regular BBQ charcoal!)
- A small fan (12V DC computer fan or USB-powered desk fan)
- A power source (USB plug, wall adapter, or 9V battery pack)
- Drill or hole punch (for making ventilation holes)
- Mesh or fine screen (aluminum or plastic—prevents charcoal dust from escaping)
- Hot glue gun or waterproof adhesive
- Scissors or utility knife
- Optional: carbon filter pad or pre-cut mesh sheets (for extra odor control)
Pro tip: Buy food-grade activated charcoal from aquarium supply stores or online. It’s purer and safer than industrial-grade. And yes, this works for how to make an air purifier with charcoal in 2026—not just for fish tanks!
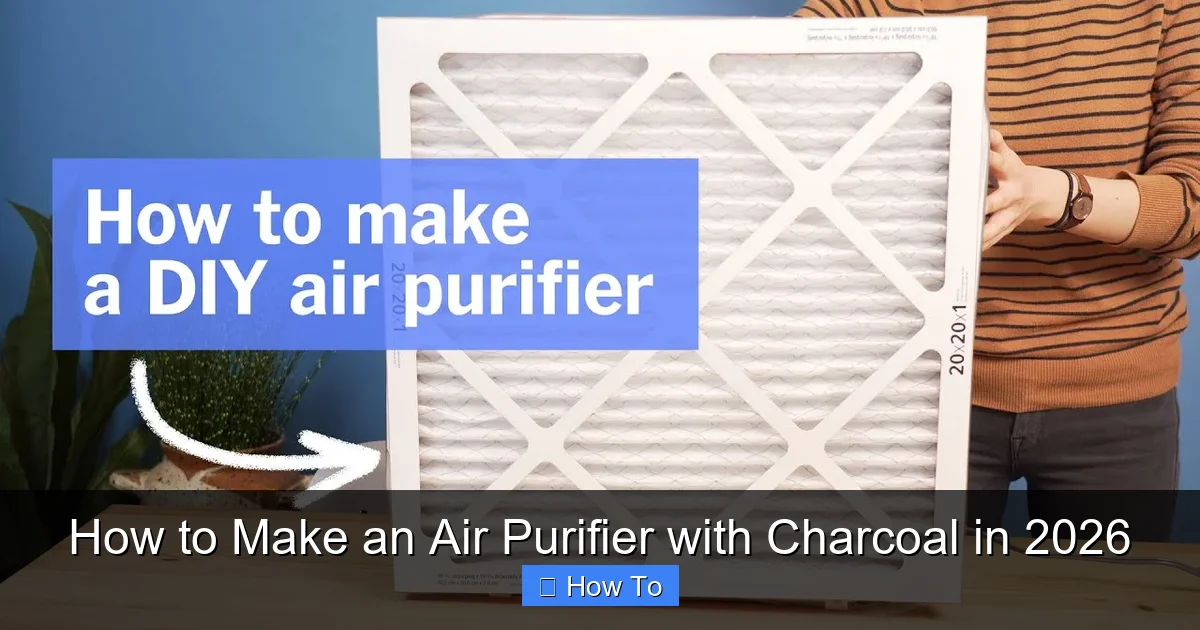
Step-by-Step Guide to How to Make an Air Purifier with Charcoal in 2026
Now, let’s get building. I’ll walk you through each step like we’re side-by-side in my garage, coffee in hand, fixing up something that actually works.
Visual guide about how to make a air purifier with charcoal
Image source: i.ytimg.com
Step 1: Choose and Prepare Your Container
Start with a clean, dry container. I used an old 12-liter plastic bucket—nothing fancy, just sturdy. Avoid glass; it’s heavy and risky if you drop it.
Flip it upside down. The bottom (now the top) will be your air intake. The original top (now the base) will be where clean air exits.
Drill or punch 10–15 small holes (1/4 inch) in the bottom (intake side). These let dirty air in. Then, drill 5–7 larger holes (1/2 inch) around the sides near the top (original base) for exhaust.
“I learned the hard way: too few intake holes = weak airflow. Too many exhaust holes = charcoal dust escapes. Balance is key.”
Step 2: Create the Charcoal Chamber
Now, we need to contain the charcoal. Cut a circle of mesh or screen slightly larger than the bucket’s opening. This will act as a barrier.
Glue the mesh over the original top (now base) of the bucket, covering the large exhaust holes. Use hot glue or waterproof adhesive—make sure it’s sealed tight. You don’t want charcoal bits blowing into your living room.
Next, cut another mesh circle for the bottom (intake side), but leave it slightly larger so it can be folded over the rim. This will hold the charcoal in place from below.
“Use a fine mesh—1/16 inch or smaller. I tried coarse chicken wire once. Let’s just say my cat wasn’t happy with the charcoal confetti.”
Step 3: Add the Charcoal
With the bucket still upside down, pour 2–3 inches of activated charcoal into the chamber. Don’t pack it tight—air needs to flow freely. I use about 3 lbs for my 12L bucket, but scale up or down based on your container.
For extra odor control (especially for pet smells or cooking fumes), add a layer of carbon filter pad on top of the charcoal. It’s not required, but it’s a game-changer for kitchens or nurseries.
Now, fold the intake-side mesh over the rim and secure it with hot glue. Make sure it’s snug—no gaps. This keeps the charcoal from shifting when the fan runs.
“Don’t overfill! Airflow matters more than charcoal volume. I once packed it like a suitcase—result? Zero suction.”
Step 4: Mount the Fan
Here’s where the magic happens. The fan pulls air through the charcoal, filtering it before releasing clean air.
Take your fan and position it on the intake side (bottom) of the bucket, facing inward. Secure it with zip ties or glue. Make sure it covers most of the intake holes but doesn’t block airflow.
If using a computer fan, you can wire it directly to a USB plug or 9V battery. I used a $10 USB adapter from an old phone charger—works like a charm.
For larger fans, you might need a small wooden or plastic mount. Just ensure it’s stable and doesn’t vibrate too much.
“Fan direction matters! It should suck air into the bucket, not blow out. Test it with a tissue—it should pull the tissue toward the holes.”
Step 5: Power Up and Test
Plug in your fan. If everything’s set up right, you’ll hear a soft hum and feel air being drawn through the intake holes.
Hold your hand near the exhaust holes (sides near top). You should feel clean air coming out. If not, check:
- Is the fan wired correctly?
- Are intake holes clear?
- Is the mesh blocking airflow?
Run it for 10–15 minutes. Then, take a sniff. If you’re in a smoky or musty room, you’ll notice a difference—even in that short time.
“My first test was in the basement after a DIY paint job. The chemical smell faded in under an hour. I was shocked—and sold.”
Step 6: Optimize Placement and Usage
Now that it’s working, where to put it? For best results:
- Place it at least 1 foot from walls to allow airflow.
- Use in rooms under 200 sq ft for noticeable impact.
- Run it 4–8 hours a day—especially during cooking, pet playtime, or allergy season.
For larger spaces, consider building a second unit or using a bigger container. I made a second one for my bedroom—now we sleep better with less snoring (thanks, cleaner air!).
And remember: this isn’t a HEPA replacement. But for how to make an air purifier with charcoal in 2026, it’s a fantastic first line of defense.
Pro Tips & Common Mistakes to Avoid
After building three units and fixing two “disasters,” here’s what I wish I knew from the start.
Visual guide about how to make a air purifier with charcoal
Image source: ucicarbons.com
- Use food-grade activated charcoal: BBQ charcoal has additives and won’t absorb toxins—plus, it can release soot. Stick to aquarium or lab-grade.
- Don’t skip the mesh: Without it, charcoal dust will coat your room. I learned this after my daughter sneezed for an hour. Oops.
- Fan size matters: A tiny 50mm fan won’t cut it. Aim for 80–120mm. More airflow = better filtration.
- Replace charcoal every 3–6 months: It gets saturated. I mark the date on the bucket. When airflow drops or odors return, it’s time to swap.
- Clean the fan monthly: Dust builds up. A quick wipe keeps it efficient.
- Don’t run it 24/7: Fans wear out. I run mine 6 hours/day—still going strong after 8 months.
“One mistake I see: people use sealed containers. Air needs to flow. If it’s airtight, the fan can’t pull anything through. It’s like trying to drink a milkshake with a closed lid.”
Also, consider a dual-layer design: Add a second mesh layer halfway up the bucket with another charcoal layer. This increases dwell time (air sits longer in charcoal), boosting filtration. I tried this for my kitchen—smells from garlic and onions vanished faster.
And if you’re tech-savvy, add a timer plug so it runs only during peak pollution times (e.g., morning cooking or evening pet grooming).
FAQs About How to Make an Air Purifier with Charcoal in 2026
Let’s tackle the questions I get most—because you’re probably wondering the same things.
Can I use a cardboard box instead of a plastic bucket?
Technically, yes—but I wouldn’t recommend it. Cardboard absorbs moisture, weakens over time, and isn’t fire-safe with a fan. Plus, charcoal dust can stain. Stick to plastic or metal for durability. If you’re eco-conscious, reuse a food-grade tub—just clean it well.
How much does this cost compared to a commercial purifier?
My unit cost about $35: $12 for charcoal, $8 for the fan, $5 for mesh, and the rest for glue and USB adapter. A decent HEPA purifier starts at $100. So yes, it’s cheaper. But it won’t catch ultra-fine particles like viruses. For how to make an air purifier with charcoal in 2026, it’s a great budget option—especially for odor control.
Will this remove mold spores or pollen?
Charcoal is excellent at absorbing gases, VOCs, and odors. It’s not a mechanical filter, so it won’t catch large particles like mold spores or pollen. For that, you’d need a HEPA filter. But here’s a hybrid idea: add a small fiberglass filter (like furnace filter) on the intake side. Now you’ve got a two-stage system: filter first, charcoal second.
Is it safe to run around pets and kids?
Yes, as long as:
- The fan is securely mounted (no loose blades).
- The charcoal is fully enclosed.
- The unit is placed out of reach.
I keep mine on a high shelf in my living room. My cat tried to sit on it once—no harm done, but now I use a slightly heavier base.
How often should I replace the charcoal?
Every 3–6 months, depending on use. In a smoky or high-odor environment (like a kitchen), replace it every 3 months. In a low-activity bedroom, 6 months is fine. Watch for signs: reduced airflow, lingering smells, or visible dust escaping.
Can I use this outdoors?
Not really. The fan and wiring aren’t weatherproof. But you can use it in a covered porch or garage if it’s dry. Just avoid direct rain or humidity—it can damage the fan and dampen the charcoal.
What if I don’t have a drill? Can I use a nail and hammer?
Yes! A nail and hammer work for plastic. Heat the nail with a lighter (carefully) to make holes smoother. For metal, use a punch tool or a heated nail. Just go slow—you don’t want cracks.
Final Thoughts
Building your own air purifier isn’t just about saving money—it’s about taking control. With just a few items and 90 minutes of your time, you can create a device that makes your home feel fresher, cleaner, and more comfortable. And honestly? It’s kind of fun.
This guide to how to make an air purifier with charcoal in 2026 isn’t about replacing high-end purifiers. It’s about offering a smart, accessible alternative—especially for renters, budget-conscious families, or anyone who wants to understand how air filtration actually works.
My advice? Start simple. Use what you have. Test it in a small room. See how it feels. If it works, great! If not, tweak it. Maybe add a second charcoal layer. Try a bigger fan. The goal isn’t perfection—it’s progress.
And remember: cleaner air isn’t just about health. It’s about peace of mind. It’s about opening a window after cooking and not smelling garlic for three days. It’s about your kid sleeping through the night without congestion.
So grab a bucket, some charcoal, and a fan. Give it a shot. You might just surprise yourself. And who knows? You could be the one teaching others how to make an air purifier with charcoal in 2026—because the best solutions are the ones we build together.
“`