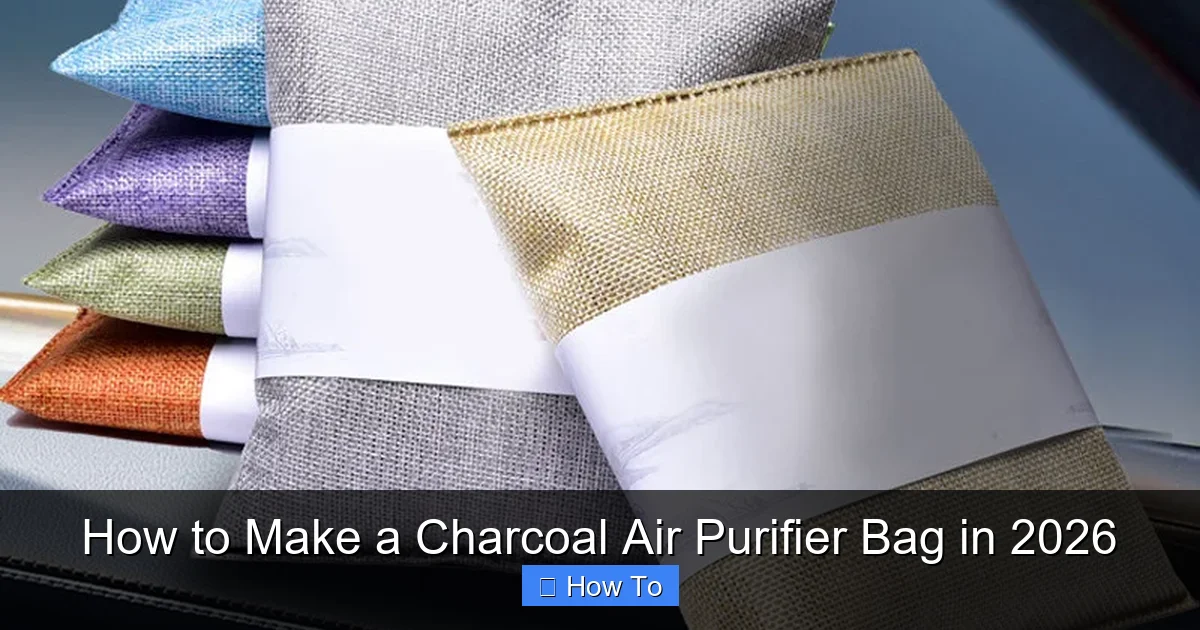
Featured image for how to make a charcoal air purifier bag
Image source: down-my.img.susercontent.com
Transform everyday bamboo charcoal into a powerful, eco-friendly air purifier bag with just three simple materials: activated charcoal, a breathable cotton pouch, and essential oils for a fresh scent. This DIY project effectively removes odors, allergens, and moisture from small spaces like closets, cars, or pet areas—no electricity required. Perfect for 2026’s sustainable living trends, this low-cost air purifier is reusable, non-toxic, and lasts up to two years with proper care.
“`html
How to Make a Charcoal Air Purifier Bag in 2026
Key Takeaways
- Use activated charcoal: Choose high-quality, chemical-free charcoal for effective odor and moisture absorption.
- Select breathable fabric: Use natural, porous materials like cotton or linen for optimal airflow.
- Ensure proper sealing: Securely close the bag to prevent charcoal dust from escaping.
- Place strategically: Position bags in closets, cars, or damp areas for maximum air purification.
- Refresh regularly: Reactivate charcoal monthly by placing it in sunlight for 4–6 hours.
- Avoid water exposure: Keep the bag dry to maintain charcoal’s absorption efficiency.
Why This Matters / Understanding the Problem
Let’s be real—your home might *feel* clean, but the air you’re breathing? Not so much. Between pet dander, cooking smells, mold spores, and that mysterious “old house” odor, indoor air quality can take a serious hit. And while high-end air purifiers are great, they’re not exactly budget-friendly or eco-conscious.
That’s where the humble charcoal air purifier bag comes in. I first tried making one back in 2023 after my apartment started smelling like wet socks (thanks, basement neighbor). I was skeptical—how could a little bag of charcoal actually help? But within a week, the musty smell was gone. No filters, no electricity, just natural odor absorption.
Fast forward to 2026, and these DIY purifiers are more relevant than ever. With rising energy costs and a growing focus on sustainable living, people are looking for simple, effective ways to freshen their spaces without plugging in another gadget. Whether you’re dealing with smoke from wildfires, lingering cooking odors, or just want cleaner air in your closet, learning how to make a charcoal air purifier bag in 2026 is a smart, low-cost move.
Plus, it’s surprisingly easy. You don’t need a chemistry degree or fancy tools—just a few supplies and about 20 minutes of your time. And the best part? These bags work passively, 24/7, without adding to your carbon footprint.
What You Need
Before we dive into the steps, let’s gather everything you’ll need. The beauty of this project is its simplicity. You probably already have half of this at home.
Here’s your shopping list:
- Activated charcoal (also called activated carbon) – Look for lump charcoal or pellets specifically labeled “activated.” Avoid briquettes—they often contain fillers and chemicals. A 1-pound bag is plenty for multiple purifiers.
- Breathable fabric pouch – Muslin, cotton, or unbleached linen work best. Avoid synthetic fabrics like polyester—they don’t let air flow through as well. You can buy pre-made bags online or repurpose an old cotton sock or tea bag.
- Funnel (optional but helpful) – Makes filling the bag way less messy.
- Scissors – If you’re sewing your own bag.
- Needle and thread or fabric glue – Only if making a custom pouch.
- Measuring cup or scoop – To portion out the charcoal evenly.
Pro tip: Buy your activated charcoal in bulk if you plan to make several bags. It’s cheaper per ounce and lasts for years. I got a 5-pound bag from a local hydroponics store—it’s still going strong after two years.
Step-by-Step Guide to How to Make a Charcoal Air Purifier Bag in 2026
Now, let’s get hands-on. This process is so straightforward, even your kids could help (just supervise the scissors and charcoal handling). I’ll walk you through each step like we’re in my kitchen, coffee in hand.
Step 1: Choose and Prepare Your Fabric Pouch
First things first—your bag needs to let air in and out. That’s why breathable fabric is key. If you’re using a pre-made muslin bag, you’re all set. Just give it a quick sniff to make sure it doesn’t have any strong dyes or chemicals.
If you’re making your own, here’s what I do:
- Cut a rectangle of cotton fabric about 6 inches by 8 inches.
- Fold it in half with the right sides facing inward.
- Sew along the two open sides, leaving the top open.
- Turn the bag right-side out.
- Iron it flat for a clean finish (optional, but makes filling easier).
I once tried using a mesh produce bag—big mistake. The holes were too big, and charcoal dust leaked everywhere. Stick with tightly woven natural fabrics.
Step 2: Fill the Bag with Activated Charcoal
Now for the star of the show: the activated charcoal. This isn’t the same as the stuff you toss on the grill. Activated charcoal has been treated to increase its surface area, making it a powerhouse at trapping odor molecules, moisture, and even some volatile organic compounds (VOCs).
Here’s how to fill your bag:
- Use a funnel to pour the charcoal into the pouch. I like to fill it about ¾ full—this leaves room for the charcoal to shift and absorb evenly.
- If you don’t have a funnel, roll a piece of paper into a cone. It works in a pinch!
- Avoid overfilling. Too much charcoal can cause pressure and lead to leaks or reduced airflow.
A standard 6×8 inch bag holds about 4–6 ounces of charcoal. That’s enough to purify a small room, closet, or car interior for several months.
Step 3: Seal the Bag Securely
Once your bag is filled, it’s time to close it up. You want a tight seal so the charcoal stays inside, but still allows air to pass through.
Here are three methods I’ve tested:
- Hand-sewing: Fold the top edge over about ¼ inch, then stitch it closed with a simple running stitch. Double-thread your needle for extra strength.
- Safety pin: If you’re in a hurry, fold the top and secure it with a large safety pin. Not as elegant, but it works in a pinch.
- Fabric glue: Apply a thin line of non-toxic fabric glue along the inside of the folded edge, press, and let dry for 2 hours. Great for kids’ projects.
I prefer sewing—it feels more permanent and looks cleaner. But if you’re making a temporary bag for your gym bag or shoes, the safety pin method is totally fine.
Step 4: Label and Place Your Purifier
This step is optional, but I love it. Grab a small tag or piece of masking tape and write the date you made the bag. Why? Because activated charcoal doesn’t last forever.
Over time, the pores in the charcoal fill up with trapped particles. After about 60–90 days, it starts losing effectiveness. But here’s the cool part: you can *recharge* it.
To refresh your bag, place it in direct sunlight for 4–6 hours once a month. The UV rays and heat help release the trapped odors, essentially “resetting” the charcoal. I do this on my windowsill every first Sunday of the month—it’s become a little ritual.
Once labeled, place your bag wherever you need fresher air:
- Inside closets to prevent musty clothes
- Under the sink to absorb moisture and mildew smells
- In cars to eliminate stale air or pet odors
- Near litter boxes or trash cans
- On bookshelves to protect paper from humidity
I keep one in my gym bag and another in my toddler’s toy chest. No more “sweaty sneaker” smell!
Step 5: Maintain and Refresh Regularly
Making the bag is just the beginning. To get the most out of your charcoal air purifier bag, you’ll want to maintain it properly.
Here’s my maintenance routine:
- Sunlight recharge: Every 4–6 weeks, place the bag in direct sunlight for 4–6 hours. This burns off accumulated moisture and odors.
- Shake gently: Every couple of weeks, give the bag a light shake to redistribute the charcoal. This helps prevent clumping and ensures even absorption.
- Replace when needed: After 6–12 months, even with recharging, the charcoal will lose effectiveness. When odors return faster or the bag feels damp, it’s time for a refill.
I keep a spare bag ready so I can swap them out while one is recharging. It’s a small habit, but it keeps the air in my home consistently fresh.
Pro Tips & Common Mistakes to Avoid
After making dozens of these bags over the years, I’ve learned a few things the hard way. Let me save you the frustration.
Pro Tip: Store extra activated charcoal in an airtight glass jar. Exposure to air and moisture reduces its effectiveness over time. I keep mine in a mason jar with a silica gel packet.
Warning: Don’t use charcoal from your fireplace or grill. It’s not activated and won’t absorb odors. Only use food-grade or industrial-grade activated charcoal labeled for air or water filtration.
Common Mistake: Placing the bag in a sealed container. The whole point is airflow! If you trap the bag in a plastic box, it can’t do its job. Always keep it in an open or ventilated space.
Pro Tip: For stronger odor control, use multiple small bags instead of one large one. This increases surface area and allows better air circulation. I use three small bags in my basement instead of one big one—it works way better.
Common Mistake: Expecting instant results. Unlike air fresheners that mask smells, charcoal *absorbs* them. It can take 24–48 hours to notice a difference, especially in high-odor areas. Be patient!
One time, I made a bag for my fridge and expected the onion smell to vanish overnight. Nope. It took three days. But by day five? Totally gone. The key is consistency and proper placement.
FAQs About How to Make a Charcoal Air Purifier Bag in 2026
How long does a charcoal air purifier bag last?
With proper care, a single bag can last 6–12 months. Recharging it monthly in sunlight helps extend its life. Once odors return quickly or the bag feels heavy and damp, it’s time to replace the charcoal.
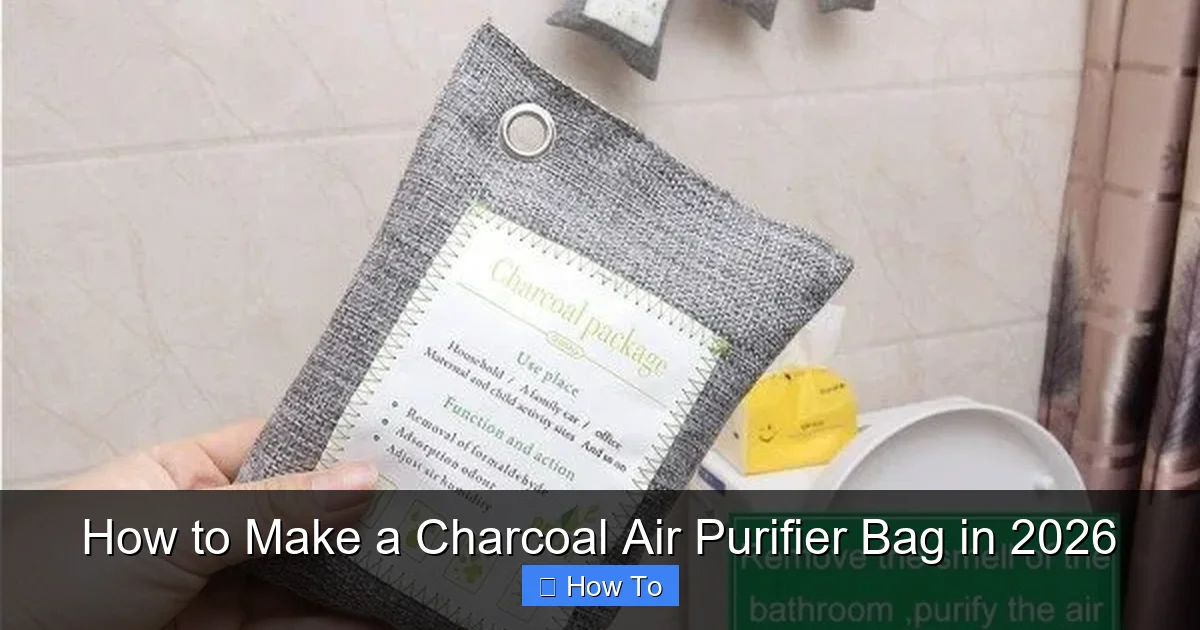
Visual guide about how to make a charcoal air purifier bag
Image source: householdme.com
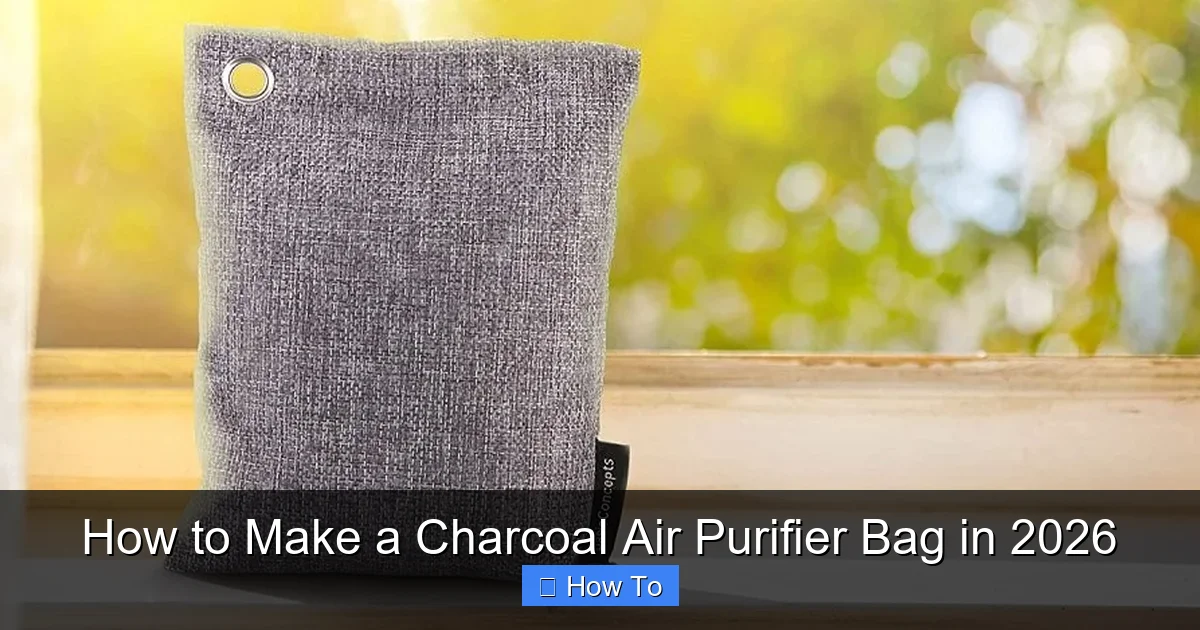
Visual guide about how to make a charcoal air purifier bag
Image source: householdme.com
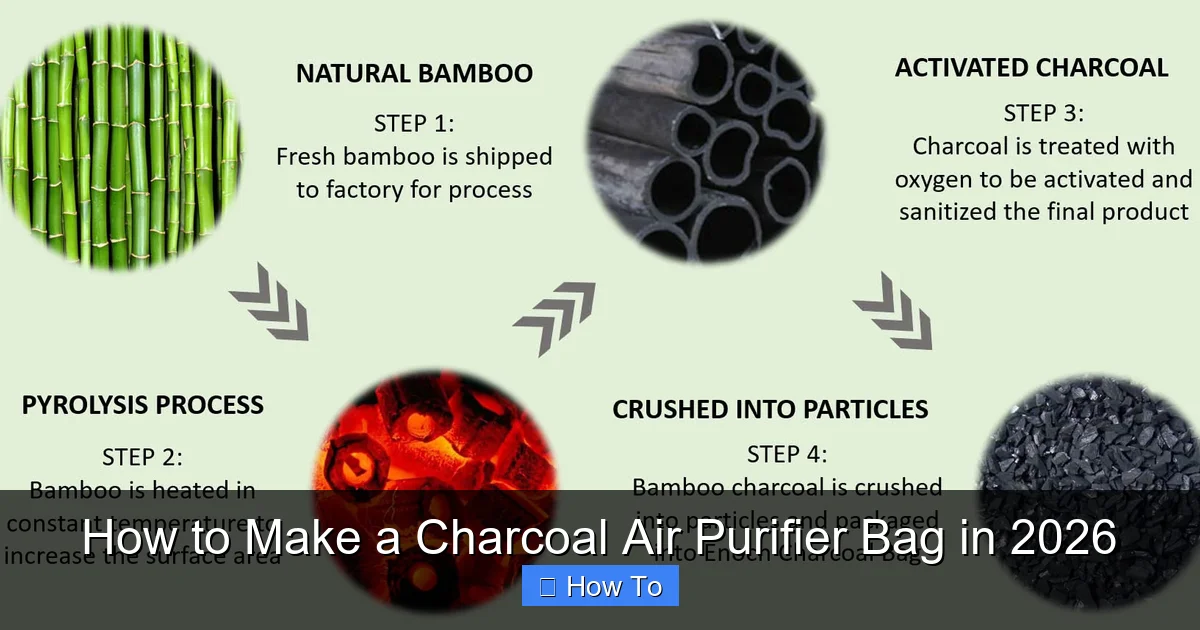
Visual guide about how to make a charcoal air purifier bag
Image source: enochgoods.com
Can I use regular charcoal from the hardware store?
No. Regular charcoal contains additives and isn’t activated. You need activated charcoal, which has been processed to have millions of tiny pores. Look for “activated carbon” or “activated charcoal” at health food stores, pet supply shops, or online.
Is it safe to use around kids and pets?
Yes—as long as the bag is sealed properly. Activated charcoal is non-toxic, but you don’t want little hands or paws ripping it open and inhaling the dust. Keep bags out of reach of toddlers and pets who like to chew.
Will it remove smoke or cooking smells?
Absolutely. Activated charcoal is excellent at absorbing smoke particles, grease odors, and strong cooking smells like fish or garlic. I use one in my kitchen near the stove, and it makes a noticeable difference.
Can I wash the fabric bag?
You can gently hand-wash the fabric if it gets dirty, but avoid soaking it. Water can damage the charcoal inside. If the bag gets wet, let it dry completely in the sun before reusing. Better yet, make a spare so you can rotate them.
Does it help with mold or mildew?
Indirectly, yes. While it won’t kill mold, it absorbs the musty odors caused by mold and reduces moisture in the air. For best results, pair it with a dehumidifier or fix the source of dampness.
Can I make a larger bag for my whole room?
You can, but it’s more effective to use several smaller bags placed around the room. This increases airflow and coverage. A single large bag might not get enough air circulation to work efficiently.
Final Thoughts
Making a charcoal air purifier bag isn’t just a fun DIY project—it’s a practical, eco-friendly way to improve your indoor air quality without spending a fortune. In 2026, as we continue to prioritize sustainability and health, simple solutions like this are more valuable than ever.
I’ll be honest: I used to think air purifiers had to be loud, expensive, and plugged into the wall. But this little bag changed my mind. It’s quiet, chemical-free, and works while you sleep, work, or binge your favorite show.
So grab some activated charcoal, a piece of cotton fabric, and give it a try. Start small—maybe one for your closet or car. Once you see (and smell) the difference, you’ll be hooked.
And remember: how to make a charcoal air purifier bag in 2026 isn’t just about following steps. It’s about taking control of your environment, one breath at a time. Your lungs—and your nose—will thank you.
“`