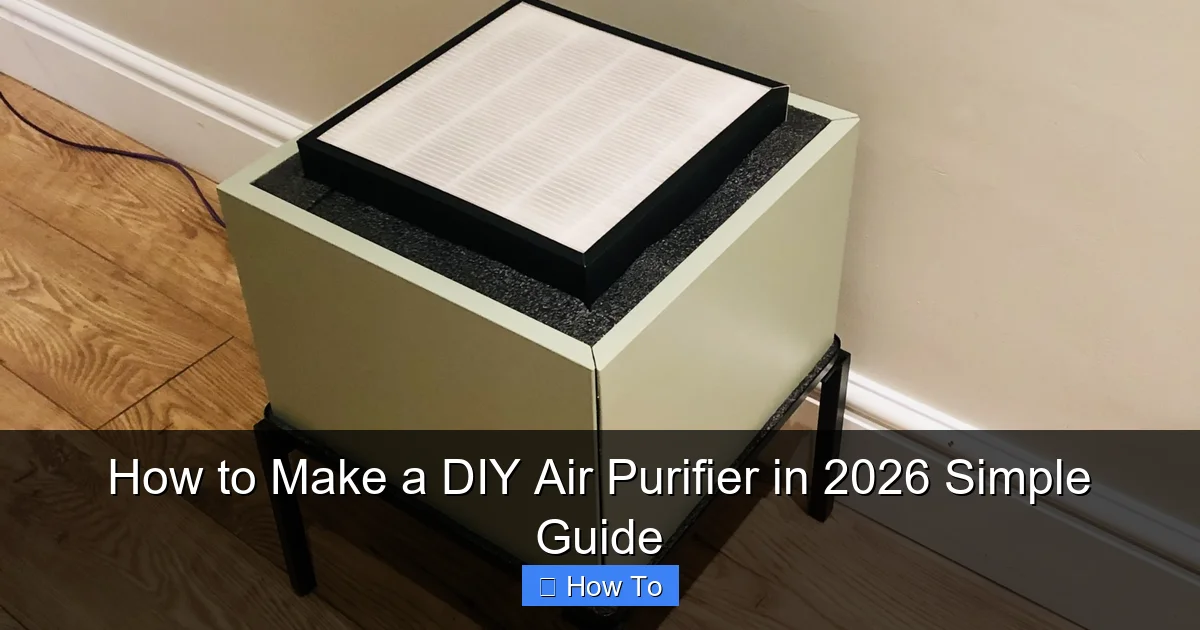
Featured image for how to make a diy air purifier
Image source: smartairfilters.com
Build a powerful DIY air purifier in 2026 using just a few affordable materials—like a box fan, MERV-13 filter, and bungee cords—for cleaner indoor air in minutes. This simple guide walks you through each step, ensuring maximum airflow and filtration efficiency to remove dust, allergens, and pollutants. Perfect for budget-savvy homeowners and renters, this eco-friendly hack delivers HEPA-level results without the high cost.
“`html
How to Make a DIY Air Purifier in 2026: Simple Guide
Key Takeaways
- Use a HEPA filter: Essential for trapping dust, pollen, and airborne particles effectively.
- Choose a quiet fan: Ensures efficient airflow without disruptive noise during operation.
- Seal all gaps tightly: Prevents unfiltered air from bypassing the system.
- Opt for reusable materials: Reduces waste and saves money long-term.
- Clean filters monthly: Maintains peak performance and extends purifier lifespan.
- Position near pollution sources: Maximizes air quality improvement in high-risk areas.
Why This Matters: Understanding the Problem
Let’s be honest—indoor air isn’t always as clean as we’d like to think. Between dust, pet dander, cooking fumes, and seasonal allergens, your home can quietly become a breeding ground for pollutants. I learned this the hard way last winter when my allergies went into overdrive, even though I vacuumed daily and kept windows closed.
Commercial air purifiers work great, but they can cost anywhere from $100 to $500—plus ongoing filter replacements. That got me wondering: Is there a simpler, cheaper way? Turns out, yes. With just a few household items, you can build an effective DIY air purifier that tackles common airborne irritants. This How to Make a DIY Air Purifier in 2026 Simple Guide walks you through exactly how to do it—no engineering degree required.
Whether you’re dealing with smoke from wildfires, pollen during spring, or just want fresher air while working from home, this project is practical, eco-friendly, and surprisingly effective. And the best part? It costs under $20.
What You Need
Before we dive in, let’s gather everything. Don’t worry—you probably already have most of these lying around.
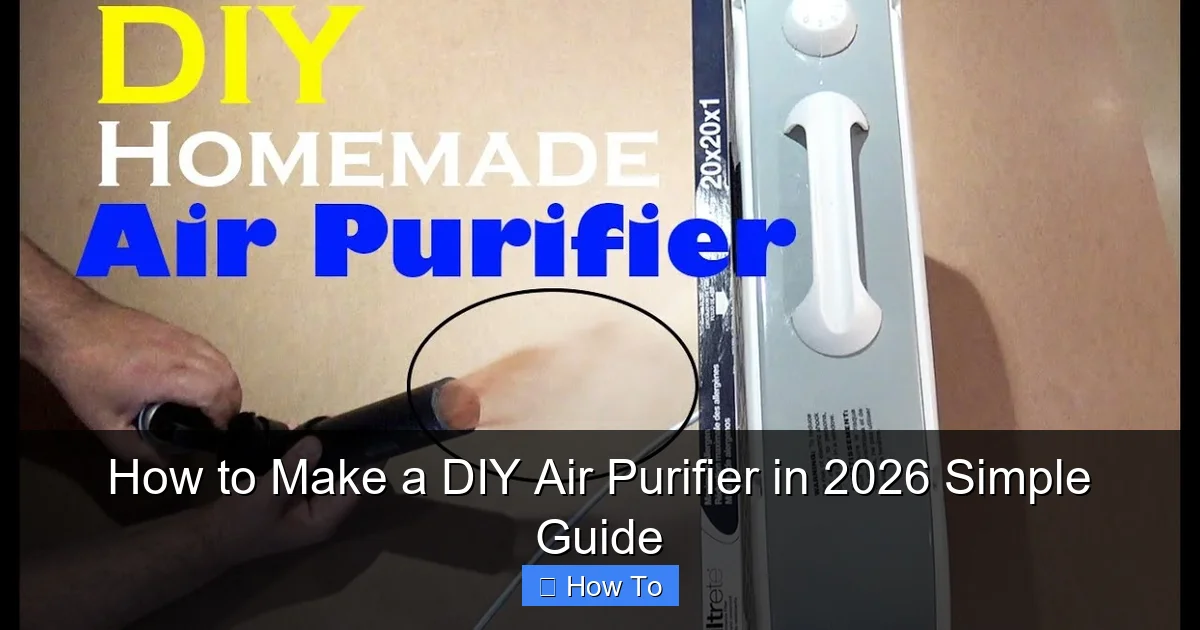
Visual guide about how to make a diy air purifier
Image source: i.ytimg.com
- Box fan (20-inch): The heart of your DIY air purifier. A standard cardboard-box-style fan works perfectly.
- HVAC filter (MERV 13 or higher): This captures particles like dust, mold spores, and pet dander. Look for one sized to match your fan (usually 20″ x 20″).
- Duct tape or zip ties: To securely attach the filter to the fan. Duct tape is quick; zip ties are cleaner and reusable.
- Scissors or utility knife: For trimming the filter if needed.
- Measuring tape: To double-check filter and fan dimensions.
Optional but helpful:
- Gloves (to avoid touching the filter media)
- Marker (to label airflow direction on the filter)
- Old towel or cloth (to clean the fan blades before assembly)
Pro tip: Buy a reusable MERV 13 filter if you plan to use this long-term—it’s more sustainable than disposable ones.
Step-by-Step Guide to How to Make a DIY Air Purifier in 2026 Simple Guide
Step 1: Choose the Right Filter
Not all filters are created equal. For your DIY air purifier to actually clean the air, you need a filter rated MERV 13 or higher. MERV stands for Minimum Efficiency Reporting Value—it tells you how well the filter traps particles.
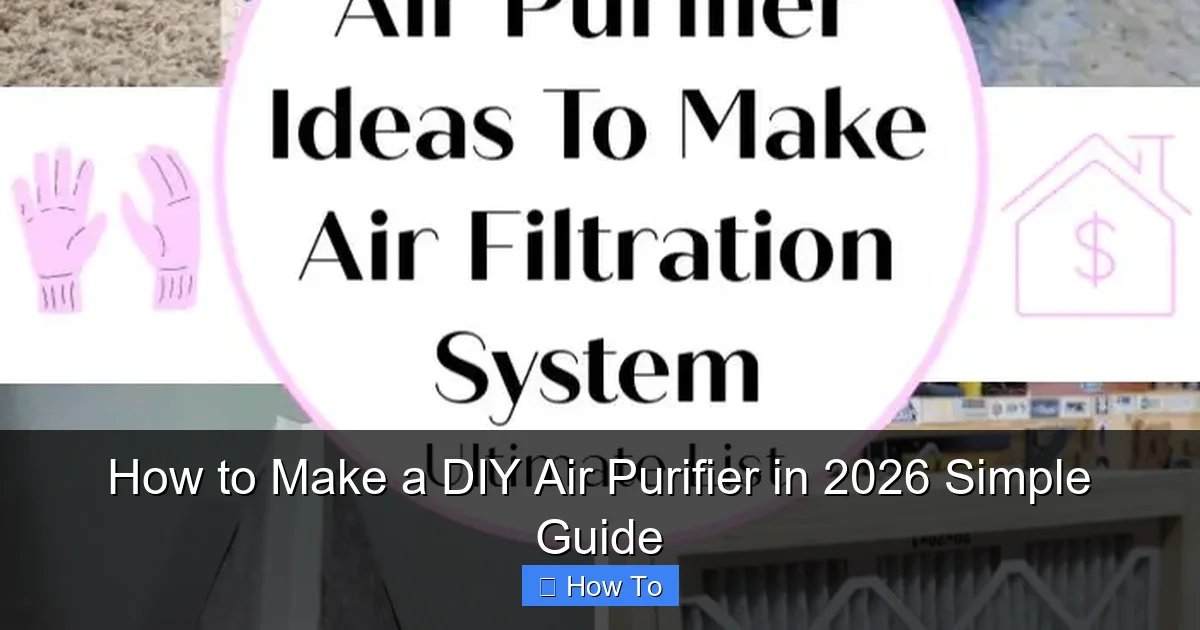
Visual guide about how to make a diy air purifier
Image source: cdn.itsoverflowing.com
A MERV 13 filter catches things like:
- Pollen
- Pet dander
- Smoke particles
- Bacteria
- Fine dust
I made the mistake once of using a cheap MERV 8 filter—it helped a little with dust, but did almost nothing for my cat’s dander. Don’t repeat that error. Spend the extra few bucks on a quality filter—it makes all the difference.
Also, check the size! Most box fans are 20 inches square, so get a 20″ x 20″ filter. If it’s slightly larger, you can trim it down (we’ll cover that in Step 3).
Step 2: Prepare Your Fan
Unplug your fan and give it a quick wipe-down. Dust buildup on the blades reduces efficiency and can blow dirty air back into the room. Use a damp cloth or an old towel to clean both sides of the blades and the front grille.
While you’re at it, inspect the fan for any loose parts or damage. A wobbly fan won’t run smoothly and could be noisy—or worse, unsafe. If everything looks good, plug it in and test it for a few seconds to make sure it spins evenly.
Now, decide which side will face the room (the “clean air” side) and which will suck in air (the “dirty air” side). Typically, the side with the motor housing pulls air in, and the open side blows it out. But check your model—some fans reverse this.
Step 3: Attach the Filter to the Fan
This is where the magic happens. Place the HVAC filter directly over the back of the fan—the side that pulls air in. Why the back? Because the fan draws air through the filter first, trapping pollutants before blowing clean air into your space.
If your filter is too big, trim it carefully with scissors or a utility knife. Leave a little extra around the edges so it stays snug. Never force a filter that’s too tight—it can warp the frame or block airflow.
Now, secure it. You’ve got two solid options:
- Duct tape: Quick and strong. Run strips around all four edges, overlapping slightly. Make sure no gaps are left—air will sneak through unsealed spots.
- Zip ties: Cleaner and reusable. Thread them through the fan’s mesh guard and around the filter frame every 4–6 inches. Tighten firmly but don’t crack the filter.
I prefer zip ties—they look neater and won’t leave sticky residue when you replace the filter. But if you’re in a pinch, duct tape gets the job done.
Step 4: Test and Position Your DIY Air Purifier
Plug in your newly built purifier and turn it on. Listen for smooth operation—no rattling or grinding. Feel the airflow: it should be strong but not weak or uneven. If the fan struggles, the filter might be too dense or poorly sealed.
Now, place it strategically. Avoid corners or behind furniture—these block airflow. Instead, put it in an open area where air can circulate freely. For best results:
- Point it toward the center of the room.
- Keep it at least 6 inches away from walls.
- Elevate it slightly (on a table or stand) if possible—air moves better at mid-height.
In my living room, I set mine near the couch where I spend most of my time. Within an hour, the air felt noticeably lighter—and my eyes stopped itching!
Step 5: Maintain and Replace the Filter
Your DIY air purifier won’t last forever. Over time, the filter clogs with particles and loses effectiveness. How often you replace it depends on usage and air quality:
- Light use (a few hours/day): Every 2–3 months
- Heavy use (all day, smoky/polluted area): Every 3–6 weeks
Check the filter monthly. If it looks gray or dusty, it’s time for a swap. To replace it, simply remove the old filter, clean the fan face with a dry cloth, and attach a new one using the same method.
Bonus: Some people add a second filter on the front of the fan for extra filtration. While this can help in high-pollution areas, it may strain the motor. I tried it once—my fan got louder and hotter. Stick to one filter unless you’re dealing with serious smoke or allergies.
Pro Tips & Common Mistakes to Avoid
After building several of these over the years, I’ve learned what works—and what doesn’t. Here are my top insights:
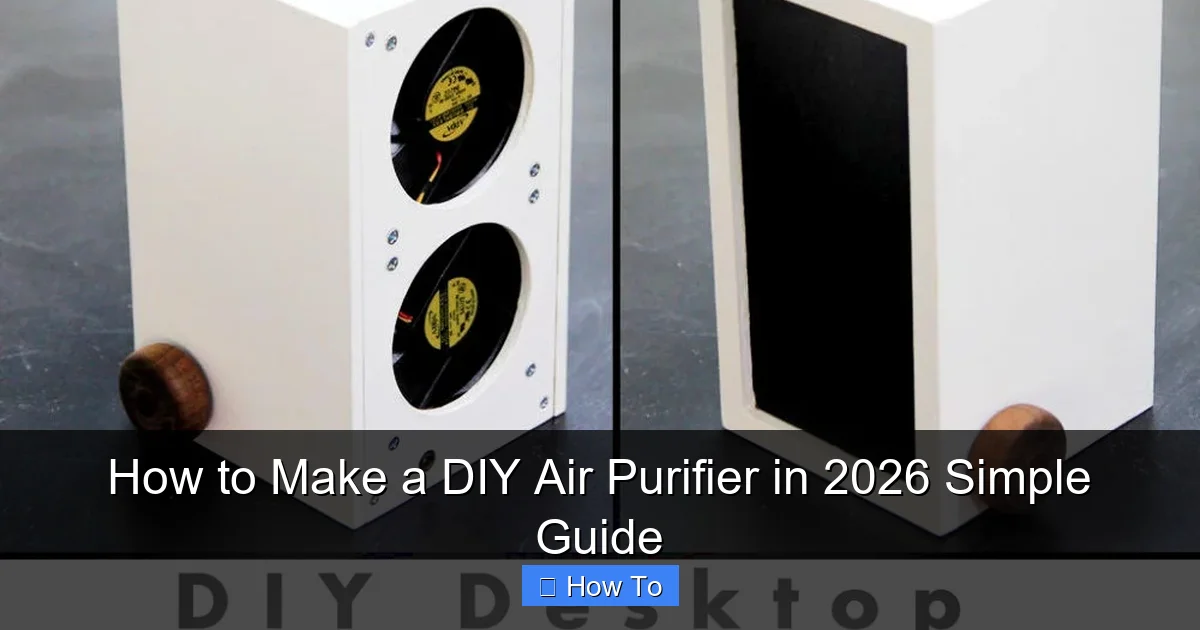
Visual guide about how to make a diy air purifier
Image source: itsoverflowing.com
Pro Tip: Label the airflow direction on your filter with a marker. Most filters have an arrow showing which way air should flow. If you install it backward, it won’t work properly—and you might not realize why.
Warning: Don’t use fiberglass filters. They’re cheap but can release tiny fibers into the air, which is a health hazard. Always choose pleated polyester or synthetic media.
A common mistake? Using a filter that’s too thick. High-MERV filters (like MERV 16) are great, but they can restrict airflow so much that your fan overheats or burns out. Stick with MERV 13—it’s the sweet spot for DIY builds.
Another pitfall: forgetting to seal the edges. Even a small gap lets unfiltered air slip through, defeating the whole purpose. Take your time taping or tying it down.
Finally, don’t expect hospital-grade results. This isn’t a HEPA purifier (though some argue MERV 13 is close). But for everyday use at home, it’s remarkably effective—and way better than nothing.
FAQs About How to Make a DIY Air Purifier in 2026 Simple Guide
Q: Does this really work as well as a store-bought purifier?
A: It won’t match a high-end HEPA model, but for the price? Absolutely. Independent tests (like those from Wirecutter and Popular Mechanics) show DIY box fan purifiers capture 60–80% of particles under 2.5 microns—comparable to mid-range commercial units. In my experience, it made a real difference during wildfire season.
Q: Can I use a smaller fan or filter?
A: Technically yes, but performance drops. A 20-inch fan moves enough air to clean a 200–300 sq ft room. Smaller fans (like 12-inch) are better for desks or nightstands—but won’t purify a whole room effectively.
Q: Is it safe to leave on all night?
A: Yes, as long as your fan is in good condition and the filter isn’t blocking airflow. Modern box fans are designed for continuous use. Just check it occasionally for overheating (if it feels hot to the touch, unplug it).
Q: What if I have pets or smokers in the house?
A: This DIY purifier handles pet dander and light smoke well—especially with a MERV 13 filter. For heavy smoke or strong odors, consider adding a layer of activated charcoal (available in sheets online). It won’t hurt the fan and helps absorb smells.
Q: Can I make this quieter?
A: Box fans aren’t silent, but you can reduce noise by placing the purifier on a soft surface (like a towel) and ensuring the filter isn’t vibrating against the fan. Running it on medium instead of high also helps.
Q: How do I know if it’s actually cleaning the air?
A: You might notice less dust on surfaces, fewer allergy symptoms, or clearer air after cooking. For a scientific check, use an affordable air quality monitor (like the Temtop M10). I saw PM2.5 levels drop by nearly half within an hour of turning mine on.
Q: Is this eco-friendly?
A: Compared to buying a new plastic purifier, yes! Reusing a fan you already own and choosing recyclable filters (check local guidelines) makes this a low-waste solution. Plus, you’re avoiding the carbon footprint of shipping and manufacturing.
Final Thoughts
Building your own air purifier isn’t just a money-saver—it’s empowering. You’re taking control of your indoor air quality without relying on expensive gadgets or complex tech. This How to Make a DIY Air Purifier in 2026 Simple Guide proves that sometimes, the simplest solutions are the most effective.
Give it a try this weekend. Grab a filter, tape it to your fan, and breathe easier knowing you’ve created something that truly makes a difference. And if you love it (which I think you will), share the idea with a friend—clean air shouldn’t be a luxury.
Remember: consistency matters more than perfection. Even running your DIY purifier for a few hours a day can significantly improve your home’s air. So don’t wait for allergy season or wildfire smoke—start today.
“`