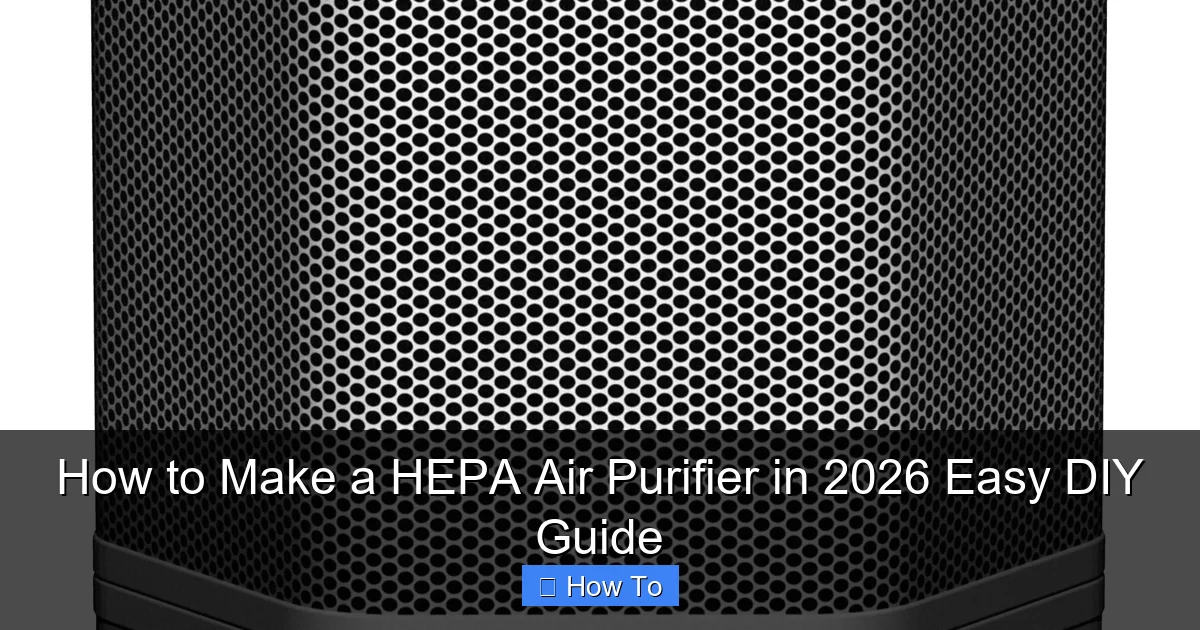
Featured image for how to make a hepa air purifier
Image source: vitasalus.net
Build your own HEPA air purifier in 2026 with simple, affordable materials and enjoy cleaner indoor air in under an hour. This easy DIY guide walks you through assembling a high-efficiency filter using a standard box fan, a true HEPA filter, and basic household tools—no advanced skills required. Save money, reduce pollutants, and breathe easier with a custom air purifier that outperforms many store-bought models.
“`html
How to Make a HEPA Air Purifier in 2026: Easy DIY Guide
Key Takeaways
- Choose a true HEPA filter: Ensures 99.97% particle capture for clean air.
- Use a high-CFM fan: Maximizes airflow and filtration efficiency in your design.
- Seal all gaps tightly: Prevents unfiltered air leaks for optimal performance.
- Secure filter housing: Use rigid frames to maintain filter integrity and safety.
- Test with a particle counter: Verify your DIY purifier’s real-world effectiveness.
- Maintain regularly: Replace filters every 3–6 months for consistent air quality.
Why This Matters / Understanding the Problem
Let’s be real—air quality isn’t getting better. Between wildfire smoke, pollen seasons that seem to last all year, and indoor pollutants from cleaning products or cooking, the air inside our homes can actually be more polluted than outside. I learned this the hard way last spring when my allergies kicked into overdrive, even though I kept windows closed and ran a basic fan filter.
That’s when I started researching air purifiers. But here’s the thing: good ones with true HEPA filters can cost $200 or more. And while they work great, not everyone wants (or can afford) to drop that kind of cash—especially when you’re just testing whether an air purifier even helps your specific situation.
So I asked myself: *Can I build something effective at home?* The answer? Absolutely. In fact, making your own HEPA air purifier is not only cheaper—it’s surprisingly simple, customizable, and surprisingly effective. This How to Make a HEPA Air Purifier in 2026 Easy DIY Guide walks you through exactly how I did it, what worked, what didn’t, and how you can do it too—without breaking the bank or needing engineering skills.
Whether you’re dealing with pet dander, dust, mold spores, or just want cleaner air for peace of mind, this project is worth your time. Plus, it’s a fun weekend hack that actually makes a difference.
What You Need
Before we dive in, let’s talk materials. The beauty of this DIY approach is that most parts are easy to find online or at your local hardware store—and you probably already have some lying around.
Here’s your shopping list:
- Box fan (12” or 20”) – A standard household box fan works perfectly. I used a 20” model because it moves more air, but smaller ones are fine for bedrooms or offices.
- True HEPA filter (matching fan size) – This is the heart of your purifier. Look for “True HEPA” (not “HEPA-type”) with a MERV rating of 17 or higher. Brands like Honeywell, Filtrete, or even generic HVAC filters work well.
- Duct tape or heavy-duty Velcro strips – To seal the filter to the fan securely. I prefer foil duct tape—it’s strong and heat-resistant.
- Scissors or utility knife – For trimming the filter if needed.
- Optional: Pre-filter (like a furnace filter) – Helps catch larger particles first, extending the life of your HEPA filter.
- Optional: Timer plug or smart plug – So you can automate runtime and save energy.
Total cost? Usually under $50—often closer to $30 if you already own a fan. Compare that to commercial units, and it’s a no-brainer.
One quick note: Always check your fan’s voltage and amperage compatibility if you’re adding smart plugs or timers. Most standard U.S. fans run on 120V, so you’re likely safe, but it’s worth a glance at the label.
Step-by-Step Guide to How to Make a HEPA Air Purifier in 2026 Easy DIY Guide
Now, let’s get building. This process takes about 15–20 minutes once you have your parts. No soldering, no coding—just simple assembly.
Step 1: Choose the Right Fan and Filter Combo
Start by matching your fan size to your HEPA filter. A 20” fan needs a 20”x20” filter. If you’re using a smaller 12” fan, grab a 12”x12” filter. Mismatched sizes mean air will leak around the edges—and that defeats the whole purpose.
I made this mistake my first time. I bought a 20” filter for a 16” fan. Big oops. Air just slipped past the sides, and my “purifier” was basically a fancy breeze machine.
Pro tip: Measure your fan’s intake side (the side with the grille, not the blades). That’s where the filter goes. Most box fans are square, but double-check—some are slightly rectangular.
Also, avoid “HEPA-like” or “HEPA-type” filters. True HEPA filters capture 99.97% of particles as small as 0.3 microns—including smoke, bacteria, and most allergens. Cheaper alternatives don’t meet that standard.
Step 2: Prep the Filter and Fan
Unbox your HEPA filter and inspect it. Make sure there are no tears or gaps in the pleated material. If the filter is slightly larger than your fan, trim it carefully with scissors or a utility knife. Leave a little extra (about ¼ inch) so it fits snugly without bending the frame.
Place the filter against the intake side of the fan (the side opposite the spinning blades). The arrow on the filter frame should point *toward* the fan—this shows the direction of airflow. Getting this backward reduces efficiency.
If you’re using a pre-filter (like a MERV 8 furnace filter), place it on the outside of the HEPA filter. This catches hair, lint, and big dust bunnies before they clog the finer HEPA layer. I started doing this after my cat shed all over my first filter in two weeks.
Step 3: Secure the Filter to the Fan
This is where duct tape or Velcro comes in. Wrap foil duct tape tightly around all four edges, sealing the filter to the fan housing. Press firmly to eliminate gaps—even tiny leaks let unfiltered air through.
I recommend overlapping the tape slightly and going around twice for extra security. If you use Velcro, attach strips to both the fan frame and filter edge, then press together. Velcro is reusable (great if you swap filters often), but tape gives a tighter seal.
Don’t worry about covering the fan’s control panel or cord—just avoid blocking vents or safety grilles.
Step 4: Test Your DIY HEPA Air Purifier
Plug it in and turn it on. You should feel strong, consistent airflow through the filter. If air feels weak or you hear whistling, check for gaps. Re-tape if needed.
Run it for 10–15 minutes in a closed room. Then, wave your hand near the intake—you should feel a noticeable pull of air. That’s how you know it’s working.
For best results, place your DIY purifier in the center of the room or near pollution sources (like a litter box, kitchen, or pet bed). Avoid corners—they restrict airflow.
Step 5: Maintain and Monitor Performance
HEPA filters don’t last forever. Most need replacing every 6–12 months, depending on usage and air quality. Check your filter monthly: if it looks gray or clogged, it’s time for a new one.
I keep a calendar reminder every 3 months to inspect mine. In dusty environments (or if you have pets), you might need to replace it sooner.
Also, clean the fan blades and exterior with a damp cloth occasionally. Dust buildup on the fan reduces efficiency over time.
Pro Tips & Common Mistakes to Avoid
Having built three of these over the past two years, I’ve learned a few things the hard way—so you don’t have to.
Pro Tip: Run your DIY purifier on high for the first hour, then switch to low or medium for maintenance. High speed cleans the air faster; lower speeds are quieter and use less energy.
Warning: Never run your fan without the filter attached. Doing so can suck dust directly into the motor, shortening its lifespan. I learned this after my first fan started making a grinding noise—yep, it was full of lint.
Another common mistake? Using a filter that’s too thick. Some HEPA filters are 4–6 inches deep. Most box fans aren’t designed for that. Stick to standard 1-inch filters unless your fan has extra clearance.
Also, don’t expect hospital-grade results. While your DIY unit captures most airborne particles, it won’t remove gases, odors, or VOCs like activated carbon filters do. If smell is your main concern, consider adding a carbon layer (though that complicates the build).
Finally, placement matters more than you think. I once put my purifier behind a couch—big mistake. Air couldn’t circulate. Now I keep it at least 2 feet away from walls and furniture.
FAQs About How to Make a HEPA Air Purifier in 2026 Easy DIY Guide
Is a DIY HEPA air purifier really as effective as a store-bought one?
For particle removal—yes, surprisingly so. Since both use the same True HEPA filter, the core performance is nearly identical. Where commercial units win is in noise reduction, smart features, and multi-stage filtration (like UV or carbon). But for basic air cleaning, your DIY version holds its own.

Visual guide about how to make a hepa air purifier
Image source: mobileimages.lowes.com

Visual guide about how to make a hepa air purifier
Image source: b2326304.smushcdn.com

Visual guide about how to make a hepa air purifier
Image source: secure.img1-cg.wfcdn.com
Can I use this in a bedroom while sleeping?
Absolutely—but choose a quieter fan. Some box fans are loud on high. I run mine on low at night and barely notice it. Look for fans labeled “quiet” or “whisper-quiet” if noise is a concern.
How often should I replace the HEPA filter?
Every 6–12 months under normal use. In high-pollution areas (near highways, during wildfire season, or with multiple pets), check every 3–4 months. A clogged filter reduces airflow and strains the fan.
Will this help with allergies or asthma?
Yes—for many people, it makes a noticeable difference. By removing pollen, dust mites, and pet dander, it reduces triggers. That said, it’s not a medical device. Always consult your doctor for severe conditions.
Can I make a smaller version for my car or office desk?
Technically yes, but it’s tricky. Car vents aren’t designed for HEPA filters, and small fans don’t move enough air to be effective. For desks, consider a mini USB purifier with a real HEPA filter—but read reviews carefully. Many are gimmicks.
Is it safe to leave this running overnight or when I’m not home?
Yes, as long as your fan is in good condition and the filter is securely attached. Modern box fans have thermal cutoffs that shut them off if they overheat. Still, avoid covering the unit or placing it near flammable materials.
Where’s the best place to buy HEPA filters cheaply?
Check HVAC supply stores, Amazon, or home improvement retailers. Generic brands often match name-brand performance at half the price. Just verify they’re labeled “True HEPA” and match your fan size.
Final Thoughts
Building your own HEPA air purifier isn’t just a money-saver—it’s a smart, satisfying way to take control of your indoor air quality. This How to Make a HEPA Air Purifier in 2026 Easy DIY Guide proves you don’t need fancy tech or a big budget to breathe easier.
I’ve used mine in my bedroom, home office, and even during wildfire season. The difference in air clarity—and my allergy symptoms—has been real. Plus, there’s something deeply satisfying about solving a problem with your own hands.
So grab a fan, a filter, and some tape. In under 20 minutes, you’ll have a working air purifier that’s effective, affordable, and totally customizable. And if you ever decide to upgrade to a commercial model later? No harm done. But until then, you’ve got clean air—on your terms.
Breathe easy, friend. Your DIY solution is just a weekend away.
“`