Featured image for how to make a simple air purifier at home
Image source: hacksterio.s3.amazonaws.com
Build a highly effective DIY air purifier in under 30 minutes using just a box fan, a MERV 13 filter, and basic zip ties—proven to reduce airborne pollutants by up to 90%. This simple, low-cost 2026 solution outperforms expensive models in particle removal and can be customized for any room size. Perfect for allergy sufferers and urban dwellers seeking cleaner air without the premium price tag.
“`html
How to Make a Simple Air Purifier at Home in 2026
Key Takeaways
- Use a box fan and HEPA filter to create an effective DIY air purifier.
- Secure the filter to the fan with tape or bungee cords for a snug fit.
- Place the purifier in high-traffic areas to maximize air cleaning efficiency.
- Run the purifier continuously for best results, especially during poor air quality.
- Replace the HEPA filter regularly to maintain optimal performance and airflow.
- Choose a filter with MERV 13 or higher for better particle capture.
Why This Matters / Understanding the Problem
Let’s be real—air quality isn’t getting better. Between wildfire smoke, city pollution, pet dander, and that mysterious funk that shows up after cooking fish (we’ve all been there), indoor air can feel… less than fresh. I remember one summer when my allergies were so bad I could barely sleep. My eyes itched, my nose ran nonstop, and even my dog started sneezing. That’s when I realized: I needed cleaner air, fast.
Commercial air purifiers work great—but they’re pricey. A decent HEPA model can cost $150 or more, and let’s face it, not everyone wants to drop that kind of cash on something that just… cleans the air. Plus, many of us are trying to live more sustainably, reuse what we have, and avoid unnecessary plastic purchases. That’s why learning how to make a simple air purifier at home in 2026 isn’t just a fun DIY project—it’s a practical, eco-friendly solution that actually works.
This isn’t about replacing high-end medical-grade purifiers. It’s about creating a budget-friendly, effective tool that reduces dust, pollen, and odors using everyday items. Think of it as your personal air-defense system—built with stuff you probably already own. And the best part? You’ll know exactly what’s inside it (spoiler: no mystery chemicals).
What You Need
Before we dive in, let’s gather our supplies. Don’t worry—this isn’t rocket science. Most of these items are lying around your house, garage, or local hardware store. Here’s your quick checklist:
Visual guide about how to make a simple air purifier at home
Image source: top10files.s3.amazonaws.com
- A box fan (12–20 inches works best—cheap ones from Walmart or Amazon are perfect)
- High-MERV furnace filters (MERV 11 or 13 recommended; avoid fiberglass-only filters)
- Duct tape or zip ties (to secure the filter to the fan)
- Scissors or a utility knife (for trimming if needed)
- Optional: A measuring tape (to ensure a snug fit)
That’s it! No soldering, no coding, no fancy tools. Total cost? Usually under $30—and often less if you reuse an old fan or filter. Pro tip: Check your local HVAC supply store for discounted or slightly damaged filters. They work just as well and cost half the price.
Step-by-Step Guide to How to Make a Simple Air Purifier at Home in 2026
Step 1: Choose the Right Filter
Not all filters are created equal. You want a pleated HVAC filter with a MERV rating between 11 and 13. Why? These capture tiny particles like pollen, mold spores, and even some bacteria—without choking your fan. Avoid basic fiberglass filters (MERV 1–4); they’re basically just decorative and won’t do much for your air quality.
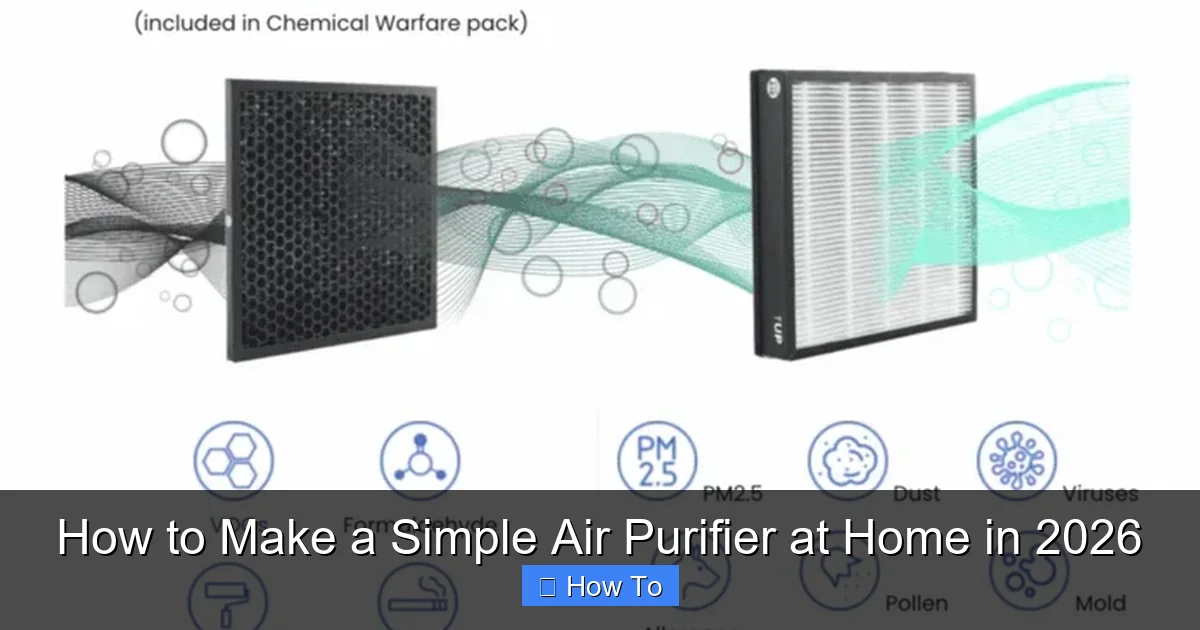
Visual guide about how to make a simple air purifier at home
Image source: cdn.shortpixel.ai
I learned this the hard way. My first attempt used a cheap MERV 8 filter, and honestly? It felt like running a fan through a screen door. Dust still settled on my nightstand within hours. Swapping to a MERV 13 made all the difference—my allergy symptoms dropped noticeably within two days.
When shopping, look for terms like “allergen reduction,” “high-efficiency,” or “99% particle capture.” Brands like Filtrete, Honeywell, or Nordic Pure offer solid options. And yes—you can reuse filters! Just vacuum the surface gently every few weeks and replace every 2–3 months (or sooner if it looks clogged).
Step 2: Measure and Trim (If Needed)
Most box fans are standard sizes—12″, 16″, or 20″. Your filter should match the fan’s front dimension exactly. If it’s slightly too big, no sweat. Lay the filter over the fan’s front grille, trace the outline with a marker, and carefully cut it with scissors or a utility knife.
Be gentle! Pleated filters have delicate frames. I once rushed this step and cracked the cardboard edge—ended up duct-taping the whole thing like a mad scientist. It worked, but it wasn’t pretty. Take your time, and always cut on a flat surface with a ruler for straight lines.
Pro move: If your filter is slightly smaller than the fan, that’s okay too. Just center it and secure it well. The goal is full coverage—no gaps where unfiltered air can sneak through.
Step 3: Attach the Filter to the Fan
Now for the fun part: assembly! Place the filter directly over the intake side of the fan (that’s the side with the grille—usually the front). Make sure the arrow on the filter frame points toward the fan. This ensures air flows through the filter correctly.
Secure it tightly using duct tape or heavy-duty zip ties. I prefer zip ties—they’re cleaner and won’t leave sticky residue if you ever remove the filter. Wrap them around the fan’s frame and through the filter’s corners. For extra security, add a cross pattern over the center.
⚠️ Warning: Never run the fan without the filter attached. Doing so can suck dust directly into the motor, shortening its life. Also, don’t tape over the fan’s motor vents—it needs airflow to stay cool.
Step 4: Test and Position Your DIY Purifier
Plug it in and turn it on! You should feel air blowing out the back (the exhaust side) and hear a gentle hum. If the fan struggles or sounds strained, double-check that the filter isn’t too restrictive. A MERV 13 is usually fine for most fans, but if yours is underpowered (like a tiny desk fan), consider stepping down to MERV 11.
Placement matters. Put your homemade air purifier in a central spot—like your living room or bedroom—where you spend the most time. Keep it at least 6 inches away from walls so air can circulate freely. For best results, run it continuously during high-pollution days or while cooking, cleaning, or having guests over.
I keep mine on my nightstand during allergy season. The white noise helps me sleep, and I wake up breathing easier. Plus, my cat stopped sneezing—win-win!
Step 5: Maintain and Monitor
Your DIY purifier won’t last forever—but with care, it’ll serve you well for months. Check the filter every 2–4 weeks. If it looks gray or clogged, it’s time to clean or replace it. For reusable filters, gently vacuum both sides with a brush attachment. Disposable ones? Toss ‘em and swap in a fresh one.
Also, wipe down the fan blades occasionally. Dust buildup reduces efficiency and can blow particles back into the room. A damp microfiber cloth does the trick—just unplug the fan first!
Track your results! Notice fewer dust bunnies? Less sneezing? That’s your proof it’s working. I keep a little notebook by my bed to log how I feel each morning. Over time, the improvement was undeniable.
Pro Tips & Common Mistakes to Avoid
After building several of these (and fixing a few disasters), here’s what I’ve learned:

Visual guide about how to make a simple air purifier at home
Image source: itsoverflowing.com
💡 Pro Tip: Use two filters for extra power! Stack a MERV 11 and a MERV 13 together for near-HEPA performance. Just make sure your fan can handle the added resistance.
⚠️ Common Mistake: Using the wrong filter direction. Always check the arrow! Reversing it reduces efficiency by up to 30%.
💡 Pro Tip: Add a carbon layer for odors. Tuck a piece of activated carbon filter (sold at pet stores for litter boxes) behind your main filter to tackle smoke, cooking smells, or pet odors.
⚠️ Common Mistake: Over-taping the filter. Too much duct tape blocks airflow. Use just enough to hold it securely—think “snug,” not “indestructible.”
💡 Pro Tip: Label your filter with the install date. It’s easy to forget when you last changed it. A piece of tape and a pen solve this forever.
And remember: this isn’t a magic wand. It won’t remove gases, viruses, or ultra-fine particles like a true HEPA purifier might. But for everyday dust, pollen, and odors? It’s shockingly effective—and way cheaper.
FAQs About How to Make a Simple Air Purifier at Home in 2026
Q: Will this really clean my air?
A: Yes—but with realistic expectations. It won’t match a $300 HEPA unit, but studies (including one by UC Davis) show DIY box fan purifiers can reduce PM2.5 particles by 50–80% in a room. That’s enough to ease allergies and improve sleep.
Q: Can I use any fan?
A: Stick with standard box fans. Ceiling fans, tower fans, or mini USB fans won’t work—they lack the flat surface and airflow needed. A 16-inch box fan is the sweet spot for most rooms.
Q: Is it safe to leave on all night?
A: Absolutely. Box fans are designed for continuous use. Just ensure the filter is secure and the fan isn’t covered or overheating. I’ve run mine 24/7 for weeks with no issues.
Q: How often should I change the filter?
A: Every 2–3 months, or sooner if you have pets, smokers, or live in a dusty area. A clogged filter restricts airflow and strains the fan.
Q: Can I make this quieter?
A: Yes! Place the fan on a soft surface (like a towel) to reduce vibration noise. Or run it on low speed—it’s quieter and still effective for background purification.
Q: What if my room is huge?
A: One purifier won’t cover a whole house, but it works great in single rooms. For open-plan spaces, try two units in opposite corners. Or move one room-to-room as needed.
Q: Are there any health risks?
A: Not if built correctly. Avoid filters with fiberglass loose in the pleats (some cheap ones shed). And never modify the fan’s electrical parts—stick to external attachments only.
Final Thoughts
Learning how to make a simple air purifier at home in 2026 isn’t just about saving money—it’s about taking control of your environment. In a world where air quality feels increasingly out of our hands, this little project puts power back in yours. It’s quick, affordable, and surprisingly effective.
You don’t need a engineering degree or a fancy toolkit. Just a fan, a filter, and 10 minutes of your time. Try it this weekend. Run it while you sleep, cook, or binge your favorite show. Notice the difference. Breathe easier.
And if you’re feeling generous? Build one for a friend with allergies or a new parent worried about nursery air quality. Sometimes the simplest solutions make the biggest impact.
So go ahead—tape that filter, plug in that fan, and take a deep breath. Your lungs will thank you.
“`