Featured image for how to make a water air purifier
Image source: airpurifierfaqs.com
Transform your indoor air quality in 2026 with a simple, cost-effective DIY water air purifier that anyone can build. Using just a few household items—like a bucket, tubing, and a fan—you can create a natural filtration system that traps dust, allergens, and pollutants through water-based purification. This easy, eco-friendly guide delivers step-by-step instructions for a functional air cleaner that’s both affordable and sustainable.
How to Make a Water Air Purifier in 2026: Easy DIY Guide
Key Takeaways
- Gather materials first: Use a fan, water basin, and essential oils for simple setup.
- Choose clean water: Distilled or filtered water prevents impurities from re-entering the air.
- Position fan correctly: Angle it to blow air over the water surface for maximum filtration.
- Add natural purifiers: Essential oils like tea tree or eucalyptus boost antibacterial effects.
- Maintain regularly: Change water daily and clean basin to avoid mold buildup.
- Optimize airflow: Place purifier in high-traffic areas for best air circulation results.
Why This Matters / Understanding the Problem
Let’s be real—indoor air quality isn’t something most of us think about until we’re sneezing, coughing, or staring at a dusty shelf we just wiped down yesterday. I used to assume my apartment was “clean enough,” until I noticed my allergies acting up more indoors than outside. That’s when I started digging into air purifiers.
Commercial air purifiers can cost anywhere from $50 to over $500. And while they work, not everyone wants (or can afford) to drop that kind of cash—especially if you’re just testing the waters. That’s where the idea of a DIY water air purifier comes in. It’s simple, affordable, and surprisingly effective for light-duty air cleaning.
Now, before you picture a bubbling science experiment in your living room, let me clarify: this isn’t a replacement for a HEPA-filtered purifier in a smoke-filled or highly polluted space. But for everyday dust, pet dander, and mild odors? It’s a solid, budget-friendly hack. And honestly, building one feels kind of like adult arts and crafts—minus the glitter.
In this guide, I’ll walk you through how to make a water air purifier in 2026—easy, safe, and with stuff you probably already have at home. Whether you’re a DIY newbie or a seasoned tinkerer, this project is approachable, practical, and even a little fun.
What You Need
The beauty of this DIY project is that it doesn’t require fancy tools or hard-to-find parts. Most of these items are probably already in your kitchen or garage. Here’s what you’ll need to get started:
- A large plastic bottle (2-liter soda or water bottle works great)
- A small USB-powered fan (like the ones used for desk cooling or Raspberry Pi projects)
- Scissors or a utility knife
- Duct tape or strong adhesive
- Clean water (tap water is fine)
- Optional: essential oils (for a light, natural scent—lavender or eucalyptus are nice)
- Optional: activated charcoal (helps trap odors and impurities)
That’s it. No soldering, no electrical wiring, no special skills. If you can cut a bottle and tape a fan, you’re golden.
Pro tip: If you don’t have a USB fan lying around, check old electronics—like a broken laptop cooler or a discarded phone charger fan. Many of these are still functional and perfect for this build.
Step-by-Step Guide to How to Make a Water Air Purifier in 2026: Easy DIY Guide
Now, let’s get into the nitty-gritty. I’ll break this down into clear, simple steps so you can build your water air purifier in under 30 minutes—no stress, no confusion.
Step 1: Prepare the Plastic Bottle
Start by grabbing your 2-liter plastic bottle. Make sure it’s clean and dry—any leftover soda or residue can mess with the airflow or create funky smells.
Using your scissors or utility knife, carefully cut off the bottom third of the bottle. You’ll be left with two pieces: the top funnel-shaped part and the bottom base. We’ll use the top part (the neck and shoulder of the bottle) as the main chamber.
Why the top? Because the narrow neck helps direct airflow downward into the water, increasing contact time between air and water—which improves filtration.
Warning: Be careful when cutting the bottle. Plastic can have sharp edges. Use sandpaper or a lighter (briefly) to smooth rough cuts if needed.
Step 2: Create the Air Intake and Fan Mount
Now, take the top part of the bottle (the funnel-shaped piece). Flip it upside down—so the opening is facing up like a cup.
At the narrow end (the former bottle cap area), you’ll attach the fan. This fan will pull air from the room, push it down through the bottle, and force it through the water.
Use a marker to trace the fan’s outline onto the bottle’s narrow end. Then, carefully cut out that circle with your scissors or knife. The hole should be just big enough for the fan to fit snugly.
Once the hole is cut, place the fan over it—fan blades facing inward, toward the bottle. Secure it tightly with duct tape, wrapping around the edges to create an airtight seal. You want to prevent air from leaking around the sides.
Personal note: I once taped my fan too loosely and noticed a drop in performance. A tight seal makes a huge difference—don’t skip this step!
Step 3: Add Water and Optional Additives
Now for the “water” part of your water air purifier.
Fill the upside-down bottle (now acting as a chamber) with clean water—about halfway up. You don’t need to fill it to the brim; just enough so that when air is pushed down, it bubbles through the water.
If you’d like, add a few drops of essential oil for a subtle, natural fragrance. Lavender is calming, eucalyptus is refreshing—just avoid citrus oils, as they can degrade plastic over time.
For extra purification power, toss in a teaspoon of activated charcoal. It’s great at absorbing odors and some airborne chemicals. You can find it at pet stores (for fish tanks) or online.
Pro tip: Change the water every 2–3 days to prevent mold or bacterial growth. Stagnant water defeats the purpose!
Step 4: Assemble the Base (Optional but Recommended)
To keep your purifier stable and catch any drips, place the water-filled bottle chamber into a shallow dish or bowl. A plastic food container or even an old yogurt tub works perfectly.
This base acts as a drip tray and gives your setup a cleaner look. Plus, if the water level gets too high or there’s a splash, you won’t have a mess on your table.
If you’re feeling crafty, you can glue the bottle to the base for a more permanent setup—but I usually just set it in place so I can easily remove it for cleaning.
Step 5: Power It Up and Test
Now, plug in your USB fan. Most USB fans run on 5V, so you can power it with a phone charger, power bank, or even a laptop USB port.
Turn it on. You should see air being pulled into the bottle, bubbling through the water, and exiting through the top (now the wide opening). That’s your purified air!
Place your DIY water air purifier in a spot with good airflow—like near a window, on a desk, or in a corner of your bedroom. Avoid blocking the intake or output.
Let it run for a few hours and notice the difference. I first tried mine in my home office, and within a day, the stale “closed-room” smell was gone. My partner even commented, “Wow, it smells fresher in here.”
Pro Tips & Common Mistakes to Avoid
Even simple projects can go sideways if you’re not careful. Here’s what I’ve learned from trial, error, and a few minor mishaps.
1. Don’t overfill the water. If the water level is too high, the fan might push air directly into the liquid without proper bubbling—reducing efficiency. Aim for halfway.
2. Use a quiet fan. Some USB fans are loud. If you’re placing this in a bedroom or office, look for a low-decibel model. I use a 30mm quiet fan from an old PC cooler—works like a charm.
3. Clean regularly. Every few days, empty the water, rinse the bottle, and wipe down the fan. Mold loves dark, damp places—don’t give it a chance.
4. Avoid essential oils if you have pets or allergies. While lovely for humans, some oils (like tea tree or citrus) can be harmful to cats and dogs. Stick to water-only if you’re unsure.
5. Don’t expect miracles. This isn’t a medical-grade purifier. It won’t remove viruses or fine particulate matter like PM2.5. But for dust, pollen, and light odors? It’s a solid first line of defense.
Real talk: I once forgot to change the water for a week. Let’s just say the smell was… memorable. Lesson learned: set a phone reminder to refresh the water every 48 hours.
FAQs About How to Make a Water Air Purifier in 2026: Easy DIY Guide
Q: Does a water air purifier actually work?
Yes—but with limits. It works by trapping larger particles like dust, pet hair, and pollen as air bubbles through the water. It can also help with mild odors. However, it won’t capture ultrafine particles or gases like VOCs. For those, you’d need a HEPA or carbon filter. Think of this as a helpful supplement, not a full replacement.
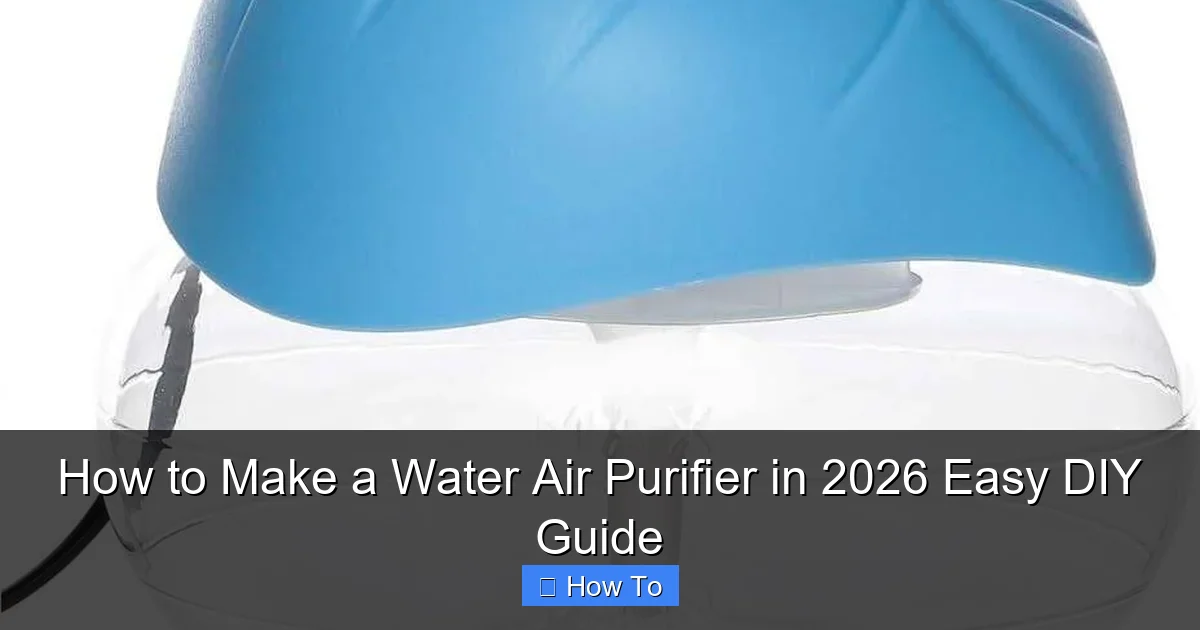
Visual guide about how to make a water air purifier
Image source: microless.com
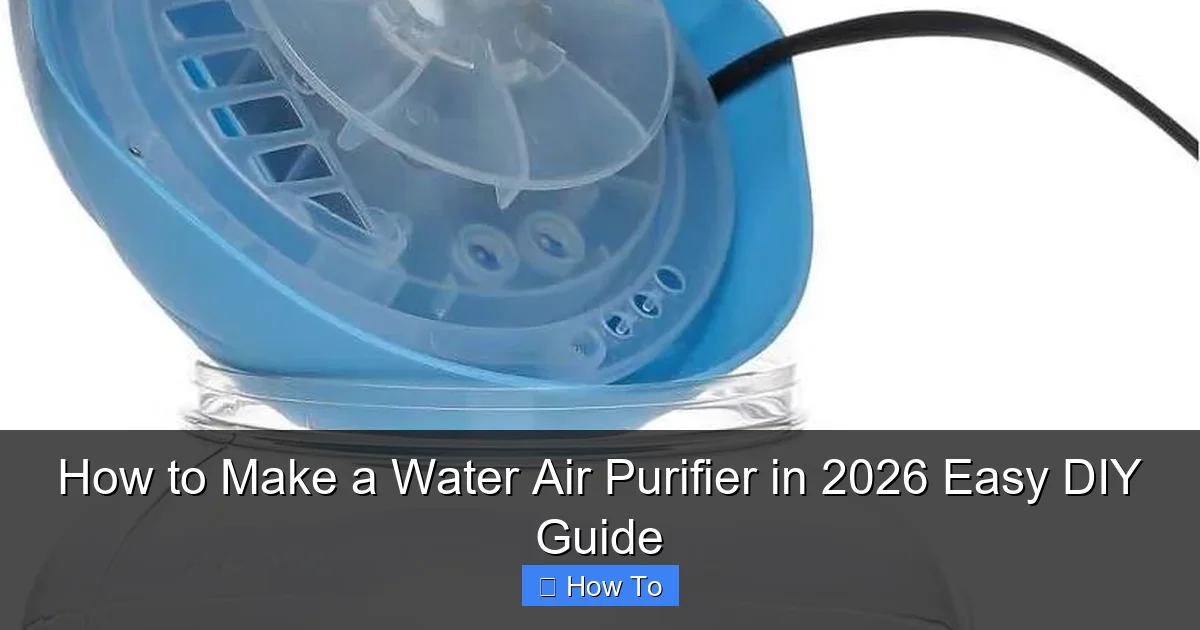
Visual guide about how to make a water air purifier
Image source: microless.com
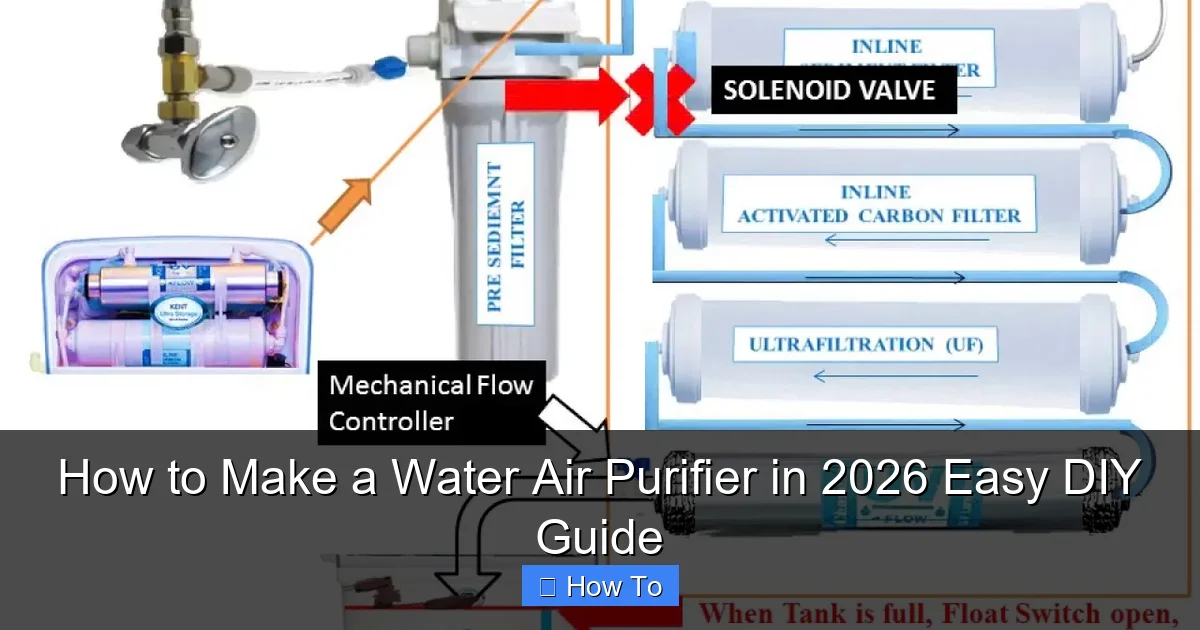
Visual guide about how to make a water air purifier
Image source: i.ytimg.com
Q: Can I use this in a bedroom while sleeping?
Absolutely—if the fan is quiet. I run mine in my bedroom every night. Just make sure it’s on a stable surface and the water won’t spill. A power bank lets you run it cord-free, which is great for nightstands.
Q: How often should I change the water?
Every 2–3 days is ideal. Stagnant water can breed bacteria or develop a funky smell. If you notice cloudiness or odor, change it immediately. In humid climates, you might need to do it daily.
Q: Can I make a bigger version for a larger room?
You can, but effectiveness drops with scale. A 2-liter bottle works best for small to medium spaces (like a bedroom or office). For larger areas, consider multiple units or upgrading to a commercial purifier. That said, I’ve seen people use 5-gallon buckets with aquarium pumps—just more complex to build.
Q: Is this safe for kids or pets?
Generally yes, as long as the unit is stable and out of reach. Keep cords tucked away and avoid essential oils toxic to pets. If you have curious toddlers or cats who love knocking things over, place it on a high shelf or use a secured base.
Q: Can I add more filtration layers?
You can! Some people add a layer of cotton or coffee filter at the top to catch moisture droplets. Others place a small mesh screen over the intake to block large debris. Just don’t overcomplicate it—the beauty of this design is its simplicity.
Q: Will this help with smoke or cooking smells?
It can reduce light cooking odors (like garlic or onions), but it’s not effective against smoke—especially cigarette or wildfire smoke. For those, you’d need a HEPA filter. But for everyday kitchen smells? It’s a decent temporary fix.
Final Thoughts
Making a water air purifier in 2026 isn’t about replacing high-end technology—it’s about taking control of your air quality with creativity and resourcefulness. This DIY project is perfect for anyone who wants cleaner air without the price tag, or who just enjoys a good weekend hack.
I built my first one during a rainy Sunday afternoon, and honestly? It felt satisfying. Not because it was revolutionary, but because it worked—and it cost less than $10. Plus, it sparked conversations. My neighbor saw it on my desk and asked, “Wait, does that actually clean the air?” When I explained how it worked, she went home and made one too.
So go ahead—grab that old bottle, find a fan, and give it a try. You might be surprised how something so simple can make a noticeable difference. And if it doesn’t? Well, worst case, you’ve got a cool desk ornament and a story to tell.
Remember: this isn’t about perfection. It’s about progress. Every small step toward cleaner air counts—whether it’s a $300 purifier or a DIY water air purifier made from recycled materials.
Now, go breathe easy. Your lungs (and your wallet) will thank you.