
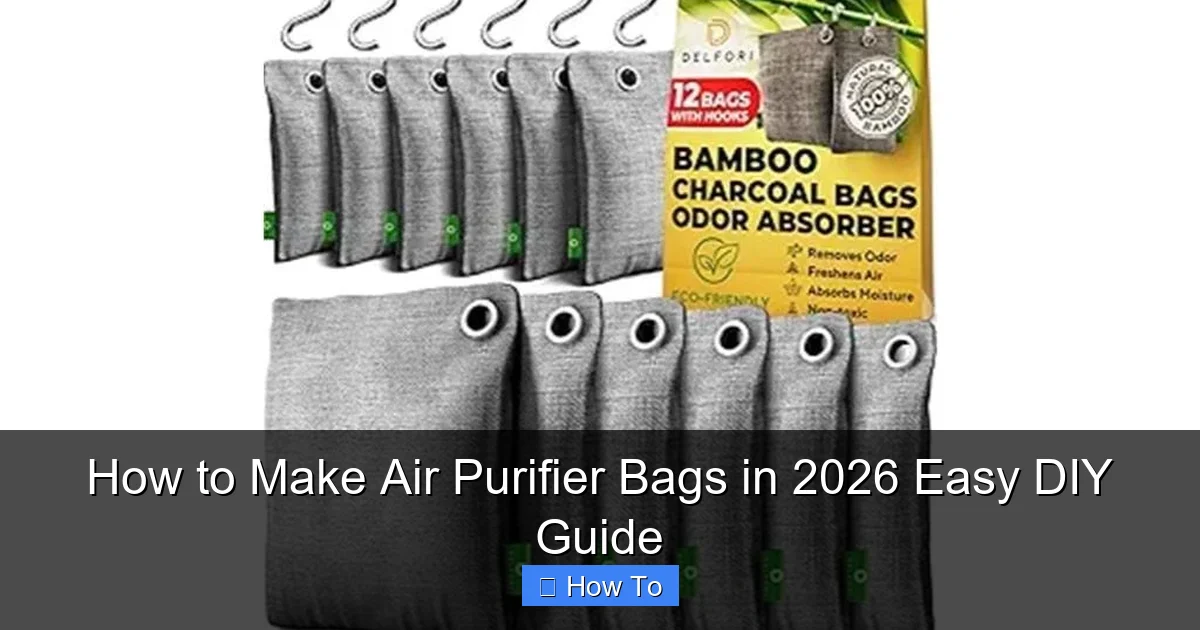
Featured image for how to make air purifier bags
Image source: appliancemastery.com
Transform your home’s air quality effortlessly with DIY air purifier bags—simple, natural, and cost-effective. Using activated charcoal, breathable fabric, and essential oils, you can craft these eco-friendly purifiers in minutes to absorb odors, moisture, and pollutants. Perfect for closets, cars, or small spaces, this 2026 guide makes clean air accessible to everyone.
“`html
How to Make Air Purifier Bags in 2026: Easy DIY Guide
Key Takeaways
- Use natural materials: Activated charcoal and bamboo fiber effectively absorb odors and pollutants.
- Choose breathable fabric: Cotton or mesh bags allow proper airflow for maximum purification.
- Refresh regularly: Sun-dry bags monthly to recharge their air-cleaning power.
- Customize scent-free: Avoid adding fragrances to maintain pure, chemical-free air purification.
- Place strategically: Position bags in closets, cars, or near pet areas for targeted odor control.
- Replace every 6 months: Over time, materials lose effectiveness and need refreshing or replacing.
Why This Matters / Understanding the Problem
Let’s be honest—your home might look clean, but the air you’re breathing? That’s a whole different story. Dust, pet dander, mold spores, and even cooking odors can linger invisibly, especially in closets, cars, or basements. I learned this the hard way when my allergies flared up every time I opened my winter coat storage bin. That’s when I discovered how to make air purifier bags in 2026 easy DIY guide—and honestly, it changed my life.
Commercial air purifiers are great, but they’re expensive, loud, and often overkill for small spaces. Meanwhile, those little scented sachets? They just mask smells—they don’t actually clean the air. That’s where natural, reusable air purifier bags come in. They’re affordable, eco-friendly, and surprisingly effective at absorbing odors and moisture without any electricity or chemicals.
In this guide, I’ll walk you through making your own air purifier bags using simple, safe ingredients. Whether you’re tackling musty gym bags, smelly shoes, or stale closet air, this DIY solution is perfect for 2026 and beyond. Plus, it’s a fun weekend project that saves money and reduces waste—what’s not to love?
What You Need
Before we dive in, let’s gather our supplies. Don’t worry—you probably already have most of these at home. The beauty of this project is its simplicity.
Visual guide about how to make air purifier bags
Image source: appliancemastery.com
- Baking soda – The star ingredient. It’s a natural odor absorber and deodorizer.
- Essential oils (optional) – For a light, natural fragrance. Lavender, lemon, or tea tree oil work great.
- Small breathable fabric bags – Muslin, cotton, or even reusable tea bags. Avoid plastic or non-porous materials.
- Funnel (optional but helpful) – Makes pouring baking soda mess-free.
- Measuring spoon – For consistent sizing.
- Scissors – If you’re making your own fabric bags.
- String or ribbon – For hanging or sealing the bags.
You can find muslin bags at craft stores, online, or even repurpose old cotton pillowcases. I once cut up an old T-shirt and made six bags—zero waste, maximum impact. If you’re using essential oils, choose high-quality, pure oils. A little goes a long way, and synthetic fragrances can irritate sensitive noses.
Step-by-Step Guide to How to Make Air Purifier Bags in 2026 Easy DIY Guide
Step 1: Choose Your Fabric and Prepare the Bags
Start with clean, dry fabric. Muslin is ideal because it’s lightweight and allows air to flow through easily. If you’re making your own bags, cut squares about 4×4 inches. Fold the edges inward and sew three sides, leaving one side open. Turn it right-side out, and you’ve got a reusable pouch.

Visual guide about how to make air purifier bags
Image source: appliancemastery.com
Pre-made muslin bags are even easier—just make sure they’re food-safe and untreated. I bought a pack of 20 on Amazon for under $10, and they’ve lasted me two years. If you’re using tea bags, empty them first and rinse gently to remove any tea residue.
Step 2: Mix Your Air-Purifying Ingredients
In a small bowl, combine ½ cup of baking soda with 5–10 drops of your favorite essential oil. I love using tea tree oil for its antibacterial properties—perfect for gym bags or shoes. For a calming vibe in the bedroom, lavender is my go-to.
Stir gently with a spoon or fork. The baking soda will absorb the oil, so you won’t see liquid pooling. If you’re making multiple bags, multiply the recipe accordingly. Pro tip: Label your mixture if you’re making different scents—lavender for the closet, lemon for the kitchen, etc.
Step 3: Fill the Bags
Use a funnel to pour the baking soda mixture into your fabric bags. Fill them about ¾ full—this leaves room for the contents to shift and absorb odors effectively. Overfilling can cause spills or reduce airflow.
If you don’t have a funnel, fold a piece of paper into a cone and pour carefully. I’ve done this more times than I’d like to admit—just go slow and keep a paper towel handy for drips.
Step 4: Seal and Hang
Once filled, tie the open end with a string, ribbon, or twist tie. If your bag has a drawstring, pull it tight. For extra security, I sometimes double-knot the string or use a small safety pin.
Now, decide where to place your air purifier bags. Hang them in closets, tuck them under sinks, slip them into shoes, or place them in car cup holders. The key is airflow—don’t stuff them into tight, sealed containers where air can’t circulate.
Step 5: Refresh and Reuse
Your DIY air purifier bags will work for 1–3 months, depending on the environment. To refresh them, simply open the bag and stir the contents. If the scent fades, add 2–3 more drops of essential oil.
Every 3–6 months, replace the baking soda entirely. I keep a calendar reminder on my phone—“Refresh air bags!”—so I don’t forget. When it’s time to replace, compost the old baking soda (it’s safe for gardens) and reuse the fabric bag.
Pro Tips & Common Mistakes to Avoid
After making dozens of these bags over the years, I’ve learned a few tricks—and made my fair share of mistakes. Here’s what I wish I knew from the start.
Visual guide about how to make air purifier bags
Image source: airpurey.com
Pro Tip: Place one bag in your vacuum cleaner’s dust compartment. It helps reduce odors when you clean, especially if you have pets.
One common mistake? Using too much essential oil. A little scent goes a long way, and overdoing it can make the air smell artificial or even trigger headaches. Stick to 5–10 drops per ½ cup of baking soda.
Another pitfall: using non-breathable bags. Plastic or sealed pouches trap moisture and defeat the purpose. Always use fabric that allows air to pass through.
I also used to think these bags would “clean” the air like an electric purifier. They don’t remove allergens like pollen or dust mites—they absorb odors and moisture. For true air purification, pair these bags with regular cleaning and ventilation.
Warning: Keep air purifier bags away from pets and small children. While baking soda is non-toxic, ingesting large amounts can cause stomach upset. Store unused bags in a sealed container.
Finally, don’t expect instant results. These bags work gradually. Give them a few days to start noticing a difference—especially in musty spaces.
FAQs About How to Make Air Purifier Bags in 2026 Easy DIY Guide
Q: Do these bags really work?
A: Absolutely! Baking soda is a proven odor absorber. I’ve used them in my gym bag, car, and even the fridge. The difference is noticeable within a week—no more “mystery smells” when I open the closet.
Q: Can I use vinegar instead of baking soda?
A: Vinegar is great for cleaning surfaces, but it’s not ideal for air purification bags. It’s liquid, so it can leak, and the strong smell might not be pleasant. Stick with baking soda for dry, long-lasting odor control.
Q: How often should I replace the baking soda?
A: Every 3–6 months, or when the scent fades and odors return. In high-moisture areas like basements, you might need to replace it sooner.
Q: Can I make larger bags for bigger spaces?
A: Yes! Use larger fabric pouches and increase the baking soda amount proportionally. I made a 12×12 inch bag for my basement storage room—it’s been a game-changer.
Q: Are these safe for people with asthma or allergies?
A: Generally, yes. Baking soda is non-toxic and non-irritating. However, if you’re sensitive to fragrances, skip the essential oils or use a mild one like chamomile. Always test in a small area first.
Q: Can I wash the fabric bags?
A: Yes, but only when empty. Hand wash in mild soap and let air dry. Don’t machine wash with the baking soda inside—it’ll clog your washer.
Q: Where’s the best place to buy muslin bags?
A: Craft stores like Michaels, Amazon, or even Etsy. Look for food-grade, untreated cotton. I’ve found the best deals in bulk packs of 20–50.
Final Thoughts
Learning how to make air purifier bags in 2026 easy DIY guide has been one of the simplest yet most impactful home hacks I’ve tried. It’s affordable, sustainable, and genuinely effective at tackling everyday odors. Plus, it feels good to make something useful with my own hands.
You don’t need fancy tools or a science degree—just baking soda, a fabric bag, and a few minutes of your time. Whether you’re fighting pet smells, musty closets, or car odors, these little bags are a quiet hero in your home.
So grab your supplies, pick your favorite scent, and give it a try. Your nose (and your wallet) will thank you. And if you’ve got a creative twist on this project—like adding activated charcoal or using vintage handkerchiefs—I’d love to hear about it. Share your DIY air purifier bag journey in the comments!
“`