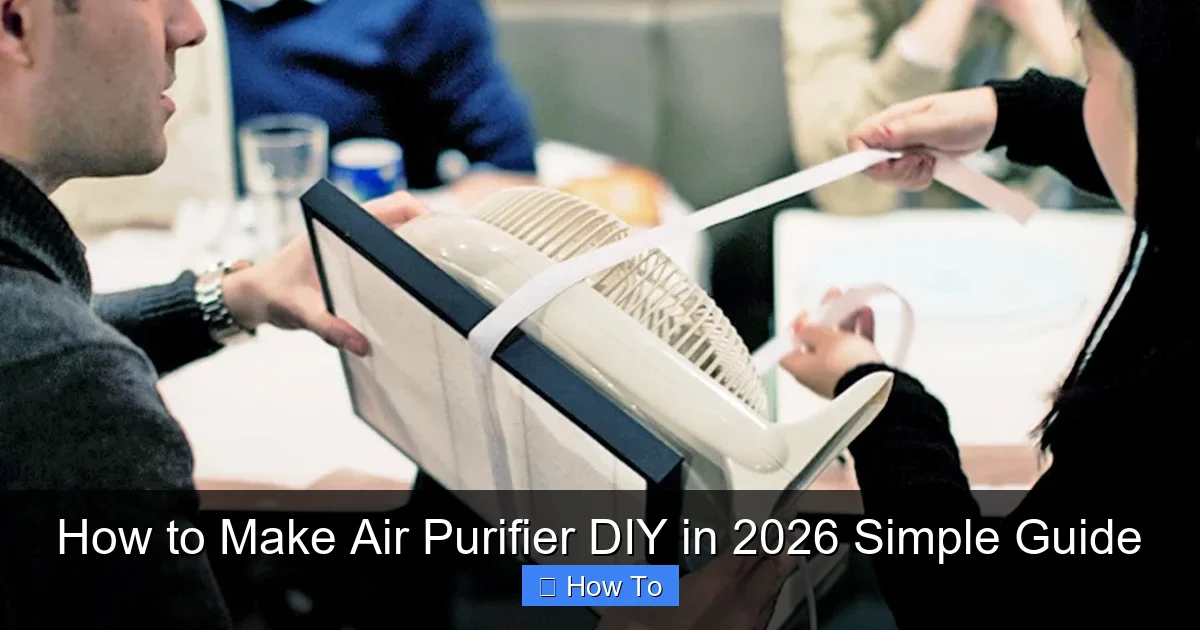
Featured image for how to make air purifier diy
Image source: smartairfilters.com
Build your own DIY air purifier in 2026 using simple, affordable materials like a box fan and MERV 13 filter—no advanced skills required. This easy guide walks you through each step, ensuring cleaner indoor air by capturing dust, allergens, and pollutants effectively. Perfect for budget-conscious homeowners and renters, this eco-friendly solution delivers powerful air purification in under 30 minutes.
“`html
How to Make Air Purifier DIY in 2026 Simple Guide
Let’s be honest—air quality isn’t something we think about until we’re sneezing, coughing, or staring at that little red light on our smart thermostat. I remember last winter, my allergies went into overdrive. Dust, pet dander, and who-knows-what from the city were turning my living room into a sneeze zone. I looked into buying a commercial air purifier, but the prices? Oof. That’s when I decided to try something different: building my own.
Fast forward a few weeks, and I had a working DIY air purifier humming quietly in my bedroom. It wasn’t fancy, but it worked—and it cost less than $30. If you’re wondering how to make air purifier DIY in 2026 simple guide style, you’re in the right place. This isn’t about cutting corners—it’s about smart, affordable solutions that actually make a difference.
Key Takeaways
- Choose HEPA filters: Essential for trapping 99.97% of airborne particles effectively.
- Use a box fan: Repurpose an old fan as the purifier’s airflow engine.
- Seal gaps tightly: Prevent air leaks with duct tape for maximum efficiency.
- Secure filters firmly: Attach HEPA filters to the fan using bungee cords.
- Maintain regularly: Replace or clean filters every 3-6 months for optimal performance.
- Test air quality: Use a monitor to verify your DIY purifier’s impact.
Why This Matters / Understanding the Problem
Indoor air pollution is sneaky. You can’t always see it, but it’s there—dust mites, mold spores, pollen, VOCs from cleaning products, even off-gassing from new furniture. The EPA says indoor air can be 2 to 5 times more polluted than outdoor air. And with more of us working from home, we’re breathing that air 24/7.
Commercial air purifiers can help, but they’re not always accessible. Some cost hundreds of dollars, and replacement filters add up fast. That’s where a DIY approach shines. By learning how to make air purifier DIY in 2026 simple guide style, you take control. You get cleaner air without breaking the bank—and you learn something in the process.
Plus, it’s surprisingly effective. A well-built DIY purifier using a high-quality filter can capture up to 99% of airborne particles, just like many store-bought models. The key is understanding the basics: airflow, filtration, and seal integrity. Once you’ve got that down, you’re golden.
What You Need
Before we dive in, let’s gather the essentials. Don’t worry—most of these items are probably already in your garage, closet, or local hardware store. Here’s what you’ll need to follow this how to make air purifier DIY in 2026 simple guide:

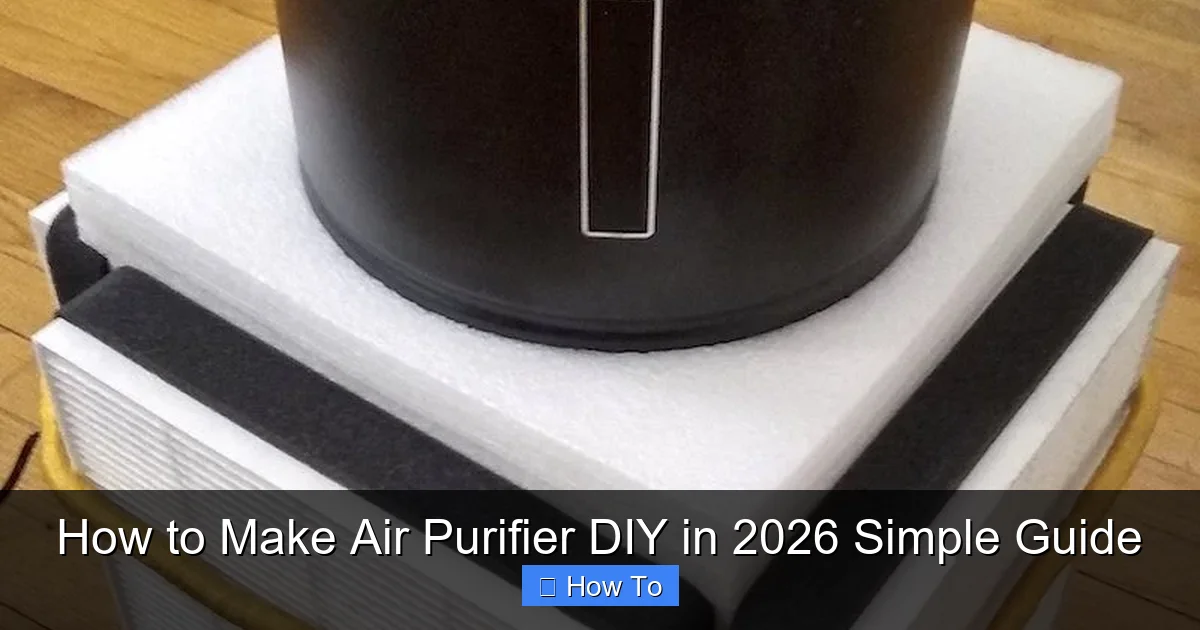
Visual guide about how to make air purifier diy
Image source: i.ytimg.com
- Box fan (20-inch): This is your engine. Look for a basic, quiet model. Avoid anything with lights or timers—they’re unnecessary and can complicate things.
- HVAC filter (MERV 13 or higher): This is your lungs. MERV 13 filters capture fine particles like smoke, bacteria, and allergens. Avoid fiberglass filters—they’re too weak.
- Duct tape or Gorilla Tape: For sealing gaps and securing the filter. Go for heavy-duty—this isn’t the time for flimsy tape.
- Measuring tape or ruler: To ensure a snug fit.
- Scissors or utility knife: For trimming the filter if needed.
- Optional: Bungee cords or zip ties: Extra security if your filter is a bit loose.
Total cost? Usually under $40. Compare that to a $200+ HEPA purifier, and it’s a no-brainer. Plus, you can reuse the fan and replace the filter every 2–3 months—just like the pros.
Step-by-Step Guide to How to Make Air Purifier DIY in 2026 Simple Guide
Step 1: Choose the Right Filter
Not all filters are created equal. When building your DIY air purifier, the filter is the star of the show. I made my first mistake here—using a cheap MERV 8 filter. It caught dust, sure, but it did nothing for smoke or pet dander. Lesson learned.
Visual guide about how to make air purifier diy
Image source: dynomight.net
Go for a MERV 13 or higher pleated filter. These are designed to trap particles as small as 0.3 microns—think pollen, mold, bacteria, and even some viruses. Brands like Filtrete or Nordic Pure offer great options. Check the packaging: it should say “high-efficiency” or “allergen reduction.”
Also, make sure the filter size matches your fan. Most 20-inch box fans use a 20x20x1 inch filter. If it’s slightly larger, you can trim it with scissors. Just don’t go smaller—gaps let unfiltered air slip through.
Step 2: Prep the Fan
Unplug your fan and lay it flat on a table, front side up. The front is where the air comes in—that’s where the filter will go. Remove any grilles or covers if they’re in the way, but most box fans have a smooth surface perfect for sealing.
Now, inspect the edges. Are there any gaps or holes? Even small openings can reduce efficiency. If you spot any, cover them with duct tape now. We want all the air to pass through the filter—not around it.
Pro tip: Clean the fan blades with a damp cloth. Dust buildup can reduce airflow and make the motor work harder. A clean fan = better performance.
Step 3: Attach the Filter
This is the core of your DIY air purifier. Place the filter directly over the front of the fan, making sure it covers the entire intake area. The arrow on the filter frame should point toward the fan—that’s the direction of airflow.
Now, secure it. Start by taping the top edge with duct tape. Pull the tape tight to eliminate wrinkles. Move to the sides, then the bottom. Overlap the tape slightly to create a tight seal. I like to go around the edges twice—once for hold, once for peace of mind.
If the filter is a bit loose, use bungee cords or zip ties to cinch it down. Just don’t block the airflow. The goal is a snug, airtight fit—no gaps, no flapping.
Step 4: Test and Optimize
Plug in the fan and turn it on to the lowest setting. Listen for unusual noises—rattling or scraping could mean the filter is touching the blades. If so, adjust the tape or add a spacer (like a cardboard ring) to create clearance.
Feel the airflow. Is air coming out the back? Good. Is it strong? Even better. If the airflow feels weak, double-check your seal. Leaks are the #1 reason DIY purifiers underperform.
For extra efficiency, place your purifier in a corner or near a window. This helps create a circulation pattern—dirty air gets pulled in, cleaned, and pushed back into the room. I keep mine near my desk during allergy season. Works like a charm.
Step 5: Maintain Regularly
A DIY air purifier isn’t “set it and forget it.” Like any filter-based system, it needs upkeep. Check the filter every 4–6 weeks. If it looks dark or clogged, it’s time to replace it.
Don’t wait too long. A dirty filter restricts airflow and can overwork the fan motor. Plus, it stops capturing particles effectively. I keep a spare filter on hand so I can swap it out in seconds.
Also, wipe down the fan exterior monthly. Dust buildup on the outside doesn’t affect performance much, but it keeps things looking tidy—and reminds you the purifier is working.
Pro Tips & Common Mistakes to Avoid
After building three of these (yes, I’m that guy now), I’ve learned a few things the hard way. Here’s what to keep in mind when tackling your how to make air purifier DIY in 2026 simple guide project:
Pro Tip: Use a filter with activated carbon if you’re dealing with odors or smoke. While MERV 13 handles particles, carbon absorbs gases and smells—perfect for kitchens or smokers.
Warning: Don’t use a filter with metal frames near the fan blades. Vibration can cause it to loosen over time, leading to noise or even damage. Stick to plastic or cardboard frames.
Common Mistake: Skimping on the seal. I once used painter’s tape instead of duct tape. Big mistake. It peeled off after two days. Always use heavy-duty tape—your purifier’s efficiency depends on it.
Another thing: don’t expect hospital-grade results. This isn’t a medical device. But for everyday use—reducing dust, pet hair, and seasonal allergens—it’s more than enough. Think of it as a budget-friendly upgrade, not a replacement for professional systems.
And if you’re feeling ambitious, try adding a second filter on the back (exhaust side) for extra filtration. Just make sure it doesn’t block airflow. I’ve seen people use carbon filters here for odor control. Clever, right?
FAQs About How to Make Air Purifier DIY in 2026 Simple Guide
Q: How effective is a DIY air purifier compared to a commercial one?
A: Surprisingly effective! With a MERV 13 filter, it can capture 90–95% of particles down to 0.3 microns—close to many HEPA purifiers. The main difference? Commercial units often have better fans and multiple filtration stages. But for the price, DIY is a solid win.
Q: Can I use a smaller fan or filter?
A: You can, but performance drops. A 12-inch fan with a 12×12 filter will clean a small room, but airflow is weaker. Stick to 20-inch fans for best results. If space is tight, consider a vertical design or wall-mounted version.
Q: Is it safe to leave on overnight?
A: Yes—most box fans are designed for continuous use. Just make sure the filter is secure and the fan isn’t obstructed. I run mine every night during pollen season. No issues so far.
Q: How often should I replace the filter?
A: Every 2–3 months, or sooner if you have pets, smoke, or high dust levels. Check it monthly. If it looks gray or feels heavy, it’s time for a new one.
Q: Can I make a silent version?
A: Box fans aren’t whisper-quiet, but you can reduce noise. Place the purifier on a soft surface (like a towel), use a lower speed setting, or add foam padding around the edges. Some people even build wooden enclosures—just don’t block airflow.
Q: What if my filter doesn’t fit perfectly?
A: Trim it with scissors or a utility knife. Cardboard-frame filters are easy to cut. Just measure twice, cut once. Or, use a filter one size larger and fold the edges inward before taping.
Q: Is this safe for kids or pets?
A: Absolutely. There are no chemicals or UV lights involved. Just make sure the fan is out of reach of small hands or curious pets. And never cover the fan—it needs to breathe.
Final Thoughts
Building your own air purifier isn’t just about saving money—it’s about taking charge of your environment. With just a fan, a filter, and some tape, you can create a system that improves your air quality, reduces allergens, and gives you peace of mind.
This how to make air purifier DIY in 2026 simple guide proves that sometimes, the best solutions are the simplest ones. You don’t need fancy tech or a big budget. Just a little know-how and the willingness to try.
So grab that box fan, pick up a MERV 13 filter, and give it a shot. Your lungs—and your wallet—will thank you. And if you run into trouble? Remember: every expert was once a beginner. Start small, learn as you go, and breathe easy.
“`