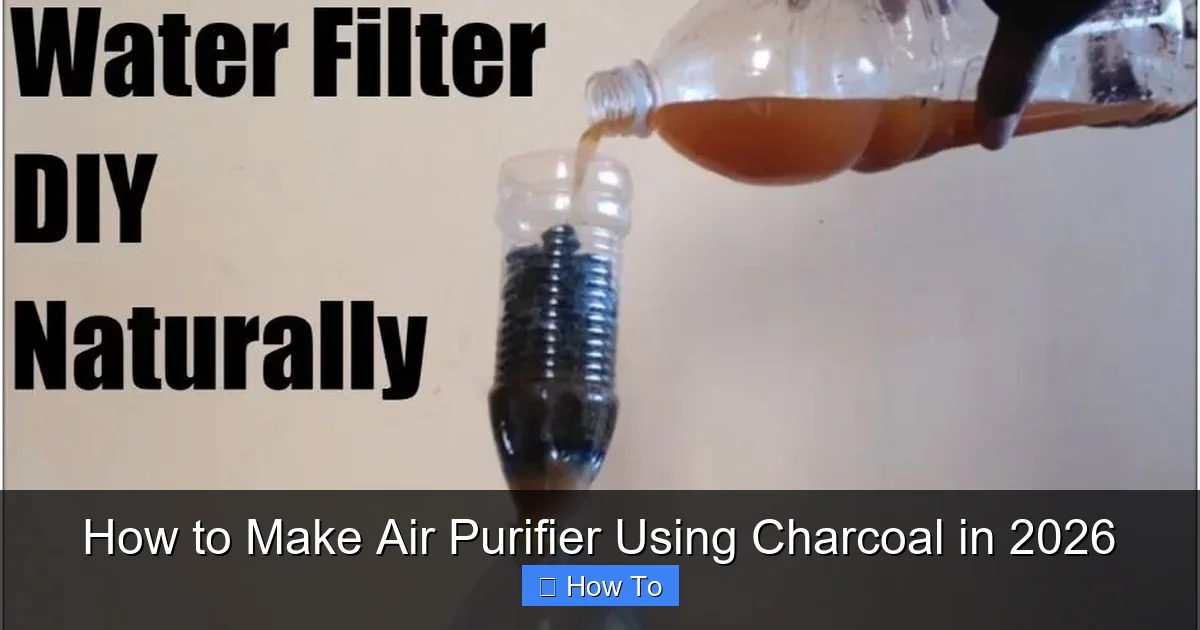
Featured image for how to make air purifier using charcoal
Image source: howtofunda.com
Transform your home air quality in 2026 with a simple, eco-friendly DIY air purifier using activated charcoal—a powerful natural filter that traps toxins, odors, and allergens. This budget-friendly hack requires just a few household items, including a fan, a container, and high-quality charcoal, making clean air accessible to everyone. Easy to assemble and highly effective, this homemade solution offers a sustainable alternative to expensive commercial purifiers.
“`html
How to Make Air Purifier Using Charcoal in 2026
Key Takeaways
- Use activated charcoal for maximum odor and pollutant absorption.
- Layer charcoal in a breathable container like a mesh bag or perforated box.
- Pair with a fan to circulate air through the charcoal filter.
- Replace charcoal every 2–3 months to maintain purification efficiency.
- Combine with plants or baking soda for enhanced air-cleaning effects.
- Ensure proper ventilation to support charcoal’s adsorption process.
Why This Matters / Understanding the Problem
Let’s be honest—air quality isn’t getting any better. Between wildfire smoke, urban pollution, and indoor allergens like dust and pet dander, breathing clean air feels more like a luxury than a right. I remember last summer when my allergies went haywire. My eyes were itchy, my throat felt scratchy, and even my houseplants seemed to wilt under the haze. That’s when I started looking for affordable, natural ways to clean the air at home—without dropping $200 on a fancy HEPA filter.
That’s how I stumbled upon activated charcoal. It’s not magic, but it’s close. Charcoal has been used for centuries to absorb toxins, odors, and impurities—from water filters to digestive remedies. And the best part? You can harness its power to build your own DIY air purifier. Whether you’re dealing with cooking smells, musty basements, or just want fresher air, learning how to make air purifier using charcoal in 2026 is a smart, budget-friendly move.
This isn’t about replacing medical-grade purifiers—it’s about taking control of your environment with simple, sustainable tools. Plus, making your own purifier means you know exactly what’s in it: no hidden chemicals, no plastic waste, just pure adsorption power from nature’s own filter.
What You Need
Before we dive in, let’s gather our supplies. The beauty of this project is that most items are already lying around your house or available at your local hardware store. Here’s what you’ll need:
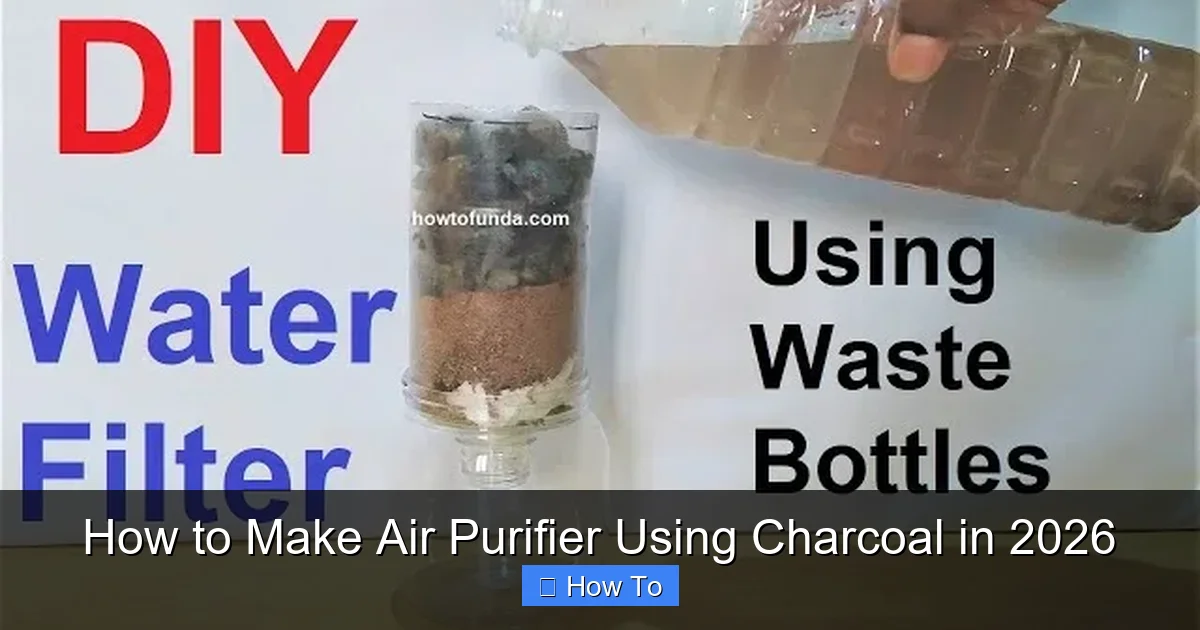
Visual guide about how to make air purifier using charcoal
Image source: howtofunda.com
- Activated charcoal (also called activated carbon): Look for lump charcoal or pellets labeled “food-grade” or “for air/water filtration.” Avoid briquettes—they often contain additives.
- A plastic or mesh container: A 16-oz plastic bottle, a wire mesh basket, or even an old spice jar with holes punched in the lid works great.
- A small fan: A USB-powered desk fan or a battery-operated clip fan. The fan pulls air through the charcoal, boosting its effectiveness.
- Scissors or a drill: For cutting holes or modifying your container.
- Optional but helpful: Cotton cloth or fine mesh to line the container (prevents charcoal dust from escaping), zip ties or tape, and a ruler for measuring.
Total cost? Usually under $15 if you already have a fan. And unlike store-bought purifiers, this one won’t guzzle electricity or need expensive replacement filters every few months.
Step-by-Step Guide to How to Make Air Purifier Using Charcoal in 2026
Step 1: Choose and Prepare Your Container
Start with a clean, dry container. I used an empty 16-ounce soda bottle—it’s lightweight, easy to cut, and fits perfectly on my nightstand. If you’re using a bottle, rinse it thoroughly and remove the label. For mesh baskets or jars, make sure they’re food-safe and won’t rust.
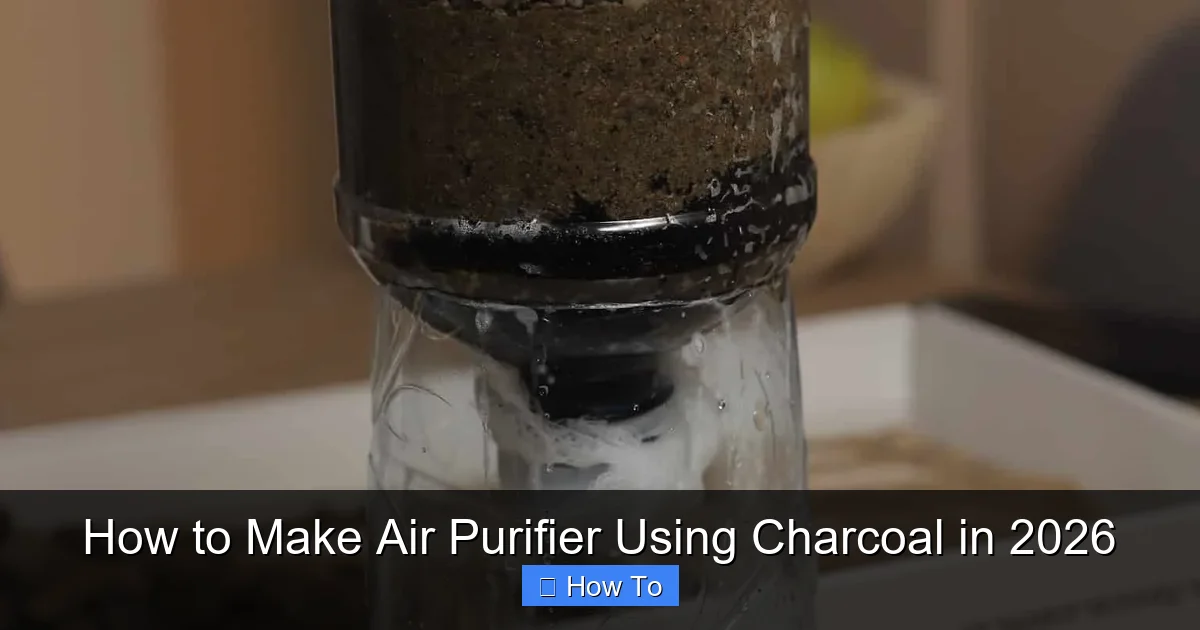
Visual guide about how to make air purifier using charcoal
Image source: survivalsullivan.com
Next, create airflow openings. Using scissors or a drill, punch or cut small holes around the bottom third of the bottle (if using a bottle) or along the sides of your container. These holes let air enter. Then, cut a larger opening at the top—this is where clean air will exit. Aim for holes about ¼ inch in diameter; too big and charcoal might spill out, too small and airflow suffers.
Pro tip: If you’re worried about charcoal dust (which can happen with lower-quality pellets), line the inside with a piece of cotton cloth or fine mesh secured with rubber bands. It adds a layer of protection without blocking airflow.
Step 2: Fill It with Activated Charcoal
Now for the star of the show: activated charcoal. Pour in enough to fill about two-thirds of your container. Don’t pack it too tightly—air needs to move through it freely. I used about 1 cup of lump charcoal for my bottle-sized purifier, and it made a noticeable difference within hours.
Why activated charcoal? Regular barbecue charcoal won’t cut it. Activated charcoal has been treated to increase its surface area, giving it millions of tiny pores that trap pollutants like volatile organic compounds (VOCs), smoke particles, and odors. It’s like a sponge for bad air.
If you’re using pellets instead of lumps, that’s fine too—just make sure they’re pure carbon with no binders or fillers. You can find food-grade activated charcoal online or at pet stores (yes, it’s also used in aquarium filters!).
Step 3: Attach the Fan
This is where your DIY purifier becomes truly effective. The charcoal alone will absorb some pollutants passively, but adding a fan dramatically increases its reach. Position the fan so it blows into the container (if holes are on the side) or across the top opening (if using a bottle with the cap removed).
I clipped my USB fan to the neck of the bottle using a binder clip, pointing downward so air gets pulled through the charcoal and out the top. You can also tape it securely or use zip ties if needed. Just ensure the fan isn’t blocking the airflow path.
For best results, place your purifier in a spot with good air circulation—like near a window, on a shelf, or beside your bed. Avoid cramming it into corners where air can’t flow freely.
Step 4: Test and Optimize
Turn on the fan and let it run for a few hours. You might notice a slight reduction in odors right away—especially if you’ve just cooked fish or burned toast (we’ve all been there). Over a day or two, you should feel a difference in air freshness, particularly if you’re sensitive to smells or allergens.
If you’re not seeing improvement, check a few things: Is the fan strong enough? Are the holes big enough? Is the charcoal fresh? Old or saturated charcoal loses its power, so replace it every 4–6 weeks for consistent performance.
You can also boost effectiveness by placing multiple purifiers around your home—one in the kitchen, one in the bedroom, maybe even one in the bathroom to tackle mildew smells.
Pro Tips & Common Mistakes to Avoid
After testing this setup in my own home (and helping a few friends build theirs), I’ve learned a few tricks—and seen some common pitfalls.
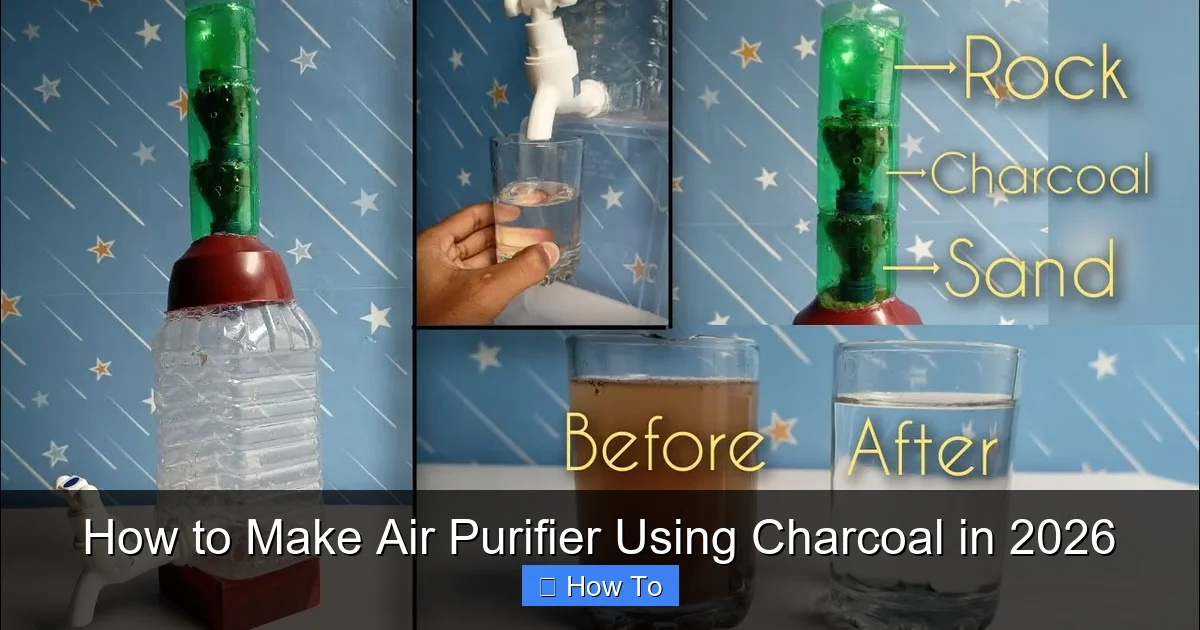
Visual guide about how to make air purifier using charcoal
Image source: i.ytimg.com
Warning: Don’t use regular charcoal briquettes! They often contain sodium nitrate, petroleum binders, and other chemicals that can release harmful fumes when heated or exposed to moisture. Stick to 100% activated charcoal labeled for filtration use.
Another mistake? Overfilling the container. Packing charcoal too tightly restricts airflow, turning your purifier into a decorative paperweight. Leave some space so air can move through the material.
Also, don’t expect miracles overnight. While how to make air purifier using charcoal in 2026 is a great solution for odors and light pollutants, it won’t capture fine particles like pollen or viruses as effectively as a HEPA filter. Think of it as a first line of defense—not a total replacement for medical-grade systems.
One pro tip I swear by: Refresh your charcoal by baking it in the oven at 200°F (93°C) for 1–2 hours every month. This drives off trapped moisture and extends its life. Just let it cool completely before reusing.
Finally, keep pets and kids in mind. Make sure your purifier is placed where curious paws or fingers can’t knock it over or spill the charcoal. A stable, elevated surface works best.
FAQs About How to Make Air Purifier Using Charcoal in 2026
Q: Does this really work, or is it just placebo?
A: It absolutely works—but with realistic expectations. Activated charcoal excels at adsorbing odors, smoke, and VOCs. Studies show it can reduce indoor pollutants significantly when paired with airflow. However, it doesn’t remove dust, mold spores, or bacteria as effectively as mechanical filters. Think of it as a natural odor-eater, not a full air sanitizer.
Q: How often do I need to replace the charcoal?
A: Every 4–6 weeks is ideal. Over time, the pores fill up and lose their absorbing power. If you notice odors returning or the air feeling stale again, it’s time for a refresh. Baking it monthly (as mentioned above) can stretch its life a bit.
Q: Can I use this in my car or small spaces?
A: Yes! A mini version works great in cars, closets, or RVs. Use a small mesh pouch filled with charcoal and place it near the air vent. No fan needed for passive purification—though a tiny USB fan helps in enclosed spaces.
Q: Is activated charcoal safe around pets and children?
A: In granular form, it’s non-toxic if ingested in small amounts (it’s even used in emergency medicine). But keep it out of reach—inhaling fine dust can irritate lungs, and large quantities could cause stomach upset. Store unused charcoal in a sealed container.
Q: Will this help with cigarette smoke or wildfire smoke?
A: It can reduce the smell and some chemicals from cigarette smoke, but it won’t eliminate all harmful particulates. For wildfire smoke, combine it with other strategies: keep windows closed, use a box fan with a furnace filter, and consider a commercial purifier for heavy smoke days.
Q: Can I make this without a fan?
A: Yes, but it’ll be much slower. Passive charcoal filters still work—they’re commonly used in shoe deodorizers or fridge odor absorbers—but they rely on natural air movement. Adding a fan multiplies their effectiveness tenfold.
Q: Where’s the best place to buy activated charcoal?
A: Check online retailers like Amazon, health food stores, pet supply shops (look for aquarium carbon), or hardware stores. Search for “activated charcoal for air filtration” or “food-grade activated carbon.” Avoid charcoal labeled only for grilling.
Final Thoughts
Making your own air purifier with charcoal isn’t just a fun weekend project—it’s a practical, eco-conscious way to breathe easier at home. In 2026, as air quality concerns grow and sustainability becomes non-negotiable, solutions like this empower us to take action without breaking the bank or adding to plastic waste.
You don’t need a PhD in environmental science to build one. With just a few dollars, 20 minutes, and some common sense, you can create a device that genuinely improves your indoor air. Sure, it won’t replace a high-end purifier for severe allergies or asthma—but for everyday freshness, odor control, and peace of mind? It’s surprisingly effective.
So go ahead: grab that old bottle, order some activated charcoal, and give it a try. Your lungs (and your nose) will thank you. And if you’ve already built one? Share your setup in the comments—I’d love to see your creative twists on how to make air purifier using charcoal in 2026.
“`