Build your own ionic air purifier in 2026 with this simple, cost-effective DIY guide that delivers cleaner air using basic components. By generating negative ions to attract and remove airborne pollutants, this homemade device mimics commercial purifiers—without the high price tag. Perfect for eco-conscious makers, this project combines safety, science, and sustainability for a healthier home environment.
“`html
How to Make an Ionic Air Purifier in 2026 – Easy DIY Guide
Let’s be honest—air quality isn’t something we think about until we’re sneezing, coughing, or staring at that “unhealthy” AQI reading on our phone. I remember one winter, my apartment felt stuffy no matter how much I opened the windows. My eyes were itchy, my allergies flared up, and I couldn’t figure out why. Then it hit me: indoor air pollution. Dust, pet dander, mold spores—they were all just hanging around, invisible but definitely not harmless.
Commercial air purifiers work, sure, but they can cost hundreds of dollars and often rely on replaceable filters that add up over time. That’s when I started wondering: Could I build something effective myself? Spoiler alert: yes. And not just any purifier—an ionic air purifier. These devices use electricity to charge particles in the air, causing them to stick to surfaces (or collection plates), effectively cleaning the air without noisy fans or expensive filters.
In this guide, I’ll walk you through how to make an ionic air purifier in 2026—a simple, affordable, and surprisingly effective DIY project. Whether you’re dealing with seasonal allergies, pet hair, or just want fresher air at home, this build is for you. No engineering degree required. Just curiosity, a few tools, and about an hour of your time.
Key Takeaways
- Use a high-voltage module: Safely generate ions to charge airborne particles.
- Install sharp-pointed emitters: Enhance ion production through corona discharge.
- Ground the collector plate: Attract and trap ionized pollutants effectively.
- Ensure proper ventilation: Prevent ozone buildup with adequate airflow.
- Follow safety precautions: Always disconnect power before handling components.
- Test with a multimeter: Verify voltage output for optimal performance.
- Clean plates regularly: Maintain efficiency by removing collected debris.
Why This Matters / Understanding the Problem
Indoor air can be up to five times more polluted than outdoor air, according to the EPA. And yet, we spend nearly 90% of our time inside. That means dust mites, volatile organic compounds (VOCs) from cleaning products, smoke, pollen, and even cooking fumes are constantly circulating in our living spaces.
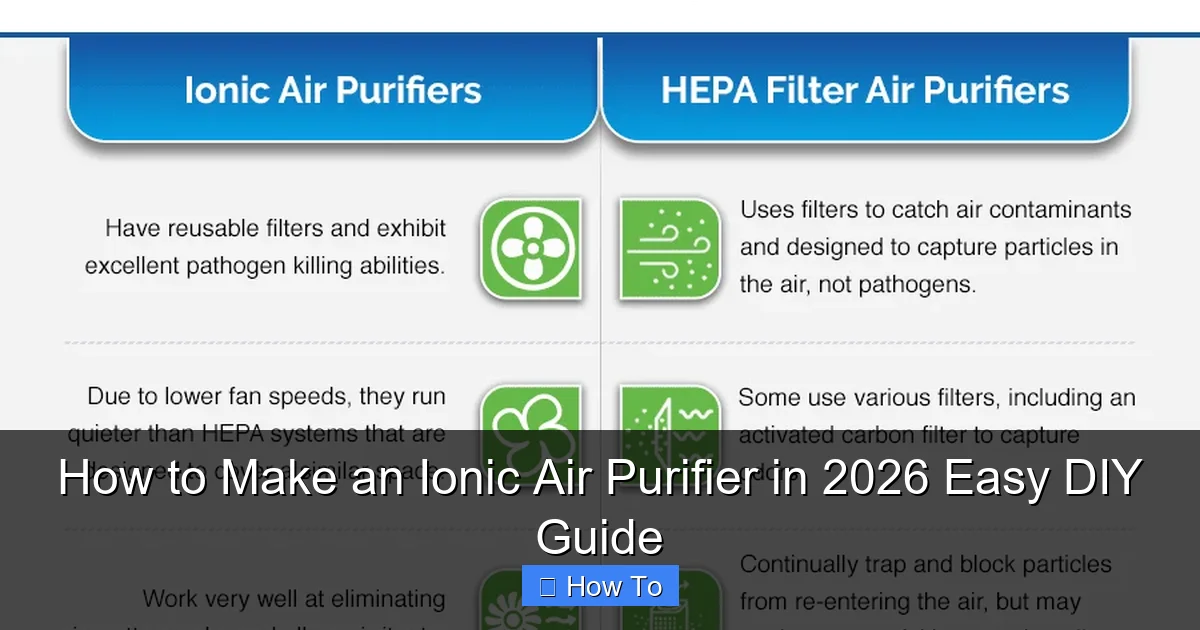
Traditional HEPA filters trap particles as air passes through them—great, but they need regular replacement and can be loud. Ionic air purifiers, on the other hand, work differently. They emit negative ions that attach to airborne pollutants, giving them an electrical charge. Once charged, these particles either fall out of the air or cling to nearby surfaces (like walls or specially designed collector plates). The result? Cleaner, fresher-feeling air—often with less noise and no filter costs.
Now, before you worry about ozone or safety: modern DIY ionic purifiers can be built safely and efficiently. The key is using the right components and understanding how ionization works. This isn’t about creating a science experiment—it’s about crafting a practical, low-maintenance solution for everyday air quality issues.
So if you’ve been searching for how to make an ionic air purifier in 2026 easy DIY guide, you’re in the right place. This project balances simplicity, effectiveness, and safety—perfect for beginners who want real results without breaking the bank.
What You Need
Don’t worry—you won’t need a soldering iron or a physics textbook. Most of these parts are easy to find online or at your local electronics store. Here’s what I used (and why):
Visual guide about how to make an ionic air purifier
Image source: m.media-amazon.com
- High-voltage DC power module (3–5 kV, low current): This is the heart of your purifier. Look for a “negative ion generator module” or “flyback transformer driver.” Avoid anything that produces excessive ozone—stick to modules labeled “low ozone” or “safe for indoor use.”
- 9V battery or USB power bank: For portability and safety. A 9V battery lasts a few hours; a USB bank gives you days of runtime.
- Alligator clip wires or jumper cables: To connect your power source to the module.
- Thin copper wire or steel wool (fine grade): Acts as the emitter electrode. Copper works great, but clean steel wool (no soap residue!) is cheaper and easy to shape.
- Small metal plate or aluminum foil: Serves as the collector plate. The bigger the surface area, the more particles it can capture.
- Plastic container or cardboard box (non-conductive): Houses the components safely. I used an old mint tin—it’s compact and shields the high-voltage parts.
- Electrical tape or hot glue gun: For insulation and securing wires.
- Optional: Small fan (like a computer case fan): Not required for ionization, but helps circulate air so more particles pass near the emitter.
Total cost? Usually under $20—way less than a store-bought purifier. And once you’ve built it, there are no ongoing costs. No filters to replace, no subscriptions. Just clean air.
Step-by-Step Guide to How to Make an Ionic Air Purifier in 2026 Easy DIY Guide
Step 1: Prepare Your Power Source and Ion Generator Module
Start by connecting your high-voltage module to your power source. If you’re using a 9V battery, attach the red wire (positive) to the module’s input (+) and the black wire (negative) to the input (–). Use alligator clips for easy connections—no soldering needed.
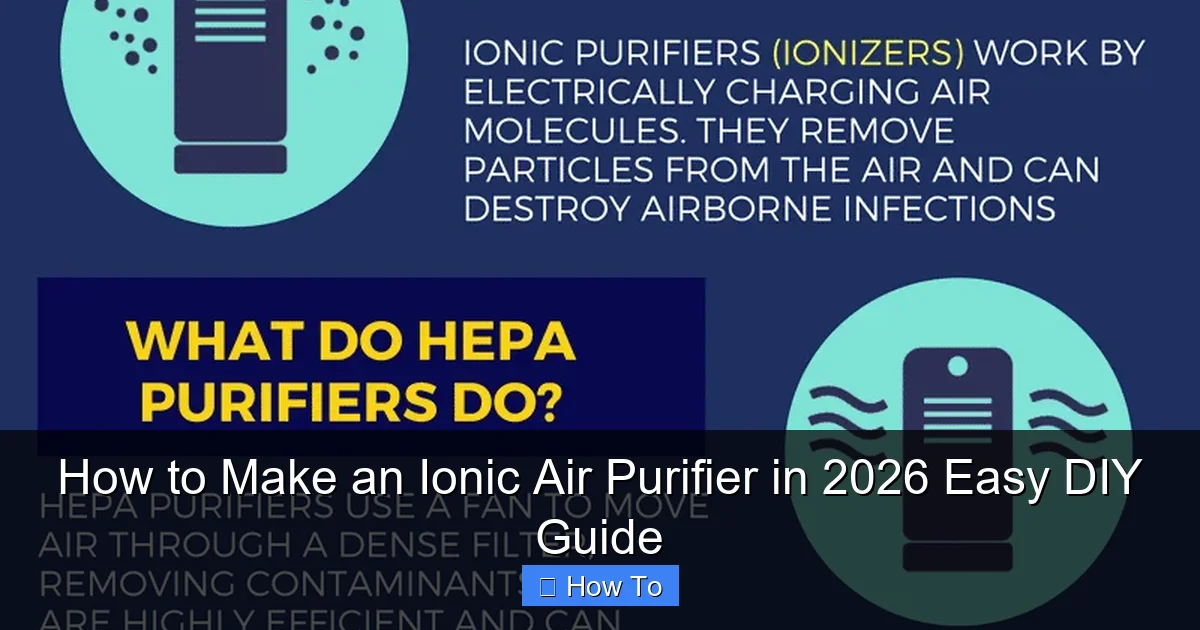
Visual guide about how to make an ionic air purifier
Image source: afresherhome.com
⚠️ Important: Always double-check polarity. Reversing the wires can damage the module. Also, never touch the output terminals once powered—they carry high voltage, even if the current is low.
Test the module briefly by turning it on. You should hear a faint crackling sound and maybe see a tiny spark if you bring your finger close to the output (but don’t touch it!). This confirms it’s generating ions.
Step 2: Create the Emitter Electrode
The emitter is what releases negative ions into the air. For this, I shaped a 6-inch piece of thin copper wire into a loose spiral or used a small ball of fine steel wool (about the size of a marble). The idea is to maximize surface area—more surface = more ionization.
Attach one end of the emitter to the high-voltage output of your module. Use electrical tape or a small clip to secure it. Make sure the connection is tight but insulated—you don’t want accidental shocks.
If you’re using steel wool, rinse it first to remove any soap or oil residue, then let it dry completely. Oils can interfere with ionization and even cause smoking.
Step 3: Set Up the Collector Plate
The collector plate attracts the charged particles. I cut a piece of aluminum foil to fit inside the lid of my mint tin, leaving a small gap between the foil and the emitter. Why the gap? If they touch, you’ll get a short circuit—and no ionization.
You can also use a small metal plate, a piece of mesh, or even a clean aluminum baking tray. The key is that it must be conductive and electrically grounded (either connected to the negative terminal of your power source or simply left floating—many DIYers find floating plates work fine).
Place the collector plate opposite the emitter inside your container. Aim for at least 1–2 inches of separation. This ensures charged particles have room to migrate and stick to the plate instead of re-entering the air.
Step 4: Assemble Everything Safely
Now, carefully place all components inside your plastic or cardboard housing. I lined the inside of my mint tin with electrical tape to prevent accidental shorts. Secure the module and wires with hot glue or tape—nothing should wiggle loose.
Leave the emitter and collector plate exposed to the air. You can poke small holes in the container to improve airflow, or leave one side open. If you’re adding a fan (optional), mount it so it blows air across the emitter toward the collector.
Double-check all connections. Make sure no bare wires are touching each other or the container walls. Safety first!
Step 5: Power On and Test
Insert your battery or plug in your USB power bank. Turn it on. You should hear a soft hum or crackle—that’s the ionization at work. Within minutes, you might notice a slight metallic smell (normal) or see dust accumulating on the collector plate.
Place your DIY ionic air purifier in a room with moderate airflow—near a window, on a shelf, or beside your bed. Avoid placing it directly on carpets or fabrics, as charged particles may cling to them instead of the collector.
Run it for a few hours daily. Over time, you’ll see the collector plate darken with captured particles. That’s proof it’s working!
Pro Tips & Common Mistakes to Avoid
Pro Tip: Clean your collector plate weekly with a dry cloth or compressed air. A dirty plate reduces efficiency—it’s like trying to catch fish with a torn net.
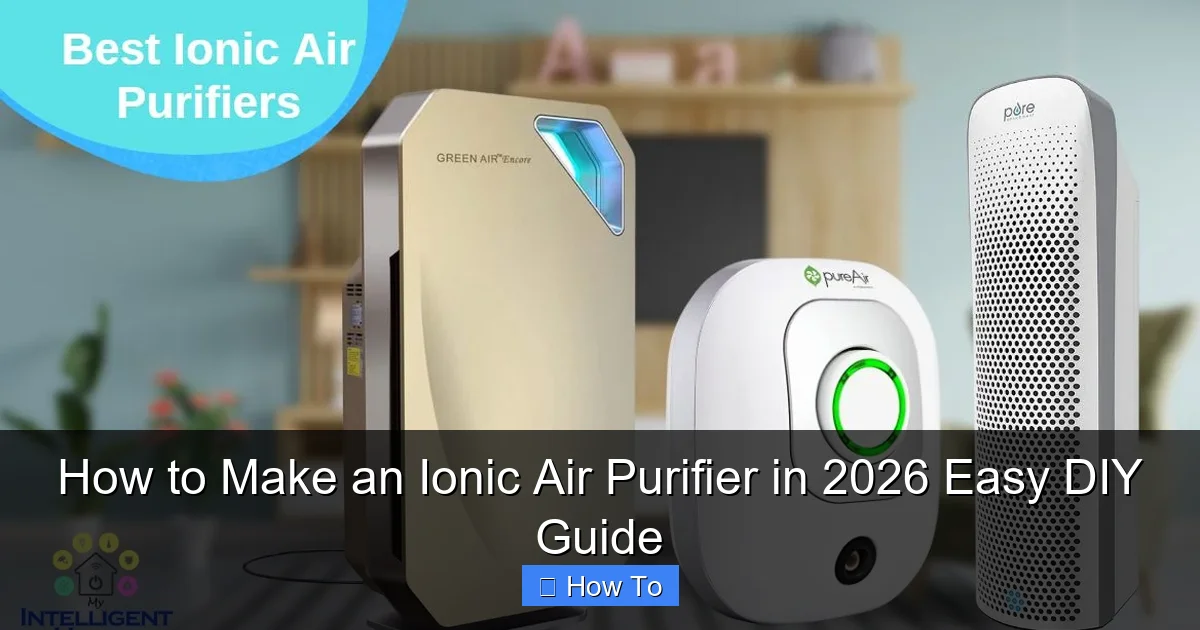
Visual guide about how to make an ionic air purifier
Image source: myintelligenthouse.com
Warning: Don’t use modules that produce high levels of ozone. While small amounts are normal, excessive ozone can irritate lungs. Stick to “low-ozone” or “negative ion” modules under 5 kV.
One mistake I made early on? Using a module that was too powerful. It created a strong ozone smell and made my throat feel scratchy. Lesson learned: lower voltage (3–4 kV) is often better for indoor use—it’s safer and still effective.
Another common error: placing the emitter and collector too close. If they’re within half an inch, you’ll get arcing (sparks), which wastes energy and can damage components. Keep that gap!
Also, avoid running your purifier in humid environments. Moisture can cause short circuits or reduce ionization efficiency. Bathrooms? Probably not the best spot.
Finally, don’t expect miracles overnight. Ionic purifiers work best over time. You won’t see instant results like with a HEPA filter, but after a week of daily use, my allergies definitely improved—and my apartment smelled fresher.
FAQs About How to Make an Ionic Air Purifier in 2026 Easy DIY Guide
Q: Is it safe to build and use a DIY ionic air purifier?
A: Yes—if you follow basic safety rules. Use low-current, low-ozone modules, insulate all high-voltage parts, and never touch the emitter while powered. I’ve been using mine daily for months with zero issues.
Q: Will this remove viruses or bacteria?
A: Ionic purifiers can help reduce airborne microbes by causing them to clump together and fall out of the air. However, they’re not a replacement for medical-grade filtration or ventilation. Think of it as part of a broader air-quality strategy.
Q: How often do I need to clean the collector plate?
A: Every 3–7 days, depending on your environment. If you have pets or live in a dusty area, check it every few days. A quick wipe with a dry cloth keeps it working efficiently.
Q: Can I leave it running all the time?
A: Absolutely. Mine runs 24/7 on a USB power bank. Just monitor the battery life and clean the plate regularly. The module itself uses very little power.
Q: Does it make noise?
A: Barely. You might hear a faint crackle, but it’s quieter than most fans. If you add a small fan, choose a silent PC fan—it’ll still be whisper-quiet.
Q: Will it set off my smoke detector?
A: Unlikely. Unlike ozone generators or ionizers that produce visible smoke, this setup emits invisible ions. I’ve tested it near multiple detectors—no alarms.
Q: Can kids or pets be around it?
A: Yes, as long as they can’t touch the emitter. Keep it out of reach of small hands or curious cats. The electrical current is too low to cause harm, but better safe than sorry.
Final Thoughts
Building your own ionic air purifier isn’t just a fun weekend project—it’s a practical way to take control of your indoor air quality. For under $20 and less than an hour of work, you can create a device that reduces dust, odors, and allergens without filters or filters.
Yes, it won’t replace a high-end HEPA system in a hospital, but for everyday home use? It’s more than enough. I’ve noticed fewer allergy symptoms, cleaner surfaces, and a noticeable improvement in how my space feels.
So if you’ve been curious about how to make an ionic air purifier in 2026 easy DIY guide, give it a try. Gather your materials, follow the steps, and breathe a little easier. Your lungs—and your wallet—will thank you.
And hey, if you build one, snap a photo and share it! There’s something deeply satisfying about knowing you made something that genuinely improves your daily life.
“`