Featured image for how to make charcoal air purifier bags
Image source: i.pinimg.com
Transform ordinary activated charcoal and breathable fabric into powerful, reusable air purifier bags to naturally eliminate odors, moisture, and airborne toxins in your home. This simple 2026 DIY guide walks you through every step—from sourcing food-grade charcoal to sewing custom bags—for an eco-friendly, cost-effective air purification solution.
“`html
How to Make Charcoal Air Purifier Bags in 2026: Easy Guide
Key Takeaways
- Use activated charcoal: It’s essential for trapping odors and pollutants effectively.
- Choose breathable fabric: Cotton or linen ensures optimal airflow for purification.
- Pre-bag charcoal: Use mesh bags for easy refills and mess-free handling.
- Place strategically: Hang near odors or damp areas for best results.
- Recharge monthly: Sunlight exposure revitalizes charcoal every 30 days.
- Replace every 6 months: Fresh charcoal maintains peak air-cleaning performance.
Why This Matters: Understanding the Problem
Let’s be honest—our homes don’t always smell as fresh as we’d like. Whether it’s last night’s garlic pasta, the dog’s favorite napping spot, or that damp corner in the basement, odors sneak in and stick around. Commercial air fresheners? They mask smells with synthetic fragrances that can irritate allergies or leave a chemical aftertaste in the air.
That’s where natural solutions come in. I first discovered charcoal air purifier bags a few years ago when my basement started smelling musty after a rainy spring. Instead of spraying aerosol everywhere, I tried a small bamboo charcoal bag—and was shocked at how well it worked. No perfumes, no electricity, just pure adsorption. Fast forward to 2026, and making your own charcoal air purifier bags is easier, cheaper, and more eco-friendly than ever.
This how to make charcoal air purifier bags in 2026 easy guide walks you through creating your own non-toxic, reusable odor absorbers using simple materials. You’ll save money, reduce plastic waste, and breathe cleaner air—all without stepping foot in a store.
What You Need
Before we dive in, let’s gather everything. Don’t worry—this isn’t a complicated craft project. Most supplies are already in your kitchen or closet.
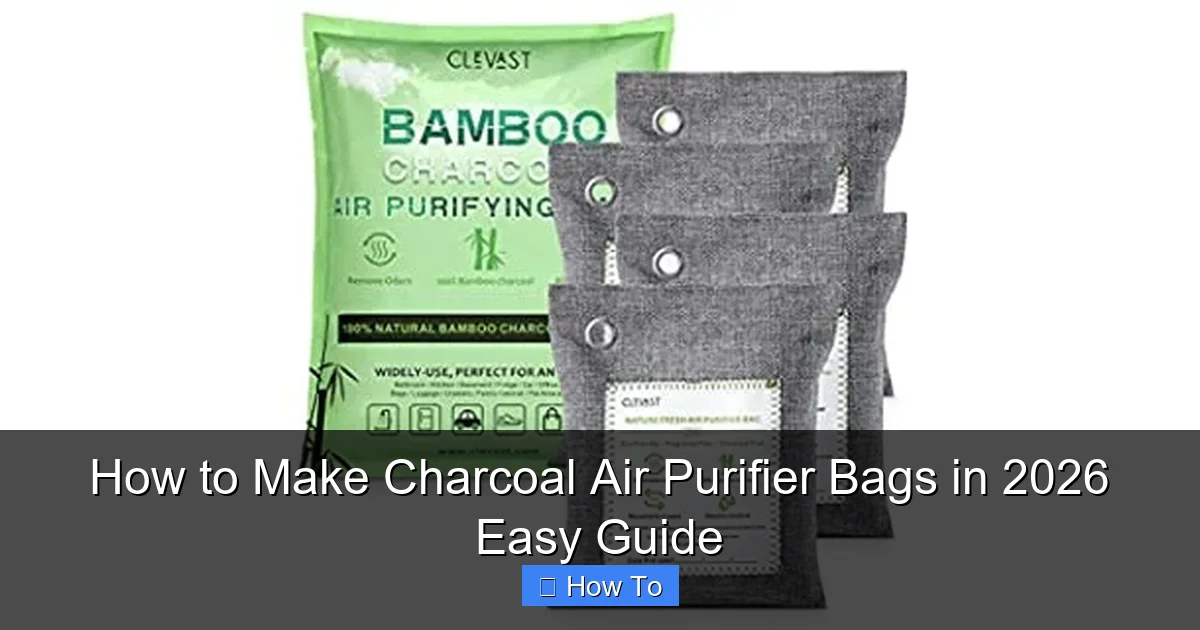
Visual guide about how to make charcoal air purifier bags
Image source: ecohoy.com
- Activated bamboo charcoal (also called bamboo biochar) – 1–2 pounds depending on how many bags you want
- Breathable fabric pouches – cotton muslin, linen, or unbleached cotton bags (4″x6″ is ideal)
- Funnel (optional but helpful for pouring charcoal)
- Measuring cup or scoop
- Labels and marker (to note placement and date)
- Gloves (charcoal can be dusty—trust me, you’ll thank yourself later)
Pro tip: Buy activated bamboo charcoal in bulk online or from health stores. It’s more sustainable than regular wood charcoal and has a higher surface area for trapping odors. Look for food-grade or air-purifying grades—avoid BBQ charcoal, which contains additives.
Step-by-Step Guide to How to Make Charcoal Air Purifier Bags in 2026 Easy Guide
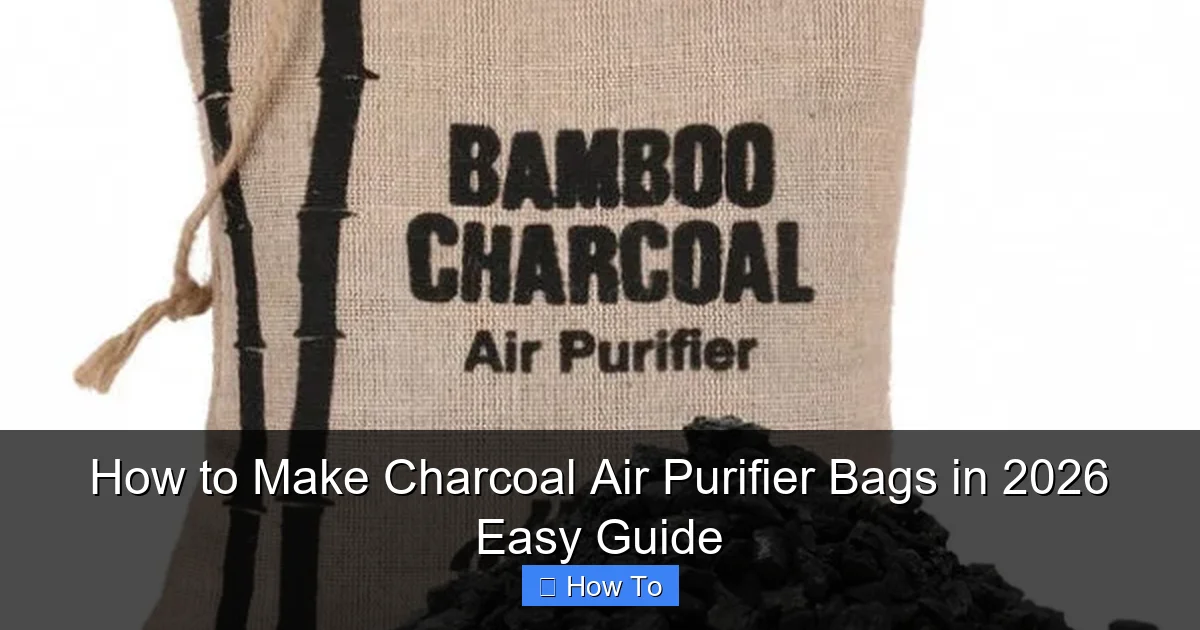
Step 1: Choose the Right Charcoal
Not all charcoal is created equal. For air purification, you need activated bamboo charcoal, which is processed at high temperatures to create millions of tiny pores. These pores act like microscopic sponges, pulling in moisture, odors, and even some volatile organic compounds (VOCs).
Visual guide about how to make charcoal air purifier bags
Image source: bambooexplore.com
I learned this the hard way when I once used regular lump charcoal from my grill. It looked similar, but after a week, my closet still smelled like old shoes. Activated bamboo charcoal, on the other hand, started working within 24 hours. Check the packaging—it should say “activated” and “for air or water filtration.”
For this how to make charcoal air purifier bags in 2026 easy guide, aim for chunks about the size of peas or smaller. Powdered charcoal works too, but it’s messier and can leak through fabric over time.
Step 2: Prep Your Fabric Pouches
Your bags need to let air flow freely while keeping charcoal contained. That’s why tight-weave cotton or linen works best. Avoid synthetic fabrics like polyester—they don’t breathe well and can trap moisture, which defeats the purpose.
If you’re reusing old fabric, cut it into 4″x6″ rectangles and sew three sides, leaving one open. Or, buy pre-made muslin bags (they’re cheap and come in packs of 10 or 20). I keep a stash in my cleaning drawer—they’re perfect for this project.
Before filling, give the bags a quick rinse and let them dry completely. Any moisture can activate the charcoal prematurely or cause clumping.
Step 3: Fill the Bags with Charcoal
Now for the fun part—filling! Put on your gloves (charcoal dust is stubborn), and use a funnel to pour the activated bamboo charcoal into each bag. Fill them about ¾ full—this leaves room for the charcoal to shift and maximize surface area exposure.
A standard 4″x6″ bag holds about 4–6 ounces of charcoal. That’s enough to purify a small space like a shoe rack, bathroom, or car interior. For larger areas—like a basement or living room—use bigger bags or multiple smaller ones.
Personal note: I once overfilled a bag and tied it too tight. The charcoal couldn’t expand, and it stopped working after a few days. Looseness is key!
Step 4: Seal and Label the Bags
Once filled, close the bag securely. Most muslin bags come with drawstrings—just pull tight and tie a double knot. If you sewed your own, fold the open edge inward and stitch it shut, or use a safety pin.
Then, label each bag with a permanent marker. Write the date and where you plan to place it (e.g., “Basement – March 2026”). This helps you track when it’s time to recharge the charcoal (more on that later).
Labeling might seem unnecessary, but I’ve lost count of how many times I’ve forgotten which bag was where. A little organization goes a long way.
Step 5: Place Strategically Around Your Home
Your charcoal air purifier bags work passively—they don’t need power or maintenance. But placement matters. Think like an odor detective: where does the smell come from?
- Closets & wardrobes: Hang one near shoes or stored clothes.
- Bathrooms: Place on a shelf or inside a cabinet—moisture loves these spots.
- Kitchen: Tuck one under the sink or near the trash can.
- Cars: Leave a small bag on the passenger seat or in the trunk.
- Basements & garages: Use multiple bags spaced every 10–15 square feet.
I keep one in my gym bag too. After a sweaty workout, it absorbs the funk overnight. No more sniffing my shoes before wearing them!
Step 6: Recharge Every 2–3 Months
Here’s the best part: these bags are reusable. Over time, the charcoal saturates with moisture and odors. But instead of tossing it, you can recharge it.
Every 2–3 months (or sooner in humid climates), take your bags outside and place them in direct sunlight for 4–6 hours. UV rays and heat drive out trapped moisture and refresh the pores. After that, they’re good as new.
I set a phone reminder every other month. It’s become part of my seasonal cleaning routine—like flipping mattresses or washing windows.
Pro Tips & Common Mistakes to Avoid
After making dozens of these bags over the years, I’ve learned a few tricks—and made my share of blunders. Let me save you the hassle.
Visual guide about how to make charcoal air purifier bags
Image source: appliancemastery.com
Pro Tip: Don’t place bags directly on wood surfaces. Charcoal can leave gray marks if it gets damp. Use a small plate or coaster underneath.
Warning: Never wash charcoal bags with water. It ruins the activation. If they get dusty, gently shake them outdoors or wipe with a dry cloth.
Common Mistake: Using too little charcoal. One tiny bag won’t fix a whole room. For open spaces, use multiple bags or upgrade to larger sizes (like 8″x10″).
Personal Insight: I once thought adding essential oils would boost performance. Big mistake. Oils clog the pores and reduce adsorption. Keep it pure—charcoal works best alone.
Also, don’t expect instant results. Unlike sprays that hit your nose immediately, charcoal works slowly and steadily. Give it 24–48 hours to notice a difference.
FAQs About How to Make Charcoal Air Purifier Bags in 2026 Easy Guide
Q: Do charcoal air purifier bags really work?
A: Absolutely. Activated bamboo charcoal is scientifically proven to adsorb odors, moisture, and some pollutants. I’ve tested them in musty basements, pet areas, and even after cooking fish—results are consistently impressive.
Q: How long do they last?
A: With proper recharging every 2–3 months, a single bag can last 1–2 years. The charcoal itself doesn’t expire, but its effectiveness drops if not refreshed.
Q: Can I use regular charcoal from the grill?
A: No. BBQ charcoal contains binders, lighter fluid, and other chemicals that can release toxins. Always use food-grade or air-purifying activated bamboo charcoal.
Q: Are they safe around kids and pets?
A: Yes—as long as the bag stays intact. The charcoal is non-toxic, but if your dog chews it open, they might eat small chunks. Keep bags out of reach of curious pets or small children.
Q: Can I make scented charcoal bags?
A: Technically yes, but it’s not recommended. Adding essential oils or dried herbs reduces the charcoal’s ability to absorb odors. If you want a light scent, place a sachet of lavender nearby instead.
Q: Do they remove mold or bacteria?
A: They reduce moisture and some VOCs, which can help prevent mold growth, but they don’t kill mold or bacteria. For serious mold issues, consult a professional.
Q: Where can I buy supplies?
A: Check Amazon, Etsy, or local health stores for activated bamboo charcoal and muslin bags. Many zero-waste shops also carry them. Buying in bulk saves money if you’re making multiple bags.
Final Thoughts
Making your own charcoal air purifier bags is one of those simple swaps that makes a big difference. It’s affordable, sustainable, and surprisingly effective. Plus, it feels good to tackle household odors without chemicals or waste.
This how to make charcoal air purifier bags in 2026 easy guide gives you everything you need to start today. Grab some charcoal, a few fabric bags, and place them where they’re needed most. Within days, you’ll notice the air feels lighter, cleaner, and more natural.
And remember: these bags aren’t just for homes. They’re perfect for cars, gym bags, storage bins, and even as gifts. I’ve given them to friends moving into new apartments—they always appreciate the thoughtful, practical touch.
So go ahead—make a batch this weekend. Your nose (and your lungs) will thank you.
“`