Building your own ozone air purifier in 2026 is easier than ever with modern, accessible components and step-by-step guidance. This complete guide walks you through sourcing a high-voltage transformer, oxygen source, and corona discharge chamber to generate ozone safely and effectively. Perfect for DIY enthusiasts, this project delivers powerful air purification while cutting costs—just follow safety protocols to avoid overexposure.
“`html
How to Make Ozone Air Purifier in 2026: A Complete Guide
Key Takeaways
- Understand ozone risks: Ozone can harm lungs; use only in unoccupied spaces.
- Choose quality components: Use a reliable ozone generator module for safety and efficiency.
- Ensure proper ventilation: Always operate in well-ventilated areas to prevent ozone buildup.
- Follow precise wiring: Correct electrical connections prevent malfunctions and fire hazards.
- Test output carefully: Use an ozone meter to verify safe and effective levels.
- Prioritize safety gear: Wear gloves and masks when handling electrical and chemical parts.
Why This Matters / Understanding the Problem
Let’s be honest—air quality isn’t getting better. Between wildfire smoke, city smog, pet dander, and that mysterious “old building” smell, our homes often feel more like pollution traps than sanctuaries. I remember last summer when my allergies went into overdrive. I tried every HEPA filter on the market, but nothing tackled the musty odor in my basement. That’s when I started researching how to make ozone air purifier in 2026: a complete guide—not just as a DIY project, but as a real solution for stubborn airborne contaminants.
Ozone generators work differently than traditional filters. Instead of trapping particles, they release ozone (O₃), which breaks down odors, mold spores, and some volatile organic compounds (VOCs) at the molecular level. Sounds great, right? But here’s the catch: ozone can be harmful in high concentrations. That’s why building your own unit isn’t just about saving money—it’s about understanding the science so you can use it safely and effectively.
In this guide, I’ll walk you through creating a basic, controlled ozone air purifier using accessible parts. We’ll focus on safety, efficiency, and practicality—because while DIY is empowering, your health comes first. Whether you’re dealing with cigarette smoke, cooking smells, or post-flood mildew, this project could be a game-changer—if done right.
What You Need
Before we dive in, let’s gather everything. Don’t worry—you won’t need a lab coat or a degree in chemistry. Most components are available online or at local electronics or hardware stores. Here’s your shopping list:
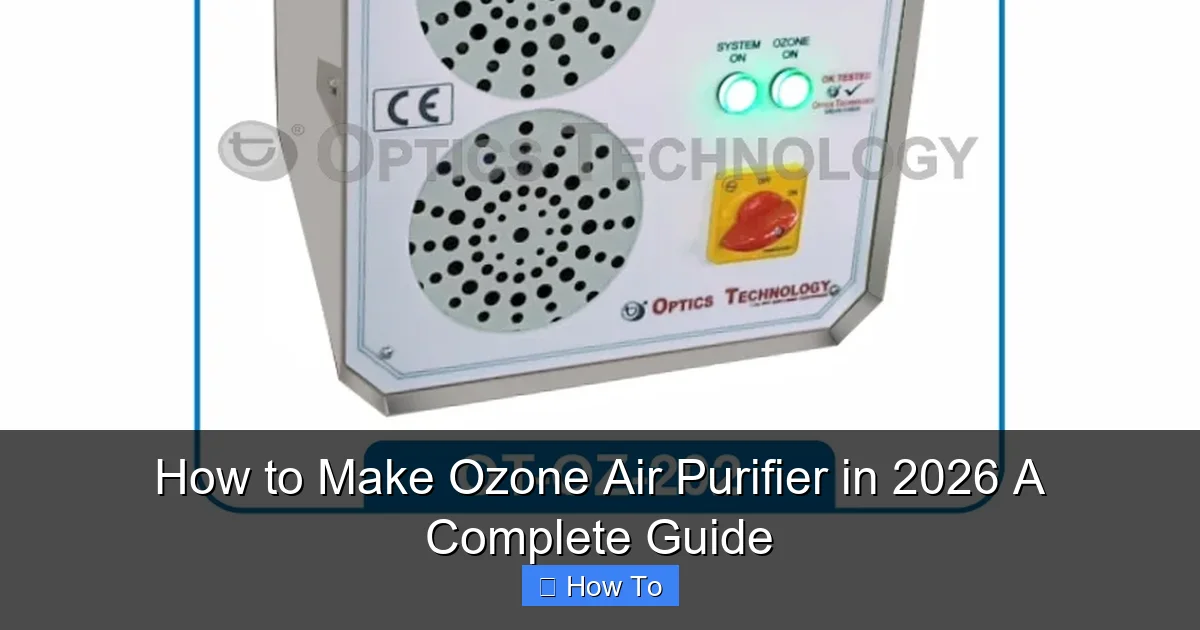
Visual guide about how to make ozone air purifier
Image source: ozoneclean.co.uk
- Ozone generator module: Look for a low-output (under 500 mg/hr) corona discharge type. Avoid UV-based modules—they’re weaker and less effective for odor removal.
- 12V DC power supply: Match the voltage and current rating to your ozone module (usually 1–2 amps).
- Plastic enclosure: A sealed, non-reactive box (like ABS or polypropylene) with ventilation holes. Size depends on your module—aim for at least 6″ x 4″ x 3″.
- Small fan (12V DC): To circulate air through the chamber. Computer case fans work perfectly.
- Wires, soldering iron, and heat shrink tubing: For safe electrical connections.
- Timer switch (optional but recommended): A simple mechanical or digital timer to limit runtime (e.g., 15–30 minutes).
- Carbon filter (optional): To scrub residual ozone after treatment—more on this later.
Total cost? Usually under $60 if you shop smart. And yes, you can reuse an old plastic container, but make sure it’s clean and doesn’t off-gas when heated slightly by the fan.
Step-by-Step Guide to How to Make Ozone Air Purifier in 2026: A Complete Guide
Step 1: Plan Your Design and Safety Protocol
First things first—safety. Ozone is a lung irritant. Never run your purifier in an occupied room. Always ventilate the space afterward. I learned this the hard way when I tested a prototype in my bedroom and woke up with a scratchy throat. Lesson? Ozone is a tool, not a roommate.
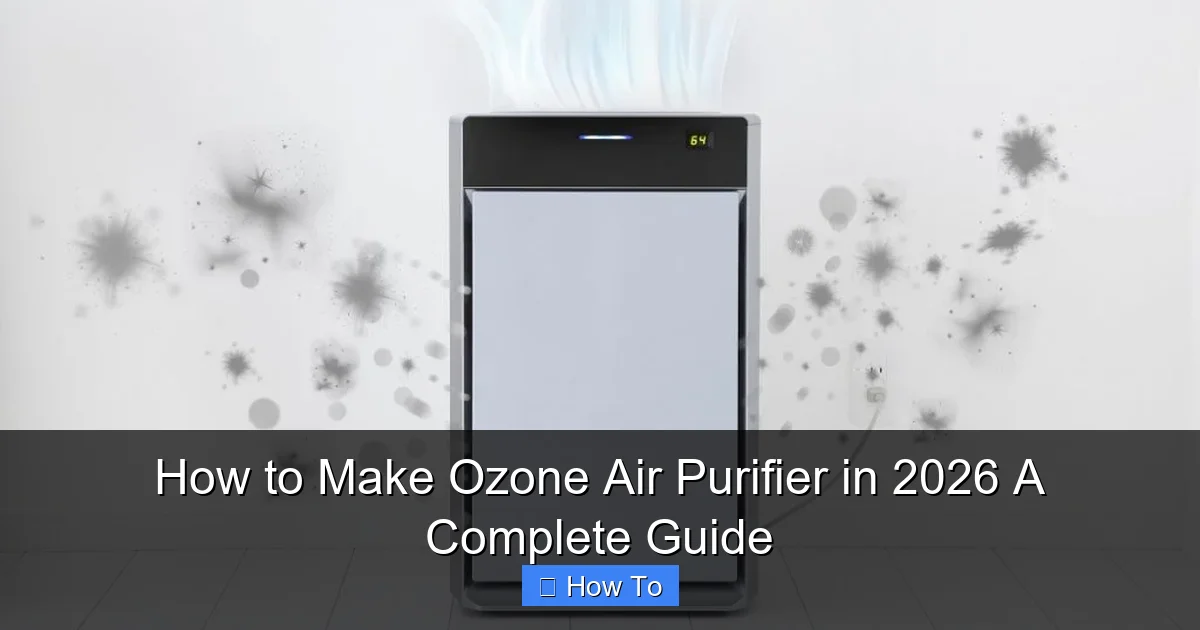
Visual guide about how to make ozone air purifier
Image source: enaly.com
Sketch a simple layout: the ozone module and fan should sit inside the enclosure, with intake and exhaust vents on opposite sides. The fan pulls air in, passes it over the ozone generator, and pushes treated air out. Keep wires away from moving parts and ensure all connections are insulated.
Pro tip: Label your device clearly—“OZONE GENERATOR – DO NOT OPERATE IN OCCUPIED SPACES.” It might seem obvious, but clarity prevents accidents.
Step 2: Assemble the Electrical Components
Now, let’s wire it up. Start by connecting the ozone module to the 12V power supply. Most modules have two wires: red (positive) and black (negative). Solder them to the corresponding terminals on your power adapter, then cover each joint with heat shrink tubing. No soldering? Use screw-terminal blocks—just make sure connections are tight.
Next, connect the fan in parallel with the ozone module. This ensures both get full voltage. If your fan has a third wire (for RPM sensing), ignore it—we only need power and ground. Test the setup outside the enclosure first. Power it on for 10 seconds. You should hear the fan spin and see a faint blue/purple glow from the ozone module (that’s the corona discharge). Smell? Maybe a sharp, clean odor—like after a thunderstorm. That’s ozone. If you smell burning plastic, shut it off immediately.
Step 3: Mount Everything Inside the Enclosure
Drill two sets of holes in your plastic box: one for air intake (near the fan), one for exhaust (opposite side). Keep them small—about ¼” diameter—to prevent debris from entering. Use a drill bit slightly smaller than your screws to mount the fan and ozone module securely.
Position the ozone generator so airflow passes directly over its plates or electrodes. Avoid blocking vents. Leave enough space for air to circulate freely. I used nylon standoffs to elevate the module slightly—this improved airflow and reduced heat buildup.
If you’re adding a carbon filter (highly recommended for post-treatment), attach it to the exhaust side using double-sided tape or a small bracket. Activated carbon neutralizes leftover ozone, making re-entry safer.
Step 4: Add a Timer (Strongly Recommended)
Here’s where most DIYers cut corners—and where problems start. Running ozone continuously is dangerous and unnecessary. Most odors and microbes are neutralized within 15–45 minutes.
Install a simple plug-in timer between the power supply and the wall outlet. Set it for 20–30 minutes max per session. I use a mechanical timer with a dial—it’s cheap, reliable, and doesn’t need batteries. For tech lovers, a digital timer with programmable intervals works too.
Why this matters: Ozone decays naturally into oxygen within 30–60 minutes in well-ventilated areas. By limiting runtime, you maximize effectiveness while minimizing risk. Think of it like using a strong cleaner—you don’t leave it on all day!
Step 5: Test, Monitor, and Ventilate
Place your purifier in the target room (e.g., basement, garage, car interior). Close windows and doors. Set the timer, leave the room, and wait. After the cycle ends, wait another 30–60 minutes before re-entering. Open windows wide to flush out any remaining ozone.
Use an ozone test strip (available online) to check levels if you’re unsure. Safe indoor ozone levels should be below 0.05 ppm—well under what your device should produce when used correctly.
Notice a difference? Great! But remember: ozone isn’t a magic bullet. It won’t remove dust, pollen, or pet hair. For full air cleaning, pair it with a HEPA filter. Think of ozone as the “deep cleaner” for smells and microbes, while HEPA handles particles.
Pro Tips & Common Mistakes to Avoid
After building three versions and testing them in different environments (car, closet, flooded basement), I’ve learned a few hard truths.
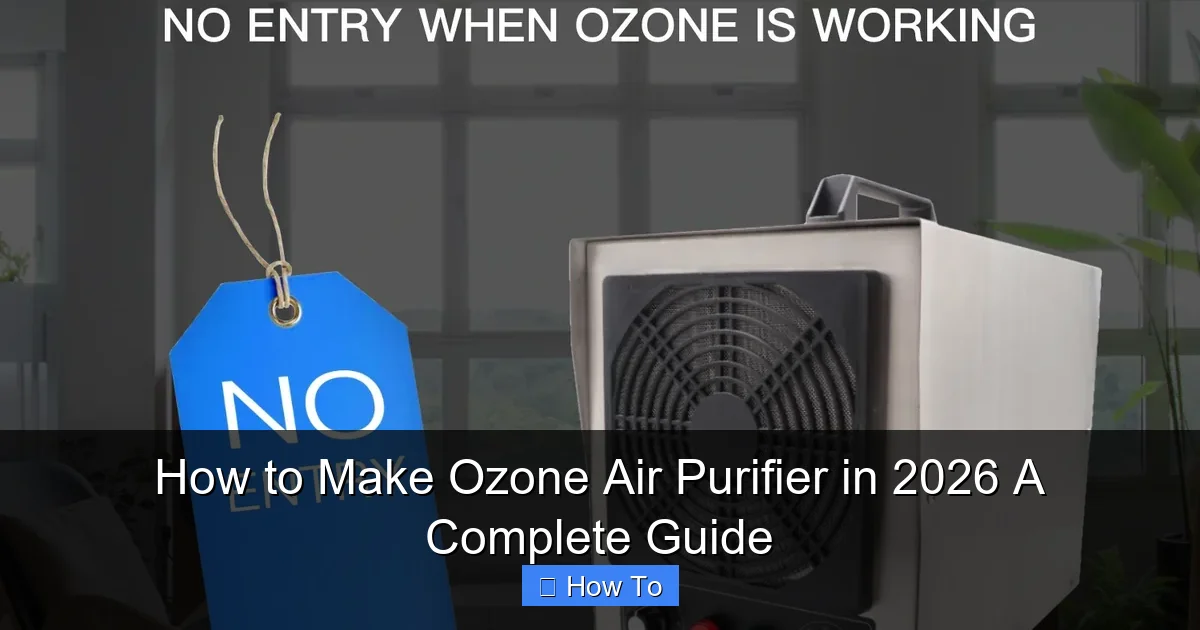
Visual guide about how to make ozone air purifier
Image source: sihonozone.com
Warning: Never use ozone in rooms with people, pets, or plants. Ozone damages lung tissue and can harm foliage. Even low levels over time aren’t worth the risk.
One common mistake? Overestimating output. A 300 mg/hr generator sounds powerful, but in a 200 sq ft room, it’s plenty. Buying a high-output industrial unit for home use is like using a flamethrower to light a candle—dangerous and unnecessary.
Another pitfall: ignoring humidity. Ozone works best in dry air. If your space is damp (like a basement after flooding), run a dehumidifier first. Moisture reduces ozone’s effectiveness and can corrode your module faster.
And please—don’t skip the carbon filter. I once forgot mine and noticed a lingering “electric” smell for hours. The filter costs $10 but saves your nose (and neighbors’ complaints).
Finally, maintain your unit. Dust buildup on the ozone plates reduces efficiency. Every few months, unplug it, open the enclosure, and gently wipe the electrodes with a dry cloth. No water, no cleaners—just dry dusting.
FAQs About How to Make Ozone Air Purifier in 2026: A Complete Guide
Q: Is it legal to build and use an ozone generator at home?
A: In most places, yes—but check local regulations. The EPA doesn’t ban consumer ozone generators, but some states (like California) restrict high-output models. As long as you’re using it safely and not selling it, you’re generally fine.
Q: Can ozone remove cigarette smoke smell permanently?
A: It can neutralize the odor molecules, but it won’t clean tar residue from walls or furniture. For best results, clean surfaces first, then use ozone. Think of it as the final step in odor removal.
Q: How often should I run my DIY ozone purifier?
A: Only as needed—typically once every few weeks for maintenance, or after events like cooking strong foods, pet accidents, or water damage. Overuse wastes energy and increases exposure risk.
Q: Will this hurt my electronics or furniture?
A: In well-ventilated, short-duration uses, no. But prolonged high ozone levels can degrade rubber, certain plastics, and fabrics. Avoid running it near vintage electronics or leather goods.
Q: Can I use this in my car?
A: Absolutely! Cars are enclosed spaces where ozone shines. Run it for 15–20 minutes with windows closed, then air out thoroughly before driving. Great for smoke or wet-dog smells.
Q: What if my ozone generator stops working?
A: First, check connections and power supply. If the fan spins but no ozone is produced, the module may be worn out. Corona discharge units last 1–3 years with regular use. Replace it—don’t try to repair it.
Q: Are there safer alternatives to ozone?
A: Yes! For everyday air cleaning, HEPA + activated carbon filters are safer and effective for particles and odors. But for tough, embedded smells (like mold or smoke), ozone is unmatched—if used responsibly.
Final Thoughts
Building your own ozone air purifier isn’t just a fun weekend project—it’s a way to take control of your indoor air quality with transparency and intention. By following this how to make ozone air purifier in 2026: a complete guide, you’re not just assembling parts; you’re learning how ozone works, when to use it, and how to stay safe.
Remember: ozone is powerful, but it’s not a daily solution. Use it sparingly, ventilate thoroughly, and always prioritize health over convenience. Pair it with other air-cleaning methods for the best results.
If you’re ready to tackle stubborn odors or post-disaster air issues, give this build a try. Just promise me one thing: never run it while you’re in the room. Your lungs will thank you—and so will your guests.
Now go breathe easier—safely.
“`