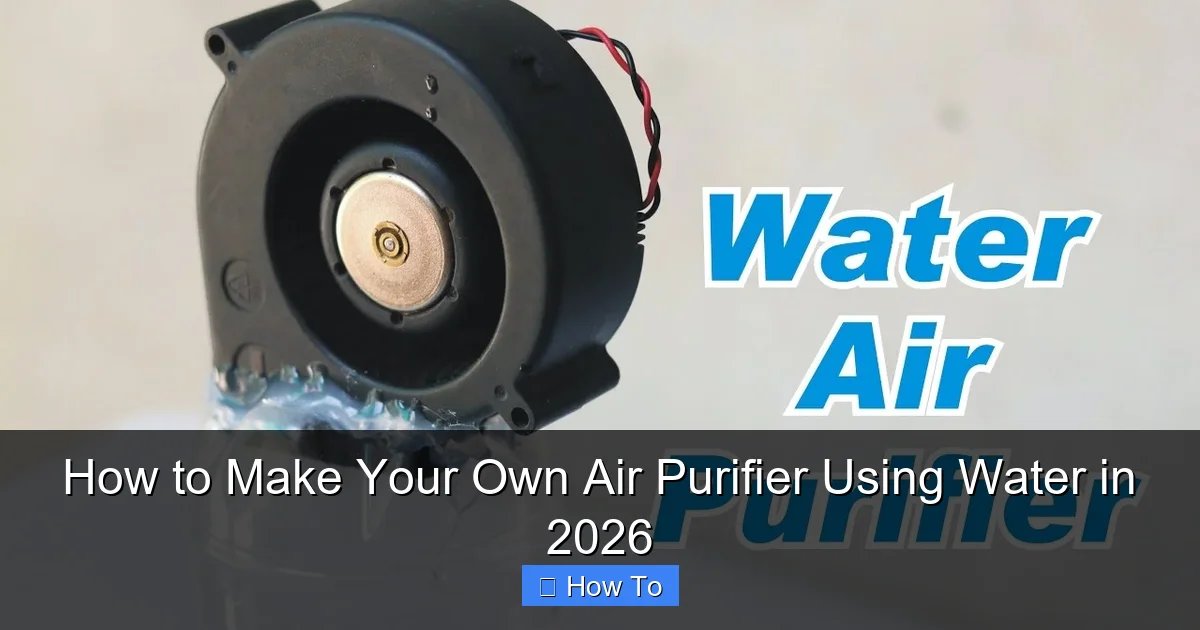
Featured image for how to make your own air purifier using water
Image source: i.ytimg.com
Transform your indoor air quality in 2026 with a simple, cost-effective DIY air purifier made using just water and a few household items. This eco-friendly hack leverages water’s natural ability to trap dust, pollen, and odors, creating a surprisingly effective filtration system without expensive filters or electricity. Perfect for small spaces or emergency use, this homemade purifier is easy to build, maintain, and customize—offering a sustainable alternative to commercial models.
“`html
How to Make Your Own Air Purifier Using Water in 2026
Key Takeaways
- Use distilled water to prevent mineral buildup and ensure cleaner air output.
- Choose a high-quality fan for efficient air circulation and purification.
- Add essential oils like tea tree or eucalyptus for natural antibacterial benefits.
- Seal the container tightly to maximize air-water contact and filtration.
- Clean weekly to avoid mold and maintain optimal performance.
- Position near pollution sources for targeted air purification in rooms.
- Monitor humidity levels to balance air quality and room comfort.
Why This Matters / Understanding the Problem
Let’s be honest: indoor air quality isn’t something we think about until we start sneezing, wheezing, or noticing a musty smell that just won’t quit. I remember the first time I realized my apartment felt stuffy—even with the windows open. My eyes itched, my throat was scratchy, and I blamed the weather. Then I learned the truth: dust, pet dander, cooking fumes, and even off-gassing from furniture were turning my home into an invisible pollutant trap.
That’s when I started searching for how to make your own air purifier using water in 2026. I wanted something affordable, chemical-free, and effective. Commercial air purifiers can cost hundreds, and many use filters that need constant replacing. But water-based purifiers? They’re simple, low-tech, and surprisingly effective—especially if you’re on a budget or just love DIY projects.
Water acts as a natural filter. As air passes through it, particles like dust, pollen, and even some smoke get trapped. It’s not magic, but it’s science—and it works. In 2026, with rising concerns about air pollution, energy costs, and sustainable living, this method is making a comeback. And the best part? You can build one in under an hour with stuff you probably already own.
What You Need
Before we dive in, let’s talk tools and materials. This project is ridiculously simple. No soldering, no coding, no fancy tools. Just everyday items you can find at a hardware store, dollar store, or even in your recycling bin.
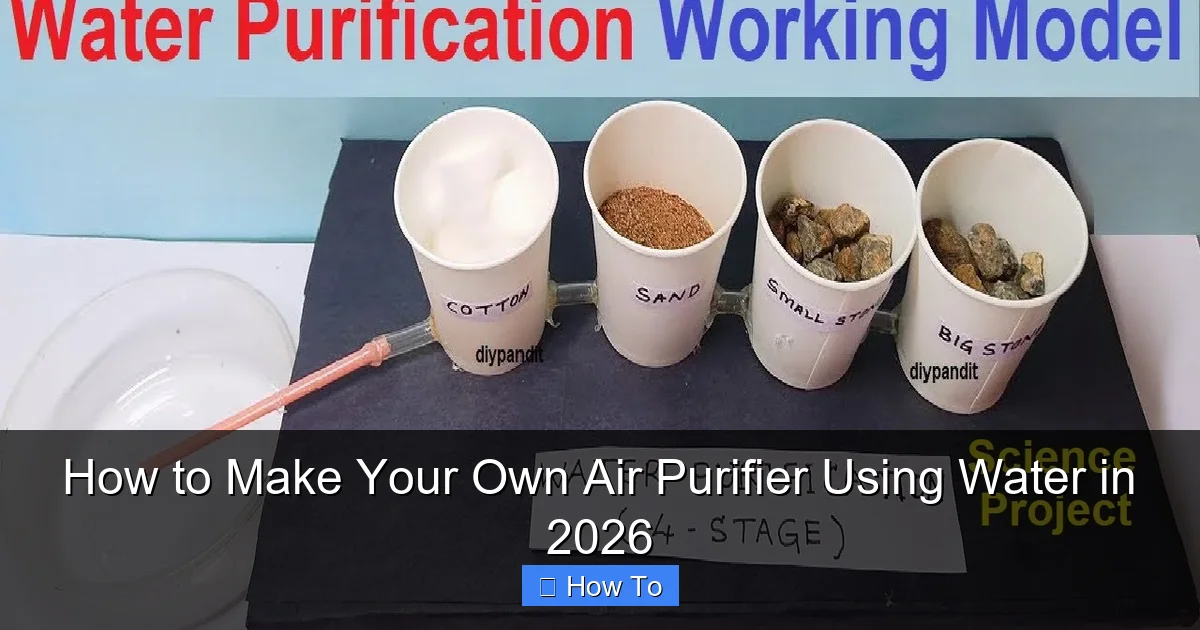
Visual guide about how to make your own air purifier using water
Image source: i.ytimg.com
- Plastic bottle (2-liter or 1-gallon) – Clear or translucent works best. Avoid glass—it’s heavy and risky if it tips.
- Small USB-powered fan (5V, 0.5A or lower) – Look for a quiet desk fan or a PC cooling fan. I used an old laptop fan from a broken computer.
- Water – Tap water is fine. For extra odor control, add a few drops of essential oil (tea tree, eucalyptus, or lemon).
- Scissors or utility knife – For cutting the bottle.
- Hot glue gun or strong waterproof tape (like duct tape or packing tape) – To seal the fan and prevent leaks.
- Optional: Activated charcoal or baking soda – Helps absorb odors and gases. A teaspoon works wonders.
- Optional: Small mesh bag or coffee filter – If you’re adding charcoal, this keeps it contained and prevents clogging.
- USB power source – A phone charger, power bank, or USB wall plug.
Pro Tip: If you’re making this for a child’s room or a small office, a 1-gallon bottle works great. For larger spaces like a living room, go with the 2-liter. Just remember: bigger bottle = more water = more surface area for filtration.
Step-by-Step Guide to How to Make Your Own Air Purifier Using Water in 2026
Step 1: Cut the Bottle in Half
Grab your 2-liter bottle. Use scissors or a utility knife to cut it horizontally about one-third of the way up from the bottom. You’ll end up with two parts: a wide base (the “water chamber”) and a narrow top (the “funnel”).
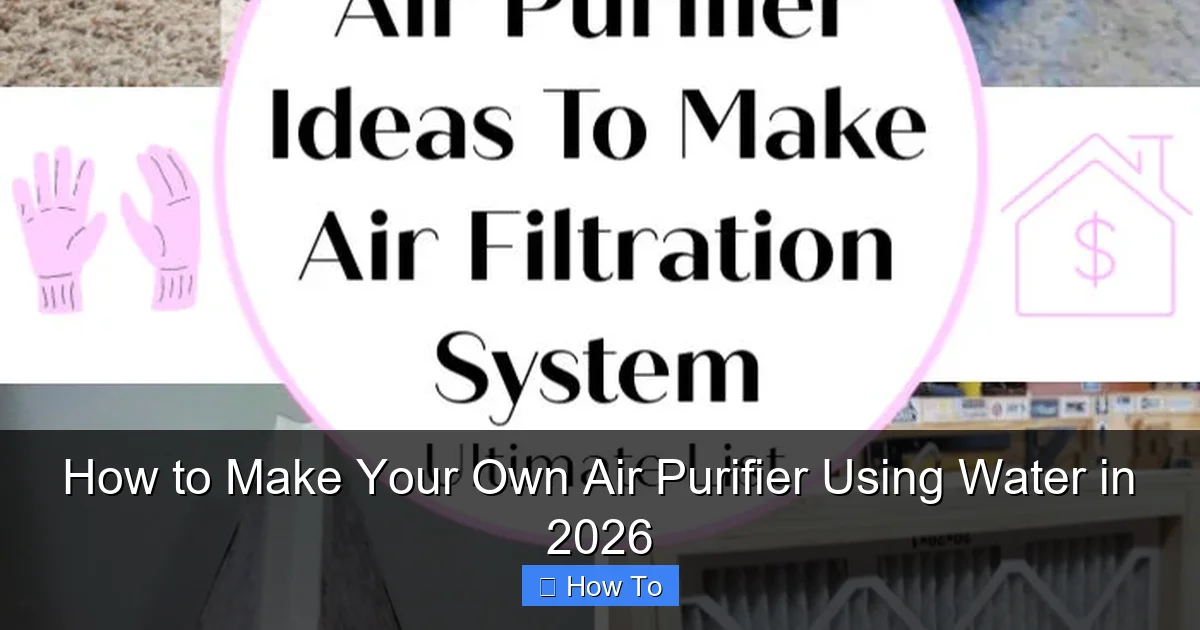
Visual guide about how to make your own air purifier using water
Image source: itsoverflowing.com
Be careful with the knife—go slow and steady. I once rushed and sliced my finger (not my proudest moment). If you’re not confident, use a serrated knife or even a box cutter with a fresh blade.
This design uses the bottom as a reservoir and the top as a directional funnel. The fan will blow air down into the water, so the cut edge of the top piece should face downward when assembled.
Step 2: Prepare the Fan Housing
Now, take the top half of the bottle (the funnel). You need to attach the fan to the narrow end—the part that was originally the bottle’s mouth.
First, remove the fan’s protective grill if it has one. Then, position the fan so it’s blowing air into the funnel. The blades should face inward, pushing air down toward the water.
Use your hot glue gun to secure the fan around the edges. Make sure the seal is airtight—any gaps will let unfiltered air escape. If you don’t have a glue gun, wrap the edges tightly with waterproof tape. I’ve used duct tape in a pinch, but it’s messier and less durable over time.
Warning: Never use a fan that draws power from an outlet unless you’re experienced with electrical work. USB fans are safer, quieter, and low-voltage. Safety first—especially around water.
Step 3: Add Water and Optional Additives
Fill the bottom half of the bottle with clean water. Leave about 1–2 inches of space at the top to prevent splashing. If you add too much, the fan might push water out when it runs.
Now, for the fun part: boost your purifier’s power. Add 1–2 teaspoons of baking soda to neutralize odors. Or, add a mesh bag with activated charcoal—this absorbs volatile organic compounds (VOCs) like those from paint or cleaning products.
For a fresh scent, add 3–5 drops of essential oil. Tea tree oil has natural antibacterial properties, and eucalyptus helps with respiratory issues. But don’t overdo it—strong scents can irritate some people or pets.
This step is key for how to make your own air purifier using water in 2026 that actually tackles smells, not just dust. I once made one for my kitchen, and adding lemon oil made it feel like I was cooking in a citrus grove—minus the grease smell.
Step 4: Assemble the Two Halves
Place the top half (with the fan attached) upside down into the bottom half (the water chamber). The funnel should sit inside the base, pointing down into the water.
The fit should be snug. If it wobbles, use hot glue or tape to stabilize it around the rim. You want it secure but not glued shut—you’ll need to refill the water later.
Here’s a trick: leave a small gap (about 1/8 inch) between the funnel and the water surface. This creates a “bubble” effect. As air is pushed down, it creates bubbles in the water, increasing contact time and filtration efficiency. Think of it like a mini aquarium bubbler.
Step 5: Connect the Fan and Power Up
Plug the fan’s USB cable into a power source. I use an old phone charger plugged into the wall, but a power bank works great for portability. I’ve even used one during a power outage—it ran for 6 hours on a 10,000mAh bank.
Turn it on. You should see air being pushed down, creating bubbles in the water. Listen: it should be quiet. If it’s loud or vibrating, double-check the fan’s balance and make sure it’s not touching the bottle walls.
Let it run for 15–20 minutes. You’ll notice the water getting a little cloudy—that’s the dust and particles being captured. After a few days, it might turn brownish. That’s normal. Just empty, rinse, and refill weekly.
Step 6: Optimize Placement for Best Results
Where you place your DIY air purifier matters. Don’t tuck it in a corner or behind furniture. Air needs to flow freely.
Ideal spots:
- Near pollution sources – Kitchen (cooking fumes), bathroom (mold spores), or near pet areas.
- At breathing height – On a table, shelf, or desk. Not on the floor, where it’s less effective for airborne particles.
- With airflow – Near a window or door, but not in direct sunlight (heat can warp the plastic).
I keep mine on my nightstand. It runs while I sleep, and I’ve noticed my morning congestion has improved. Plus, the soft hum is oddly soothing—like a white noise machine that cleans air.
Step 7: Maintain and Monitor
Like any purifier, this one needs care. Here’s my routine:
- Daily: Check water level. Top off if low.
- Weekly: Empty, rinse the bottle with warm soapy water, and refill with fresh water and additives.
- Monthly: Wipe the fan blades gently with a damp cloth to remove dust buildup.
If the water turns green or smells funky, it’s time to deep clean. Soak the bottle in vinegar or bleach (1:10 ratio) for 30 minutes, then rinse thoroughly. I learned this the hard way—once I ignored a funky smell, and my cat started sneezing. Oops.
Pro Tips & Common Mistakes to Avoid
I’ve built five of these over the past year, and I’ve made every mistake in the book. Here’s what I wish I knew from the start:
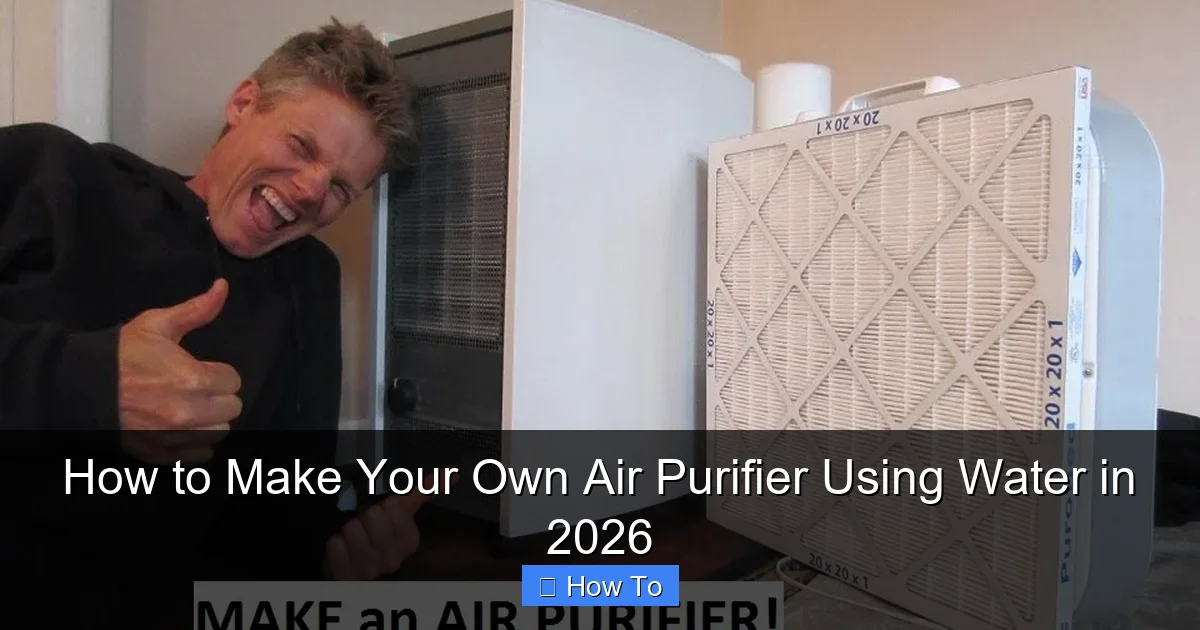
Visual guide about how to make your own air purifier using water
Image source: i.ytimg.com
Pro Tip #1: Use a fan with adjustable speed. Some USB fans have a switch. Lower speeds are quieter and still effective. High speeds can splash water or create noise.
Pro Tip #2: Add a few drops of dish soap to the water. It reduces surface tension, helping bubbles burst faster and increasing air-water contact. Just don’t overdo it—too much soap can make the water too foamy.
Common Mistake #1: Using a fan that’s too powerful. A high-CFM (cubic feet per minute) fan might seem better, but it can push air too fast, reducing contact time with water. Stick with 10–30 CFM for best results.
Common Mistake #2: Ignoring humidity. This purifier adds moisture to the air. In dry climates, that’s a plus. But in already-humid rooms, it could promote mold. Monitor humidity with a $10 hygrometer. If it goes above 60%, run the purifier less often or use a dehumidifier.
Pro Tip #3: Label your purifier. I write “Clean Weekly” on the bottle with a marker. It’s a simple reminder that keeps me from forgetting maintenance.
Common Mistake #3: Expecting hospital-grade filtration. This isn’t a HEPA purifier. It won’t catch ultrafine particles like viruses or some allergens. But for dust, pollen, pet dander, and odors? It’s surprisingly effective—especially when used alongside other methods (like regular cleaning and ventilation).
One last insight: I made one for my mom, who has mild asthma. She uses it in her bedroom and says it helps her sleep better. She doesn’t claim it’s a miracle cure, but it’s a helpful tool in her air quality toolkit. That’s the real win: small improvements that add up.
FAQs About How to Make Your Own Air Purifier Using Water in 2026
Can this really clean the air?
Yes—but with realistic expectations. It’s great at capturing larger particles like dust, pet hair, and pollen. It also helps with odors and some VOCs, especially with charcoal. But it won’t replace a HEPA filter for tiny particles like smoke or mold spores. Think of it as a supplement, not a total solution. For how to make your own air purifier using water in 2026, it’s a smart, low-cost addition to your air quality strategy.
Is it safe to use around pets or kids?
Generally, yes—with precautions. Keep it out of reach of small children who might try to drink the water or play with the fan. Use non-toxic additives (avoid bleach or harsh chemicals). If you’re using essential oils, check if they’re safe for pets—some oils (like tea tree) are toxic to cats. I use a simple baking soda + water mix for my cat’s room.
How often should I change the water?
Every 5–7 days, or sooner if it looks cloudy or smells odd. In dusty environments (like a home with pets or near a construction site), change it every 3–4 days. Stagnant water can grow bacteria, which defeats the purpose.
Can I use tap water?
Yes! Tap water is perfectly fine. In fact, the minerals in hard water can help trap particles. Just don’t use distilled water—it lacks those minerals and can feel “dry” in the air. If your tap water is heavily chlorinated, let it sit for 24 hours first to let the chlorine dissipate.
Will it make my room more humid?
Yes, slightly. It’s like a mini humidifier. In dry climates, this is a bonus. In humid areas, it could be a problem. Use a hygrometer to monitor levels. If humidity climbs above 60%, run the purifier for shorter periods (e.g., 2 hours at a time) or use it in well-ventilated rooms.
Can I make a bigger version?
Absolutely! I’ve seen people use 5-gallon buckets with larger fans. The principle is the same: fan blows air into water through a funnel. Just make sure the fan is waterproof (or shielded) and the structure is stable. One friend used a bucket with a PVC pipe funnel and a 12V fan—ran it for 8 hours a day in his workshop. Said it cut the sawdust in half.
Is this better than a commercial air purifier?
Not in every way—but in some. It’s cheaper, quieter, and chemical-free. It also teaches you how air filtration works. But it lacks advanced features like auto-sensors, HEPA filters, or ozone removal. If you have severe allergies or asthma, use this alongside a commercial purifier. For everyday use, especially in small spaces, it’s a fantastic DIY option for how to make your own air purifier using water in 2026.
Final Thoughts
Building your own water-based air purifier isn’t just a fun weekend project—it’s a practical way to take control of your indoor air quality. I’ve used mine in apartments, offices, and even my car (with a power bank). It’s not perfect, but it’s effective, affordable, and empowering.
Remember: this isn’t about replacing all your air-cleaning tools. It’s about adding one more layer of protection. Pair it with regular cleaning, open windows when possible, and a good vacuum. And if you’re dealing with serious air quality issues (like mold or heavy smoke), consult a professional.
So go ahead—try how to make your own air purifier using water in 2026. Grab a bottle, a fan, and some water. In less than an hour, you’ll have a working purifier that costs less than $15. I promise you’ll feel the difference. And if you mess up the first time? No worries. I did too. The second one worked better. And the third? That one’s still running strong.
Your home deserves clean air. And now, you’ve got a simple, smart way to make it happen—no tech degree required.
“`