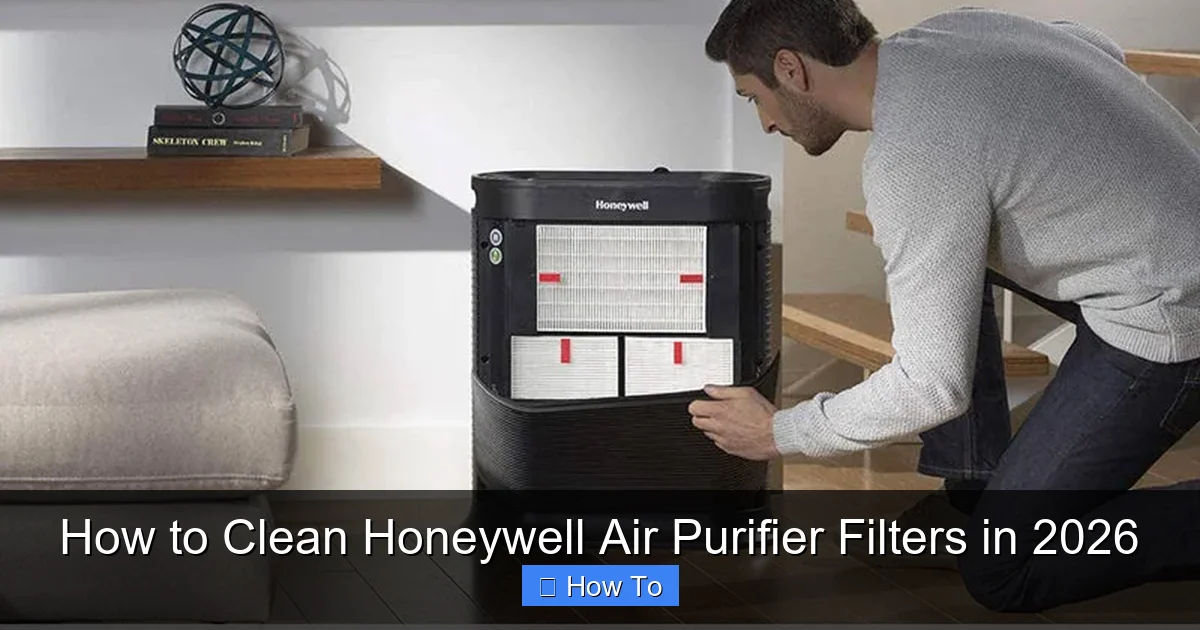
Featured image for how to clean honeywell air purifier filters
Image source: static.wixstatic.com
Regularly cleaning your Honeywell air purifier filters is essential for optimal performance and long-term efficiency. In 2026, the best method involves turning off and unplugging the unit, removing the filters, and gently vacuuming or rinsing reusable filters with cool water—never submerging the HEPA filter. Allow all components to dry completely before reassembling to maintain air quality and extend filter life.
“`html
How to Clean Honeywell Air Purifier Filters in 2026
Key Takeaways
- Turn off and unplug the purifier before cleaning for safety.
- Vacuum the pre-filter monthly to remove large debris and dust.
- Rinse permanent filters with cool water; never use soap or chemicals.
- Let filters air dry completely before reinstalling to prevent mold.
- Replace disposable filters every 3–6 months based on usage and air quality.
- Check the manual for model-specific cleaning instructions and filter types.
- Clean the exterior weekly with a damp cloth to maintain efficiency.
Why This Matters / Understanding the Problem
Picture this: you’re sipping your morning coffee, and the air in your home smells stale. You glance at your Honeywell air purifier—it’s been running nonstop, but the air still feels heavy. Sound familiar? It’s probably time to clean the filters. Knowing how to clean Honeywell air purifier filters in 2026 isn’t just about maintenance; it’s about keeping your home’s air fresh, reducing allergens, and extending the life of your device.
Over time, dust, pet hair, and airborne particles clog the filters, making your purifier work harder and less effectively. A dirty filter can even cause the motor to overheat. But don’t worry—cleaning them is easier than you think, and I’ve got your back with this step-by-step guide.
Whether you’re a first-time owner or a seasoned pro, this guide will help you avoid common pitfalls and keep your air purifier running like new. Let’s dive in.
What You Need
Before we start, gather these essentials. Trust me, having everything ready makes the process smoother and faster.

Visual guide about how to clean honeywell air purifier filters
Image source: i5.walmartimages.com
- Microfiber cloth (for wiping surfaces)
- Mild dish soap (avoid harsh chemicals)
- Soft-bristled brush (like a toothbrush or cleaning brush)
- Lukewarm water (never hot or cold)
- Vacuum with a brush attachment (for pre-cleaning)
- Clean, dry towel (for drying filters)
- Replacement pre-filter (if needed) (check your model)
- Replacement HEPA filter (if expired) (Honeywell recommends every 12 months)
Pro tip: Check your user manual for model-specific details. Some Honeywell models, like the HPA300 or HPA100, have slightly different filter types. But don’t worry—this guide covers the most common scenarios.
Step-by-Step Guide to How to Clean Honeywell Air Purifier Filters in 2026
Step 1: Power Down and Unplug
First things first: safety. Turn off your air purifier and unplug it from the wall. This isn’t just a precaution—it’s essential. You don’t want the fan spinning while you’re handling filters, and you definitely don’t want to risk an electrical shock.
Let it sit for 5–10 minutes to cool down if it’s been running. A hot motor can be a hazard, especially if you’re using a vacuum or water later.
Warning: Never clean filters while the unit is plugged in. It’s a small step, but it could save you from a costly mistake.
Step 2: Remove the Filters
Now, locate the filter compartment. Most Honeywell models have a front or side panel that snaps open. Gently press the release buttons or slide the cover off—don’t force it.
Inside, you’ll find at least two filters: a pre-filter (usually gray or white, often washable) and a HEPA filter (white, pleated, and non-washable). Some models may have a carbon filter (black, charcoal-based) for odors.
Carefully pull out each filter. I recommend placing them on a clean towel to avoid spreading dust. If the pre-filter looks gray and crusty, it’s definitely time for a clean.
Tip: Take a photo of the filter order before removing them. This helps when reassembling—especially if you’re forgetful like me!
Step 3: Clean the Pre-Filter (The Washable One)
The pre-filter catches large particles like pet hair and dust. It’s the first line of defense, so it gets the dirtiest. Here’s how to clean it:
- Vacuum first: Use the brush attachment to remove loose debris. This prevents clogs when washing.
- Rinse under lukewarm water: Hold the pre-filter under running water. Use your fingers or a soft brush to scrub gently. Add a drop of mild dish soap if it’s really grimy.
- No soaking: Never soak the pre-filter. Honeywell’s pre-filters are made of foam or mesh, which can degrade if left in water too long.
- Rinse thoroughly: Make sure all soap residue is gone. Leftover soap can cause odors or damage the filter.
- Dry completely: Lay it flat on a clean towel. Let it air-dry for 24 hours. Never use a dryer or hairdryer—heat can warp the material.
My personal trick? I clean the pre-filter every 2–4 weeks, depending on how much I use the purifier. If I have guests or pets shedding, I do it weekly.
Step 4: Wipe Down the Carbon Filter (If Applicable)
If your model has a carbon filter (common in odor-control models like the HPA300), here’s the deal: you can’t wash it. Carbon filters absorb odors and VOCs, but water ruins their effectiveness.
Instead, gently wipe the surface with a dry microfiber cloth. If it’s dusty, use a vacuum with a brush attachment. Replace it every 3–6 months, depending on usage. Honeywell’s website has a filter replacement guide—check it out if you’re unsure.
Warning: Never rinse a carbon filter. It’s like washing a sponge—it’ll lose its absorbency.
Step 5: Handle the HEPA Filter (The Non-Washable One)
Now, the HEPA filter. This is the heavy hitter—it captures tiny particles like pollen, mold spores, and even some viruses. But here’s the catch: you can’t wash it. Water damages the delicate pleats and reduces efficiency.
Instead, use a vacuum with a brush attachment to remove surface dust. Hold the nozzle close but don’t press hard—you don’t want to tear the filter.
Check for damage: Look for tears, discoloration, or a musty smell. If the filter looks gray or smells bad, it’s time to replace it. Honeywell recommends replacing HEPA filters every 12 months, but I’ve found mine lasts 10–14 months depending on air quality.
Pro tip: Write the replacement date on the filter with a marker. It’s a simple reminder, but it works!
Step 6: Clean the Air Purifier’s Interior and Exterior
While the filters are drying, clean the unit itself. Here’s how:
- Exterior: Wipe the outside with a microfiber cloth. For stubborn grime, dampen the cloth with a 50/50 mix of water and white vinegar. Avoid getting moisture near vents or buttons.
- Interior: Use the vacuum’s brush attachment to remove dust from the fan, vents, and filter compartment. If there’s a lot of debris, use a soft brush to dislodge it.
- Fan blades: If accessible, gently wipe them with a damp cloth. Never use water directly on the motor.
I once skipped this step and noticed a weird noise a month later. Turns out, dust had built up on the fan—lesson learned!
Step 7: Reassemble and Restart
Once everything is dry (especially the pre-filter), put it all back together:
- Insert the HEPA filter first: Make sure it’s seated properly. It should fit snugly without gaps.
- Add the carbon filter (if applicable): Place it behind the HEPA filter, facing the correct direction (check the arrows).
- Insert the pre-filter: It usually snaps into place or sits in a frame. Make sure it’s flush against the other filters.
- Close the compartment: Secure the cover or panel.
- Plug in and power on: Listen for a steady hum—if it’s loud or uneven, double-check the filter alignment.
My favorite part? The fresh, clean smell after restarting. It’s like a deep breath of mountain air.
Pro Tips & Common Mistakes to Avoid
Over the years, I’ve learned a few things the hard way. Here are my top tips to help you avoid my mistakes:
- Don’t rush drying: A damp pre-filter can grow mold. I once put mine back after 12 hours—big mistake. It smelled musty for days.
- Label your filters: If you have multiple purifiers, write the model number on the filter. It saves time when you’re cleaning.
- Check the manual: Some Honeywell models have unique quirks. The HPA500, for example, has a pre-filter that’s easier to remove than the HPA100.
- Use the right soap: Avoid bleach or ammonia. They can break down the filter material and release harmful fumes.
- Don’t ignore the pre-filter: It’s easy to focus on the HEPA filter, but the pre-filter does most of the work. Neglecting it shortens the HEPA’s lifespan.
Common mistakes I see:
- Washing the HEPA filter: I’ve seen people rinse it and wonder why their purifier stopped working. Don’t be that person.
- Using a hairdryer: Heat warps the pre-filter. Air-dry only.
- Reusing a damaged filter: A torn HEPA filter is worse than no filter. Replace it ASAP.
- Skipping the vacuum step: It’s tempting to just rinse, but vacuuming first removes 80% of the dirt.
Insider insight: I clean my pre-filter every 3 weeks and replace my HEPA filter every 11 months. It’s a small effort for a big payoff—my allergies are way better.
FAQs About How to Clean Honeywell Air Purifier Filters in 2026
Let’s tackle the questions I get most often. These are real concerns from fellow homeowners.
Q: Can I clean my Honeywell HEPA filter with water?
A: Nope, and I can’t stress this enough. Water damages the pleats and reduces efficiency. Vacuum it instead. If it’s beyond saving, replace it. Trust me, it’s worth the investment.
Q: How often should I clean the pre-filter?
A: Every 2–4 weeks, depending on usage. I have two cats, so I clean mine every 2 weeks. If you live in a dusty area or have allergies, clean it more often. For light use, every 4 weeks works fine.
Q: What if my pre-filter is torn?
A: Replace it. A damaged pre-filter lets dust and debris reach the HEPA filter, shortening its life. Honeywell sells replacement pre-filters—just check your model number.
Q: Can I use a vacuum with a HEPA filter?
A: Yes! Just use the brush attachment. Avoid pressing hard—you don’t want to damage the filter. I vacuum mine every 2 weeks as a quick maintenance step.
Q: My purifier smells after cleaning. What’s wrong?
A: It’s likely leftover soap or a damp pre-filter. Make sure you rinsed thoroughly and dried everything for 24 hours. If the smell persists, replace the carbon filter (if you have one).
Q: How do I know when to replace the HEPA filter?
A: Check for tears, discoloration, or a musty smell. If your allergies worsen or the purifier sounds louder, it’s probably time. Honeywell recommends every 12 months, but I replace mine at 11 months for safety.
Q: Can I use a different brand’s filter?
A: Not recommended. Honeywell’s filters are designed for specific airflow and efficiency. Off-brand filters may not fit properly or could damage your unit. Stick with genuine Honeywell filters.
Final Thoughts
Cleaning your Honeywell air purifier filters isn’t rocket science, but it does take a little attention to detail. Knowing how to clean Honeywell air purifier filters in 2026 means you’re not just maintaining a device—you’re investing in better air quality, lower energy bills, and longer filter life.
Here’s my final advice: make it a habit. Set a reminder on your phone every 2 weeks for the pre-filter, and mark your calendar for the annual HEPA filter replacement. It’s a small effort for a big payoff.
And remember: your purifier is only as good as its filters. Treat them right, and they’ll keep your home feeling fresh for years. Now go enjoy that clean air—you’ve earned it.
“`